One of the great things about USPSA and competitive shooting is that we have excellent choices in gear. Most equipment that is made today is high quality and highly adaptable to shooters of all different kinds. Combine this with the fact that companies are constantly generating solid new ideas, and you have many options to choose from for any budget.
Much of the gear we use is highly adjustable. We can adjust all angles, heights, cants and so on. This brings up a question—"How do I set up my gear to be optimal for me?” That will be the purpose of this article, along with sharing some personal recommendations for great gear that I’ve used throughout the six years I have been shooting USPSA.
WHAT DO I BUY?
Getting into USPSA competitions can be as simple as showing up with whatever gear you have. When I first started, I remember showing up to my first match with some HSGI taco pouches and a Comp-Tac paddle holster for my M&P. While the gear might help (training helps more), you not having the latest and greatest gear shouldn’t deter you from showing up to your first match. What I recommend to new shooters is to bring what they have and just observe what others happen to be using. Paying attention to what better shooters are using is definitely helpful and removes some of the buyer’s remorse that some suffer from. Also, using that gear is a good test for it in an environment where you will be moving around dynamically, and it will show you the good and the not-so-good parts of your equipment. This will help you make more informed purchases if you decide to change your gear.
Now when that time comes, you will want to consider a few key items: belt setup, holster and hangar, magazine pouches and magnet. I will discuss what these are, what I recommend and how to set them up below.
BELT SETUP
You will want a sturdy belt that can hold your gear and last for a season or two of use. Most manufacturers make an inner and outer belt setup.
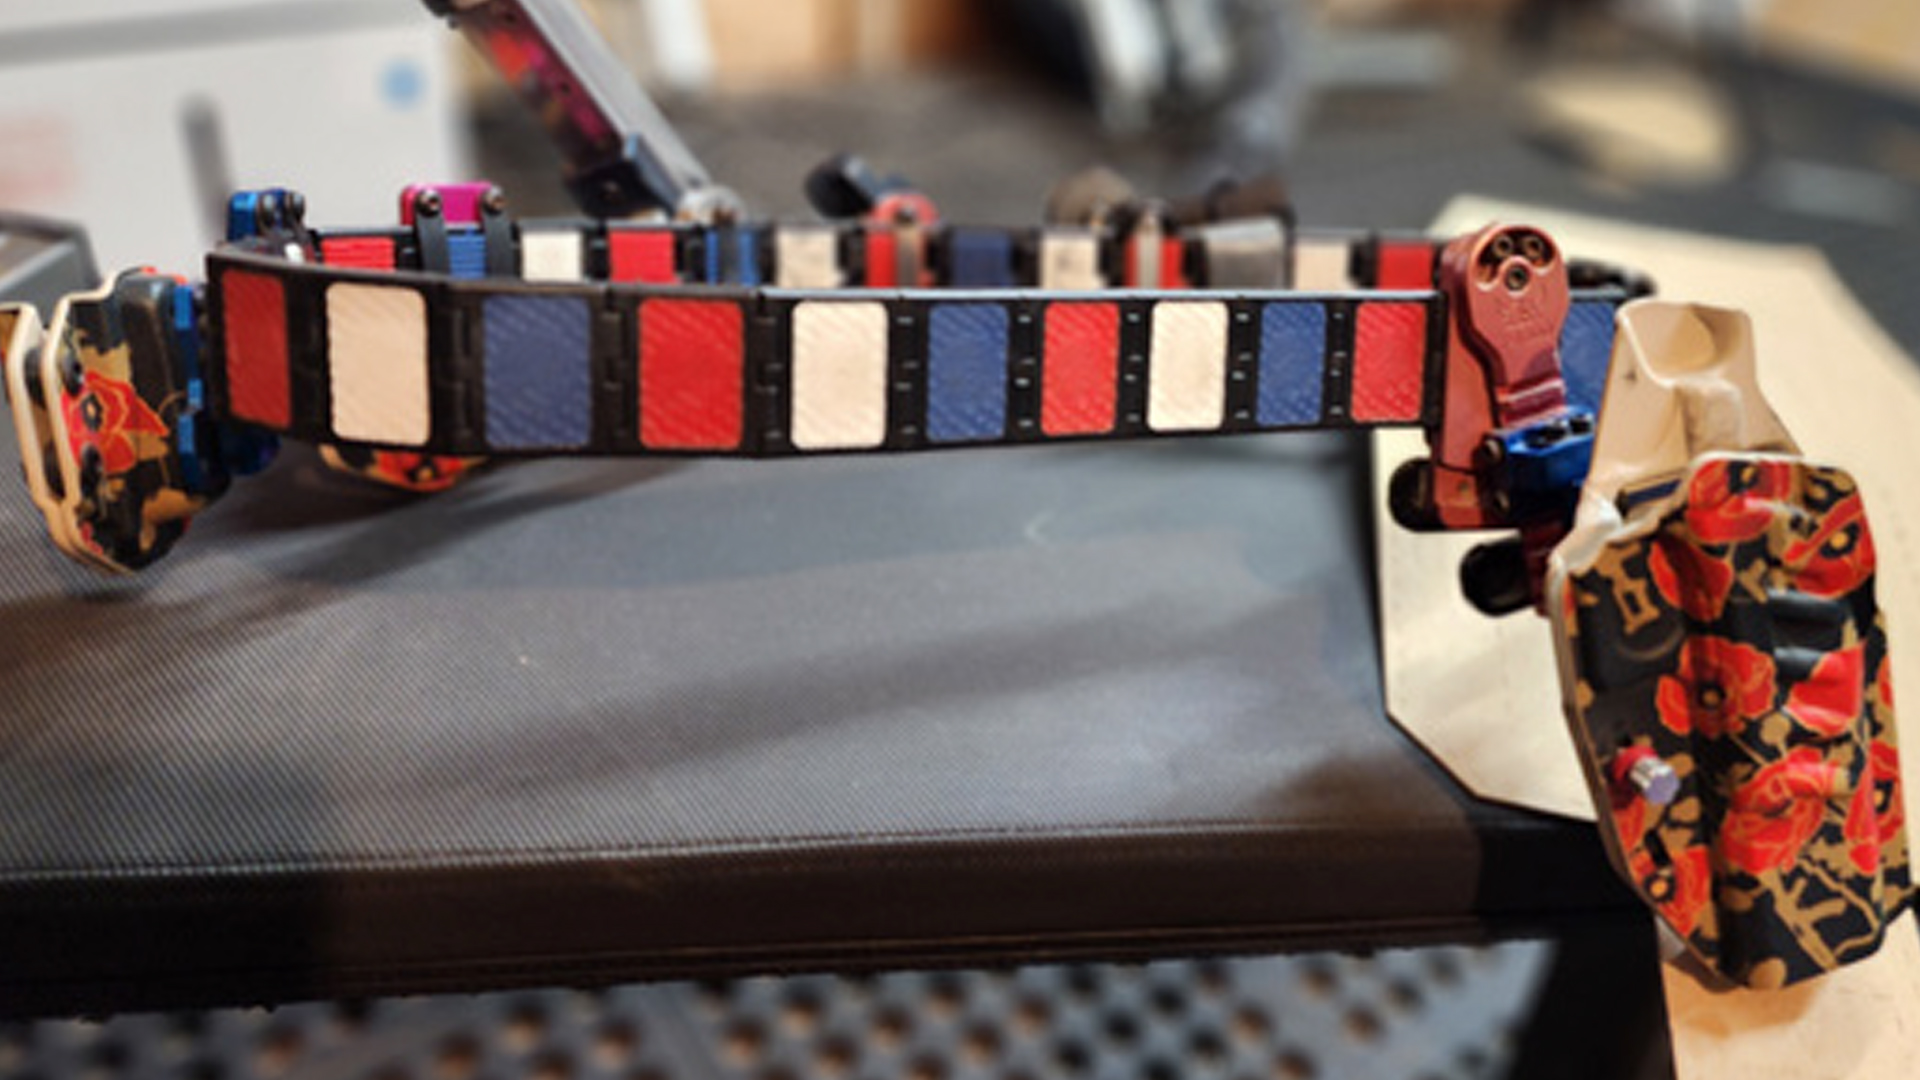
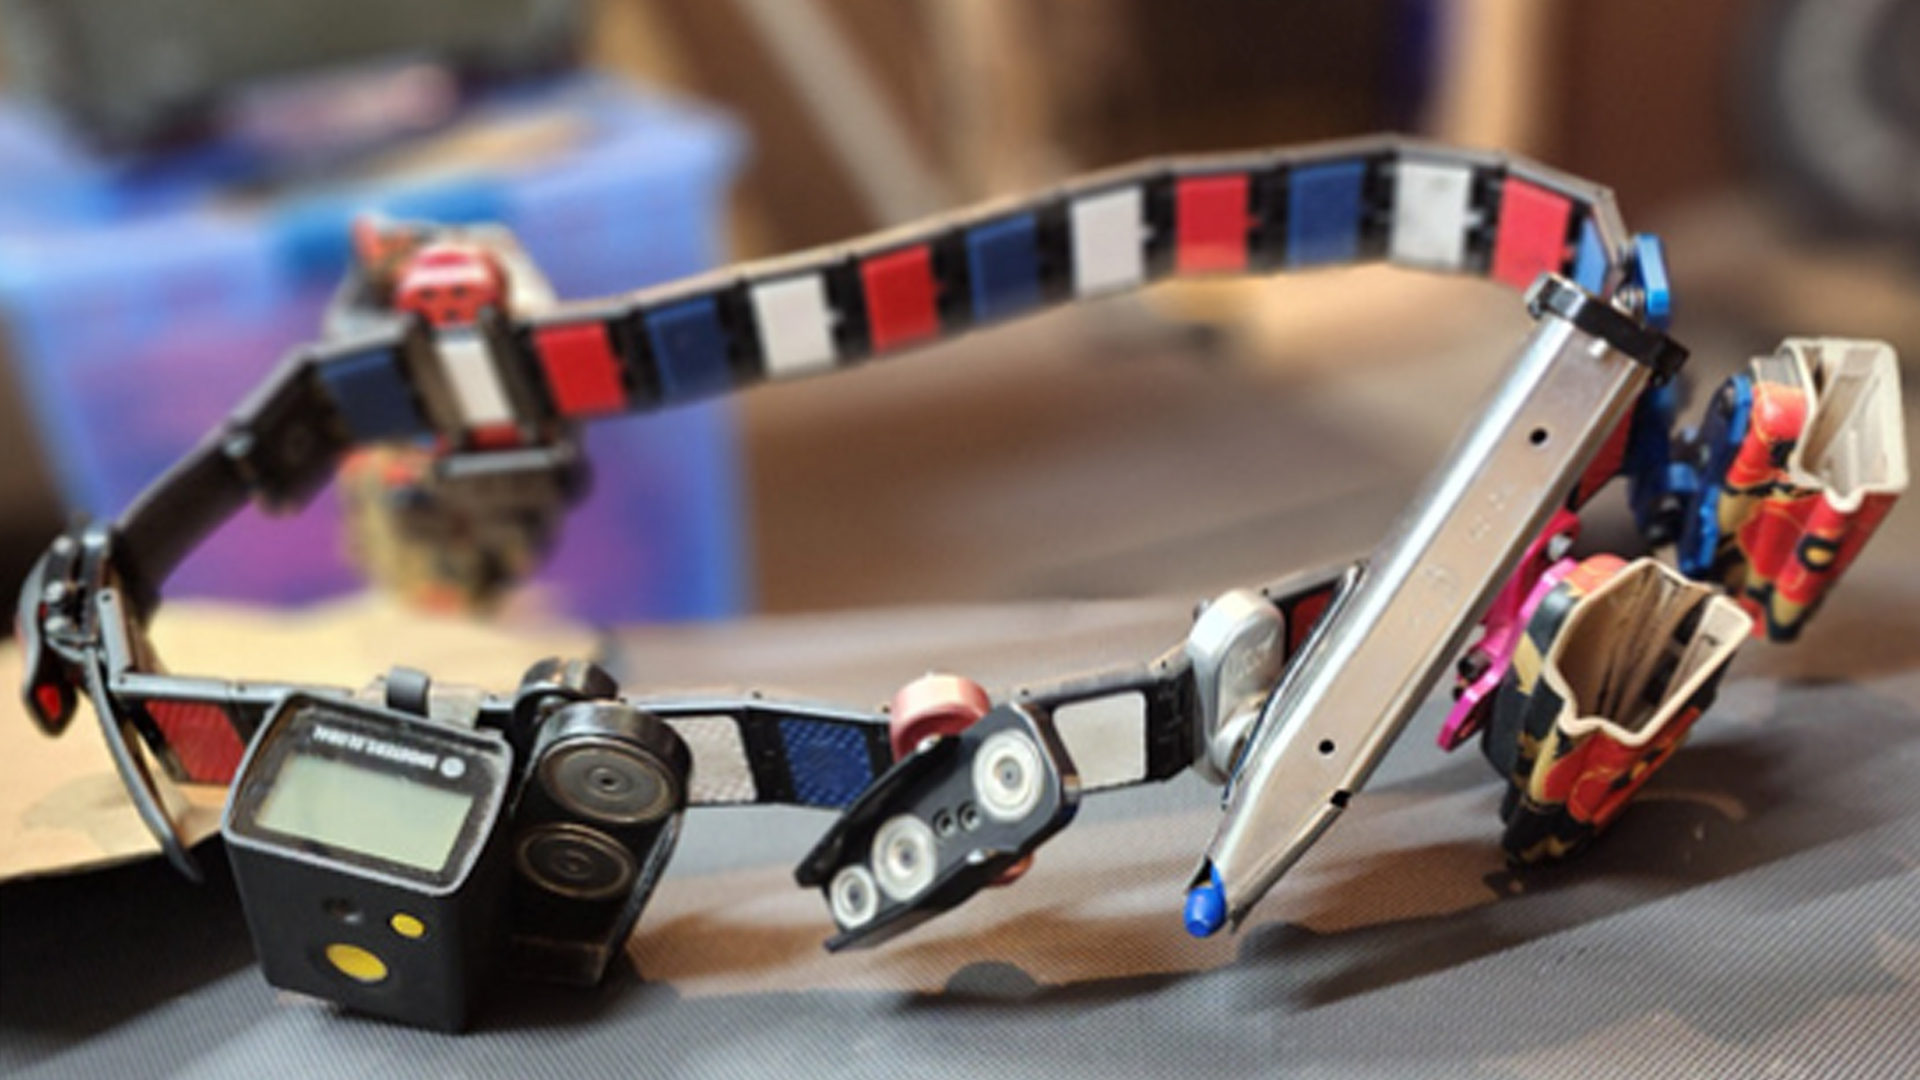
I personally use a Shooter’s Connection inner and outer belt and have a ratchet kit that I installed on it as my setup. M2 Inc. makes a ratchet kit that you can add on with minimal effort. If you go this route, definitely size your belt two sizes under and purchase a separate, correctly sized inner belt to use. Several companies already have this done for you, such as Dominate Defense and Atlas Gunworks. If you purchase these belts already set up for you; it will add some cost, but you won’t have to do any of the work setting it up.
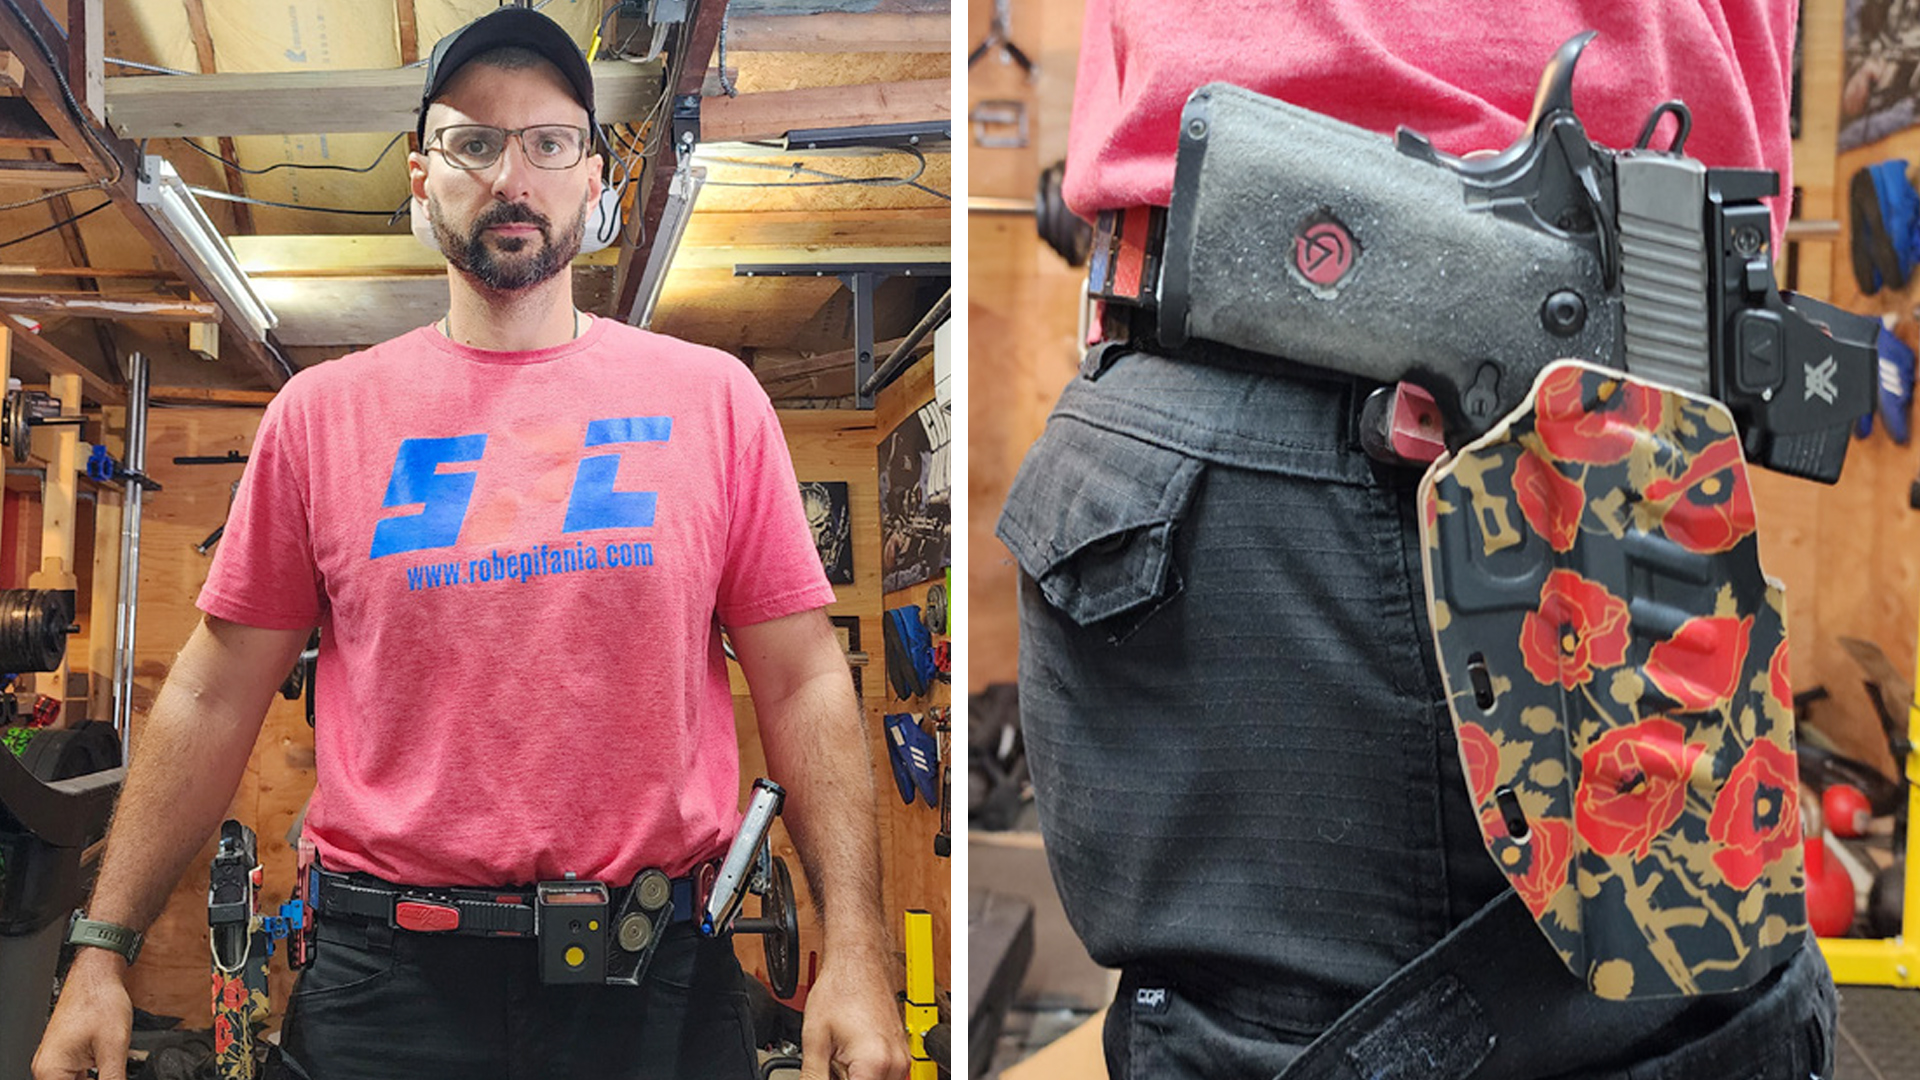
As far as setting up the belt, I personally like to have a reference point which I use as the same point every time. For me, currently it’s my right hip bone where the buckle of the ratchet kit goes. Making this the same every time will make your gear more consistent when you go to use it.
HOLSTER AND HANGAR
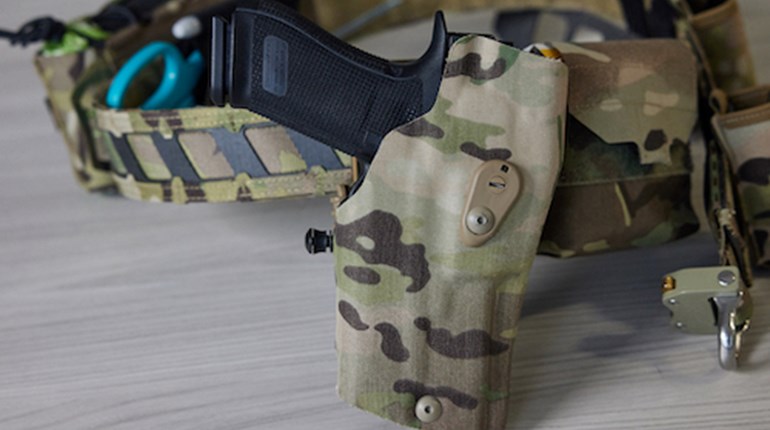
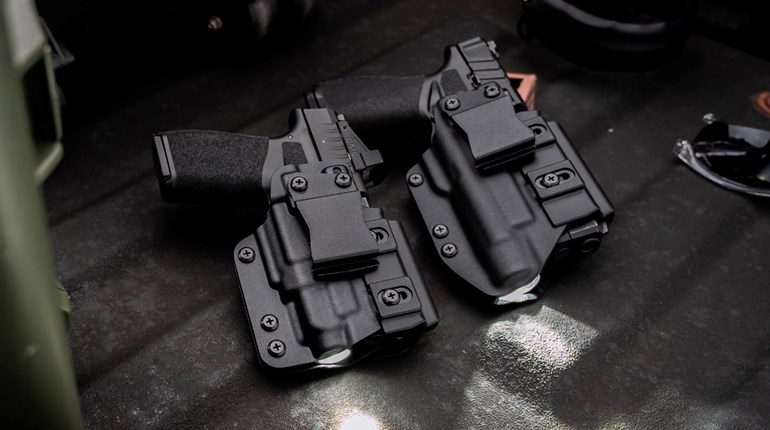
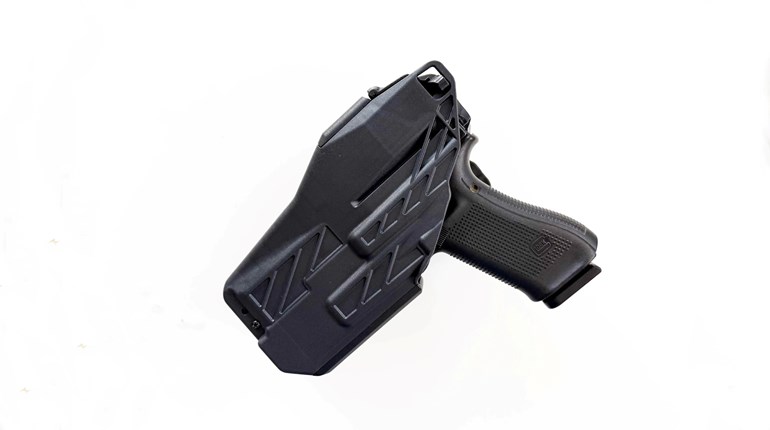
You will want a holster that has easily adjustable retention, and is sturdy enough to withstand a lot of moving around and high volume of training if you’re a serious competitor. You want a holster that secures the gun when you’re walking stages and around the range, but has minimal retention when you are waiting for the beep to start the stage. You will also want a holster design that doesn’t bind when drawing. Some holsters can snag a little bit if the gun isn’t perfect; that is not desirable if possible. Good technique solves that largely, but a little more room for error is always helpful.
Quick holster tip—put a little bit of oil on a rag and wipe the inside of the holster every so often. This will make the gun come out of the holster much faster and keep the inside clean.
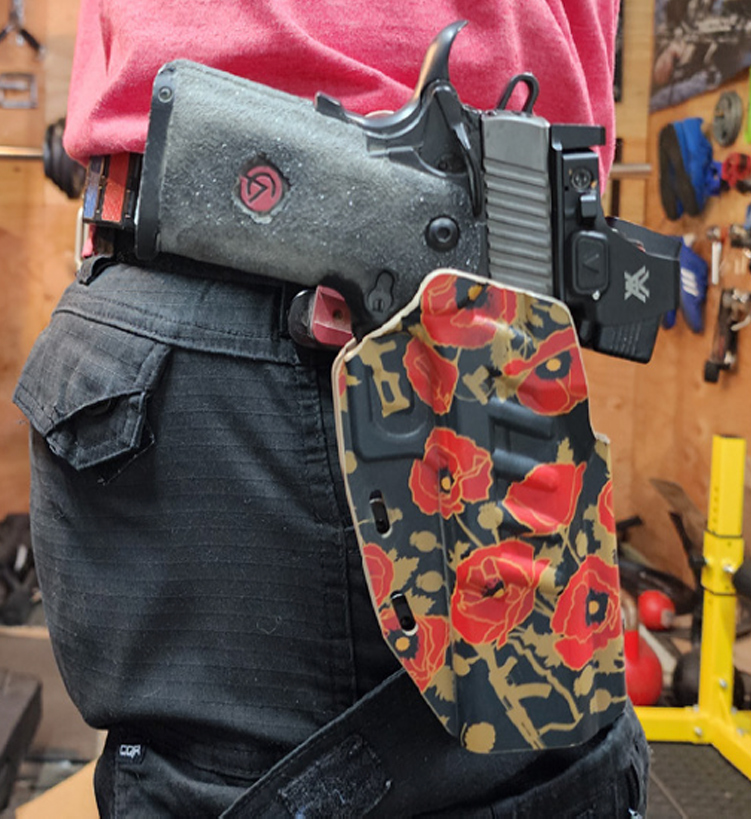
There are two types of holsters—closed Kydex and open race. Closed Kydex are for USPSA divisions like Production and Carry Optics (check division rules in the USPSA rulebook appendices for specifics), but can be used in all divisions if you want and the gun design allows. Open “race-style” holsters do not enclose the gun at all and are for divisions like Limited, Limited Optics or Open. They allow for an uninterrupted draw stroke as soon as the gun is released from the mechanism holding the trigger guard. In addition, there is a separate manual lock that keeps the gun in place during walkthroughs and while walking around the range.
My personal favorite so far is GX Products. The durability and quality of this brand of holster is top notch. The holster uses a paddle-style “vice” to adjust retention. Flipped up, the gun takes significant effort to get out of the holster and keeps it from moving around when walking around the range. When flipped down, there is almost zero retention at all, allowing for lightning-fast draws.
The product is popular, so expect a wait if you plan to purchase. I usually purchase a holster to get me by while I wait for this exceptional product, and then either keep as a backup or sell it when I receive my GX holster. My current recommendation for this alternative holster would be the TXC Holsters OVRT holster. It’s good enough to be a main holster if you choose it to be, but it is a solid choice while waiting for your GX holster.
The hangar is separate from the holster body itself, and it is what the holster body mounts to; the amount of adjustability depends on the brand and model. Most will allow for height and cant (rotation) of the firearm, while others have more adjustability. You want a hangar that has good adjustability, yet is very secure once you have the adjustments how you want them.
My personal favorites here are the Henning Group T series holster hangars. There are three choices for users to choose from depending on budget and needs. I’m currently using the T-1000 series, which is fully adjustable for height, cant, camber (muzzle into or away from body) and grip angle rotation (think back of grip closer or further away). I personally like the ease and durability of the adjustments, as they don’t easily get knocked loose and adjust with a 9/64-inch Allen wrench. If you pick up spare shuttle assemblies only, swapping out from one gun to another is as simple as two screws and 45 seconds of your time. (For Henning Group products, use the code "Rob10" for 10 percent off everything on the website.)
HOLSTER SETUP AND ADJUSTMENT
Getting the right position of the gun helps reduce the learning curve and also helps get a more consistent draw every time. When setting up, there are some things to consider to help make it easier.

1. With your belt on, but no holster/hangar setup, attempt to grab where you would want the gun to be. Use several different positions, like wrists below belt, wrists above shoulders and starting with hands on something. Take note of where your hand wants to be most of the time. If you have a marker, mark the location on the outer belt. This will be the starting position to mount your holster and hangar setup.
2. To adjust your holster position, you will make adjustments on the hangar assembly itself to get the right position of the gun grip.
Consider that the grip of the gun must be above the belt line, with the exception made for women shooters. Adjust the height so at a minimum it’s at this point.
For gun cant (rotation angle of muzzle), look at the profile of the backstrap of the grip. Adjust this angle so that it seems to ride flat on average. This will give you a flat grip that, no matter what gun you are shooting, will feel the same out of the holster. This may mean some guns are angled more and some less, but the grip feeling the same is what is most important.
Consider division rules when adjusting spacing of the grip of the gun from the inside of the inner belt. For certain USPSA divisions, it’s the width of an overlay (Production, Carry Optics), and others the length of an overlay (Limited, Limited Optics and Open).
Make the adjustments relatively snug so they can’t move easily, but loose enough that several draws might “fine tune” the holster position.
3. Do some draws with the gun in its initial position. Does it come out of the holster smoothly in every situation? Do you feel you have to move your body excessively to access the gun? Make small adjustments until you get this the way you want it to be.
4. When you’re satisfied with the position and how the draw feels, tighten all the screws and have fun with your new setup.
MAGAZINE POUCHES
Magazine pouches hold the magazines securely in place. You want a pouch that releases the magazine easily when accessed, but doesn’t release so easily that you have it bounce out of the pouch while running engaging in other aggressive movements (ask me how I know). There also is the consideration of bullet orientation, i.e., bullets out or perpendicular to the belt, and bullets forward or parallel to the belt line, which I will discuss later in this article. Another consideration would be the weight of the magazine pouch itself, especially in divisions with low capacity, as the weight on the belt adds up, especially during a long day on the range.
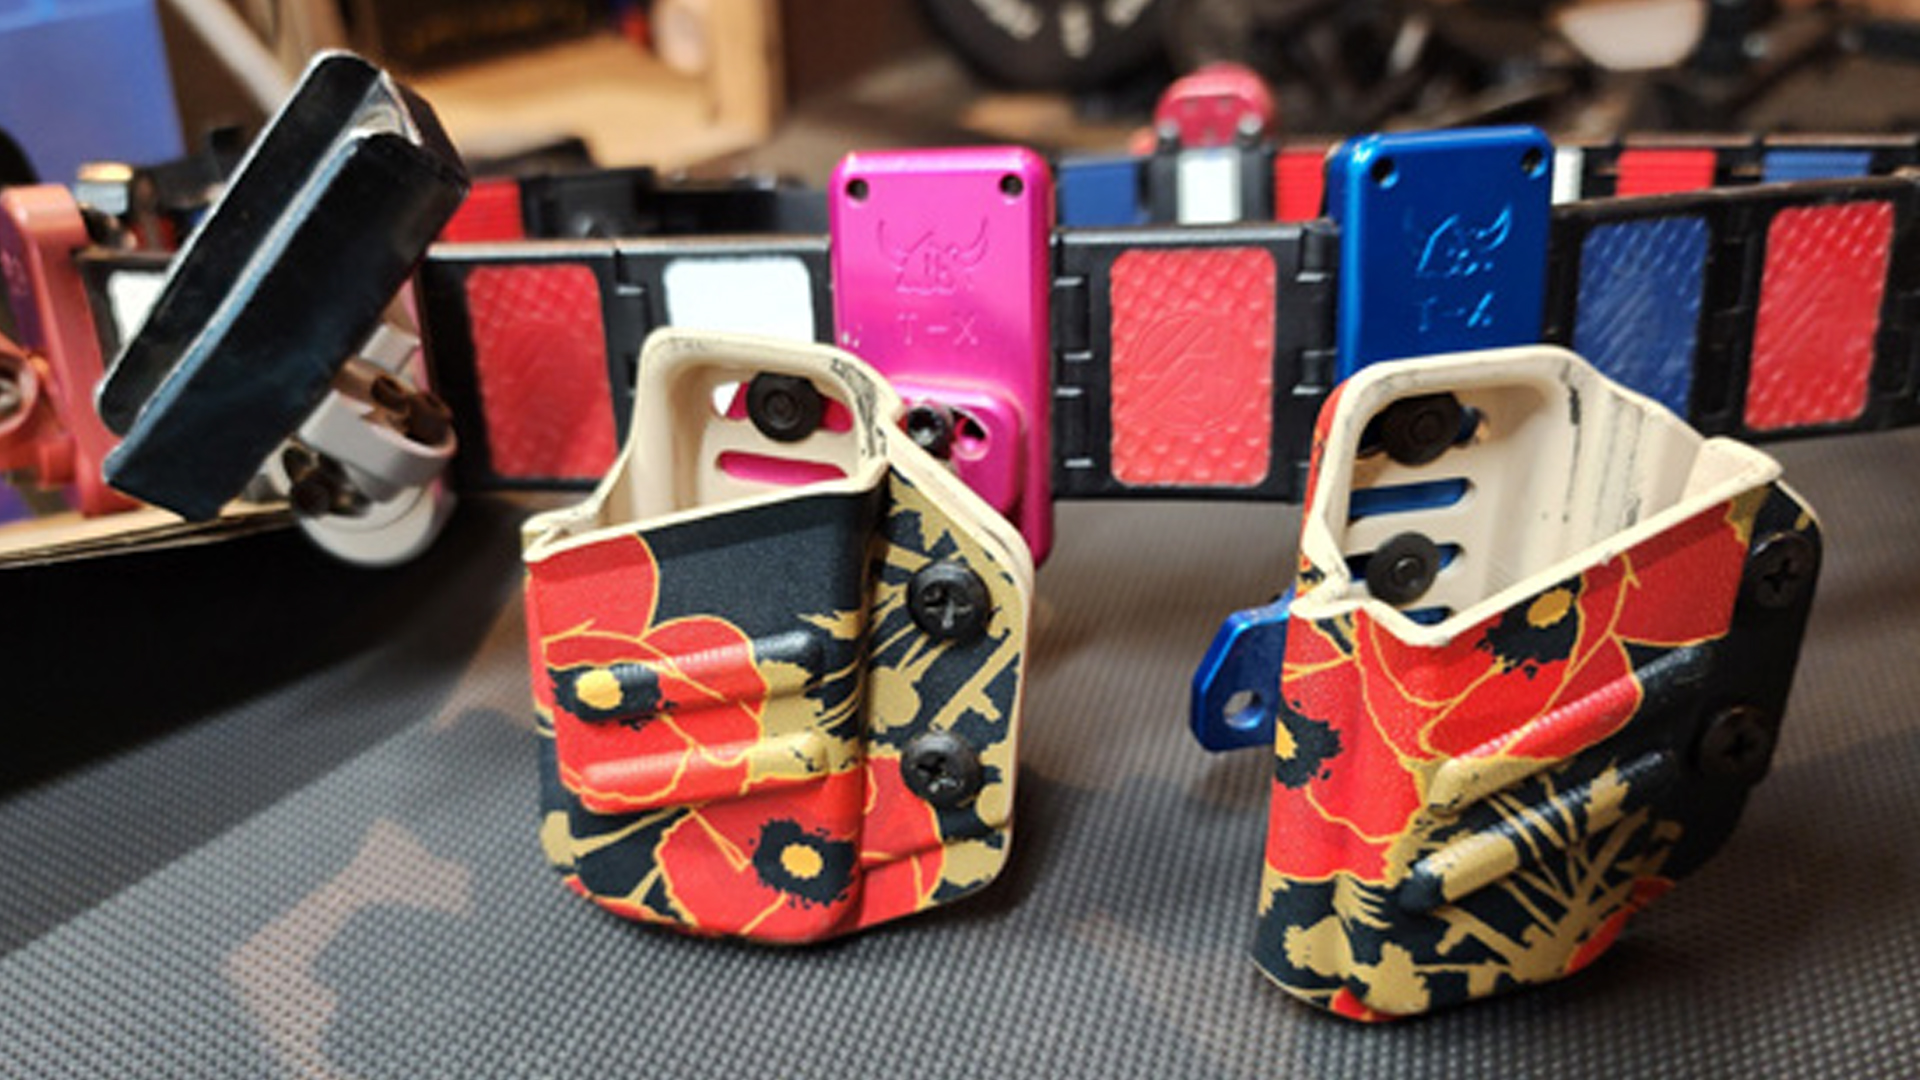
I’ve used several brands over the years, and currently have three recommendations. Guga Ribas was the original pouch I stuck with for a few years, and they were solid pouches. They are a receiver/ pouch configuration, where you can remove the pouches you aren’t using to save weight or to make packing for a flight easier. The pouch is adjustable through a ball joint that connects to the pouch. I had issues with older ball joint designs because of my level of “aggression” with reloads. I broke many of them. However, Guga Ribas has a lifetime warranty on their products and I certainly used it. Newer designs have held up well for me. The downside to these pouches, in my opinion, was the weight—they were very heavy.
Henning Group makes the pouches that I currently run. They are lightweight and high quality. They have the adjustability that I need and I use a magnet “pouch” to secure the magazines. The benefit to this design is that I can use several variations of magazines on one pouch. I run my 2011 mags and my Carry Optics mags on the same pouch. They are secure enough to not fall off during stages, but fast to access and release the mag. You don’t have to “pull” the magazine out of the pouch, you can just pop the back of it and it releases and comes right up. Great design work and very fast.
Lately, I have been using the TXC Holsters OVRT magazine pouches. They are a good minimalist design that allows for great retention without sacrificing the quality of the release of the magazine. They are also an excellent company to deal with and their customer service is top notch.
In my current setup, I use two of these pouches and run two TXC OVRT Kydex pouches as a more secure “backup” with Henning Group adapters for them. (Henning Group makes an adapter that mates up with Kydex pouches as well, and the Henning T-X holster hangar is really good for mag pouches that run bullets forward.) I haven’t had to use the Kydex pouches in a backup situation yet, but Murphy’s law is always waiting, and Henning Wallgren himself recommends this setup.
MAGAZINE POUCH SETUP
Just like setting up the holster, we want a natural feel to grabbing the magazine from the pouch. I don’t particularly worry too much about how close to center of my body the pouch is, as long as I am comfortable reaching for it. My first pouch sits just a bit forward of my hip bone for reference. The key is that you feel comfortable reloading from it, both standing and moving. Here are some other tips for success.
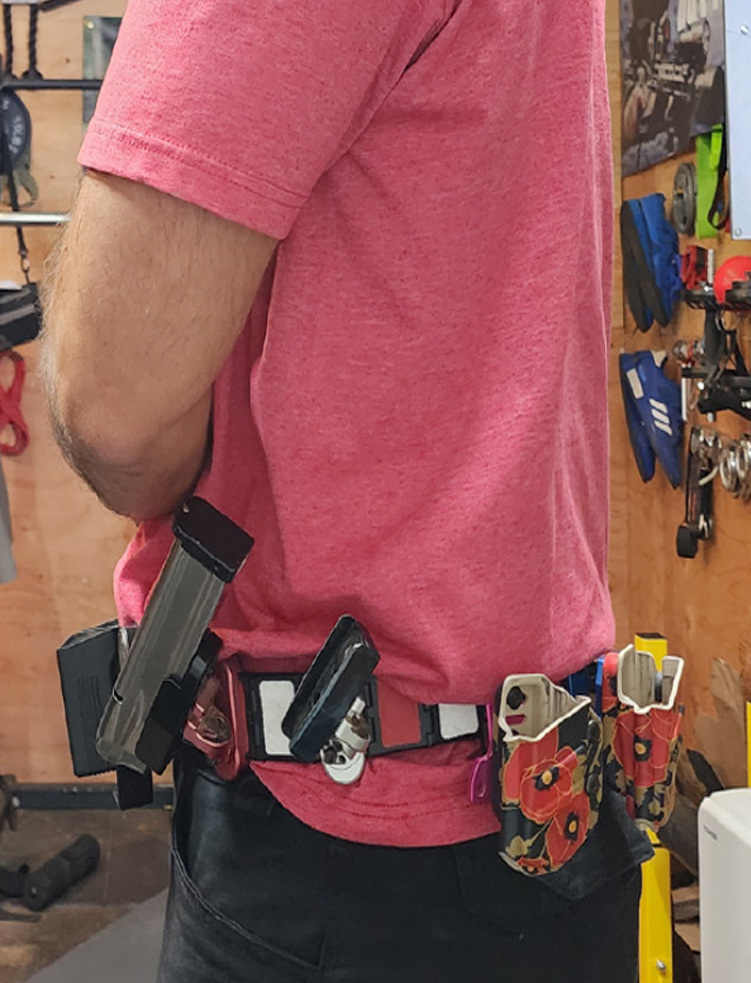
1. Just like with the holster, you can close your eyes and do a few air grabs of where you would like the magazine to be. This can be the setup for the first magazine pouch you would use.
2. Like the holster, set up everything pretty snugly, but not super tight. You want the pouch to be able to move around a little bit from doing a few magazine grabs. This will allow your pouch to adapt to the motion path that you take in grabbing the magazine.
3. Do a few magazine grabs, making sure it feels right and allowing it to adjust slightly. Make more adjustments if it feels totally off and try again. Fine tuning this will help a lot.
4. Pouches more toward the front and center of your body can have a steeper angle. The back of the magazine will cant rearward. This allows for a more natural wrist angle when grabbing the magazine, and your shoulder doesn’t have to move in order to do it. As you go further back, the angle will become more straight up and down.
5. Leave yourself enough room mag to mag that you don’t bump magazines from other pouches. You need to be able to access each magazine unobstructed for the best reloads. Also, hitting your hand on something when moving fast hurts.
BULLETS OUT VERSUS BULLETS FORWARD
This is a common question I get. I ran for a few years with bullets out pouches. I initially started with bullets forward and then switched for a while. Initially, I liked the fact that I could grab each magazine individually. Also, when running the bullets out configuration you don’t have to adjust your wrist angle, as the magazine comes up to the gun. This can result in a more ergonomic reload.
More recently, I’ve gone back to the bullets forward style after speaking with Henning about how to set up his pouches. The idea he gave was that it’s easier to pop the magazines off the pouch this way for a quicker reload. I’ve been running it that way for more than a year now, and I don’t intend to switch back. I still do use bullets out orientation on my magnet for unloaded starts though, for the wrist angle reason stated earlier. The main takeaway here is that you don’t get caught up in one way or the other. They both work, and are plenty fast. Try them both if you’d like and choose the one that feels better for you. The more important thing is to make sure you train with your gear regularly. Nothing will work well if you don’t make the time to practice frequently.
MAGNET FOR UNLOADED STARTS AND STOWING MAGAZINES
This might be considered optional to some, but if you want the most efficient way to have an unloaded start and stow magazines, this is a necessity. Having a spare magnet only is useful for both circumstances. For unloaded starts, you don’t have to use a magazine pouch already in use (ever went for pouch one only to find there’s nothing there? I have.), so it’s quite convenient. For magazines on barrel or table starts, it helps you grab an extra magazine versus wasting time stowing into pouches.
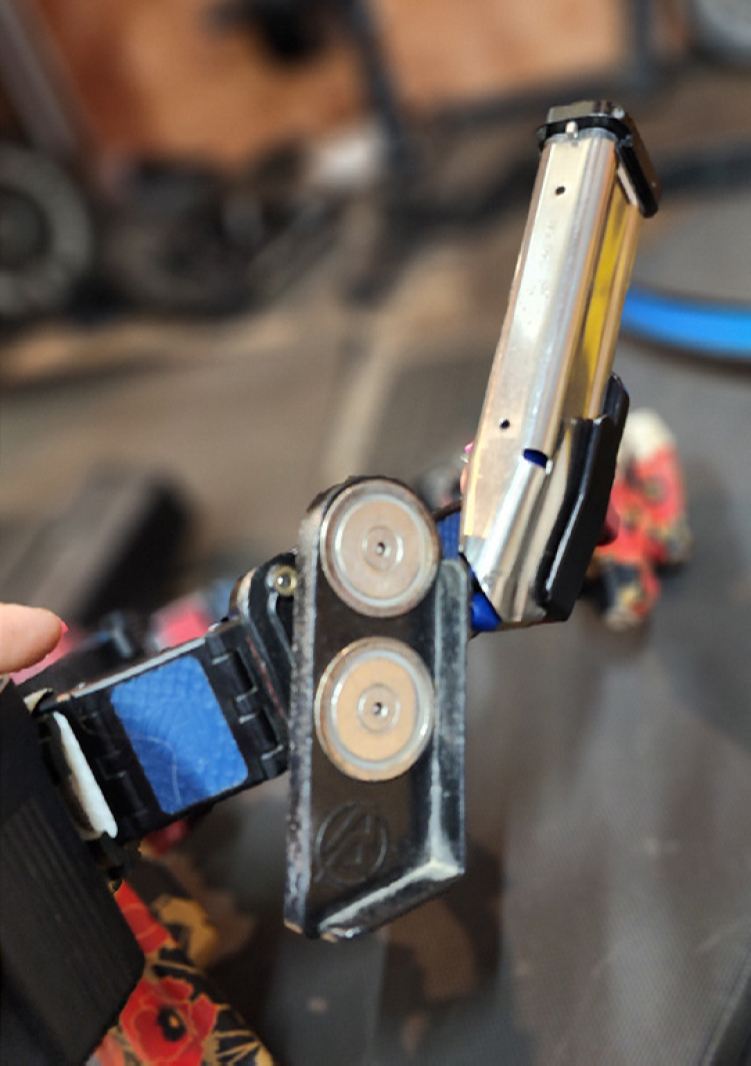
There are a variety of options out there for this purpose, but I wouldn’t get too caught up in this. Pick something that makes sense to you and fits your budget. I personally use a Double Alpha double magnet just because it was the least expensive option at the time, and it has worked out just fine for me.
With a stowing or loading mag, I like to keep it just inside my first pouch in terms of location. It allows me to grab and stow as needed, without being so different that it affects the quality of loading the gun or stowing a mag. Also, doing a reload off it doesn’t feel unfamiliar. As is with everything else, practice makes the biggest difference with this.
With these tips, you should be on your way to making better gear choices and having the tips to set them up in the most efficient way possible. Now it’s all about making the consistent effort to practice with your setup so that you can progress your skills and the results in your matches.
If you have questions, you can always reach out to me via email at [email protected].
Article from the November/December 2024 issue of USPSA’s magazine.

