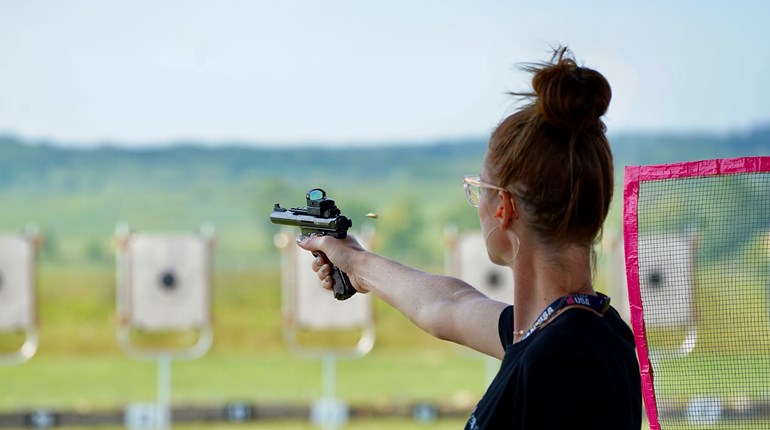
Compact reflex sights are becoming increasingly popular in action shooting competition, and the Trijicon RMR (Ruggedized Miniature Reflex) sight has proven to be a sturdy and reliable unit. It’s one of the most popular sights used in USPSA Carry Optics division―and it’s not hard to see why. The original RMR LED model on my S&W C.O.R.E. Carry Optics gun has run close to 6,500 rounds without issue. Considering the violent G-forces associated with a ‘slide ride’ that tells me they’re built pretty tough.
Now, Trijicon has introduced the RMR2, which they claim is built even tougher due to a new electronics package. It’s constructed from 7075-T6 aluminum alloy and weighs in at 1.2-ounces. It has the same dimensions as the original RMR and will fit all existing RMR mounting systems. The RMR2 is available in the three basic RMR model configurations, but the one that intrigued me was the Adjustable Model ($699). It's available with a red dot size of 1.0, 3.25, or 6.5 MOA. I chose the latter size for testing, since that is the dot size on the RMR LED on my C.O.R.E, and the most useful for many action competitors.
I didn’t need to see how reliable the RMR was. I already knew that. What I wanted to see was how the adjustable brightness feature that is not available on my RMR LED worked for various competitive uses. I ordered one with the Picatinny Rail to allow for mounting the optic on multiple guns. The first thing was to get it properly installed on the Picatinny mount.

The RMR uses a single CR2032 lithium battery that mounts in the sight bottom in the same manner is other ‘Doktor-type’ designs. The drawback to this system is that the battery can sometimes bounce and lose contact. The dot then turns off until you rack the slide and reset the battery. This has provided great fodder for internet trolls to trash Trijicon for producing a defective design. There is, however, a simple fix for this―just read the instruction booklet that came with the sight!
Trijicon is aware of this design issue and provides a flat metal ‘sealing plate’ that fits between the base of the unit and the mounting location. It locks the battery into position. Problem solved! [Editor’s note: Chris goes over this fix in more detail in his review of the original RMR.]
The Adjustable model RMR2 sight has only two operating controls―a ‘plus’ button on the left side and a ‘minus’ button on the right. The buttons are ‘firm’ and require positive movement by the shooter to engage them. They won’t be accidentally moved via normal handling.
Unlike my LED model, the sight can be turned on or off to conserve battery power, and dot brightness can be adjusted to existing light conditions.

To turn the sight on press either of the two buttons. To change the brightness level depress the plus or minus button. There are eight brightness settings with one being the dimmest and eight being maximum power. If a shooter adjusts brightness but then wants to go back to the auto adjust setting, just depress both buttons simultaneously for less than a second. To turn the sight off, depress and hold both buttons for about four seconds. The shooter has total control.
The lower three power settings (1-3) are of little value to competitive shooters. They are there for tactical NV gear use. The upper five (4-8) can be very handy. They allow shooters to set the brightness of the 6.5 MOA dot to match the existing light conditions and their shooting style, instead of the shooter having to adjust their shooting style to the automatic dot size.
When the sight is first turned on it defaults to the ambient light automatic mode. That will work for many shooters under many conditions. But there are times, and lighting conditions, when it may not be the best option.
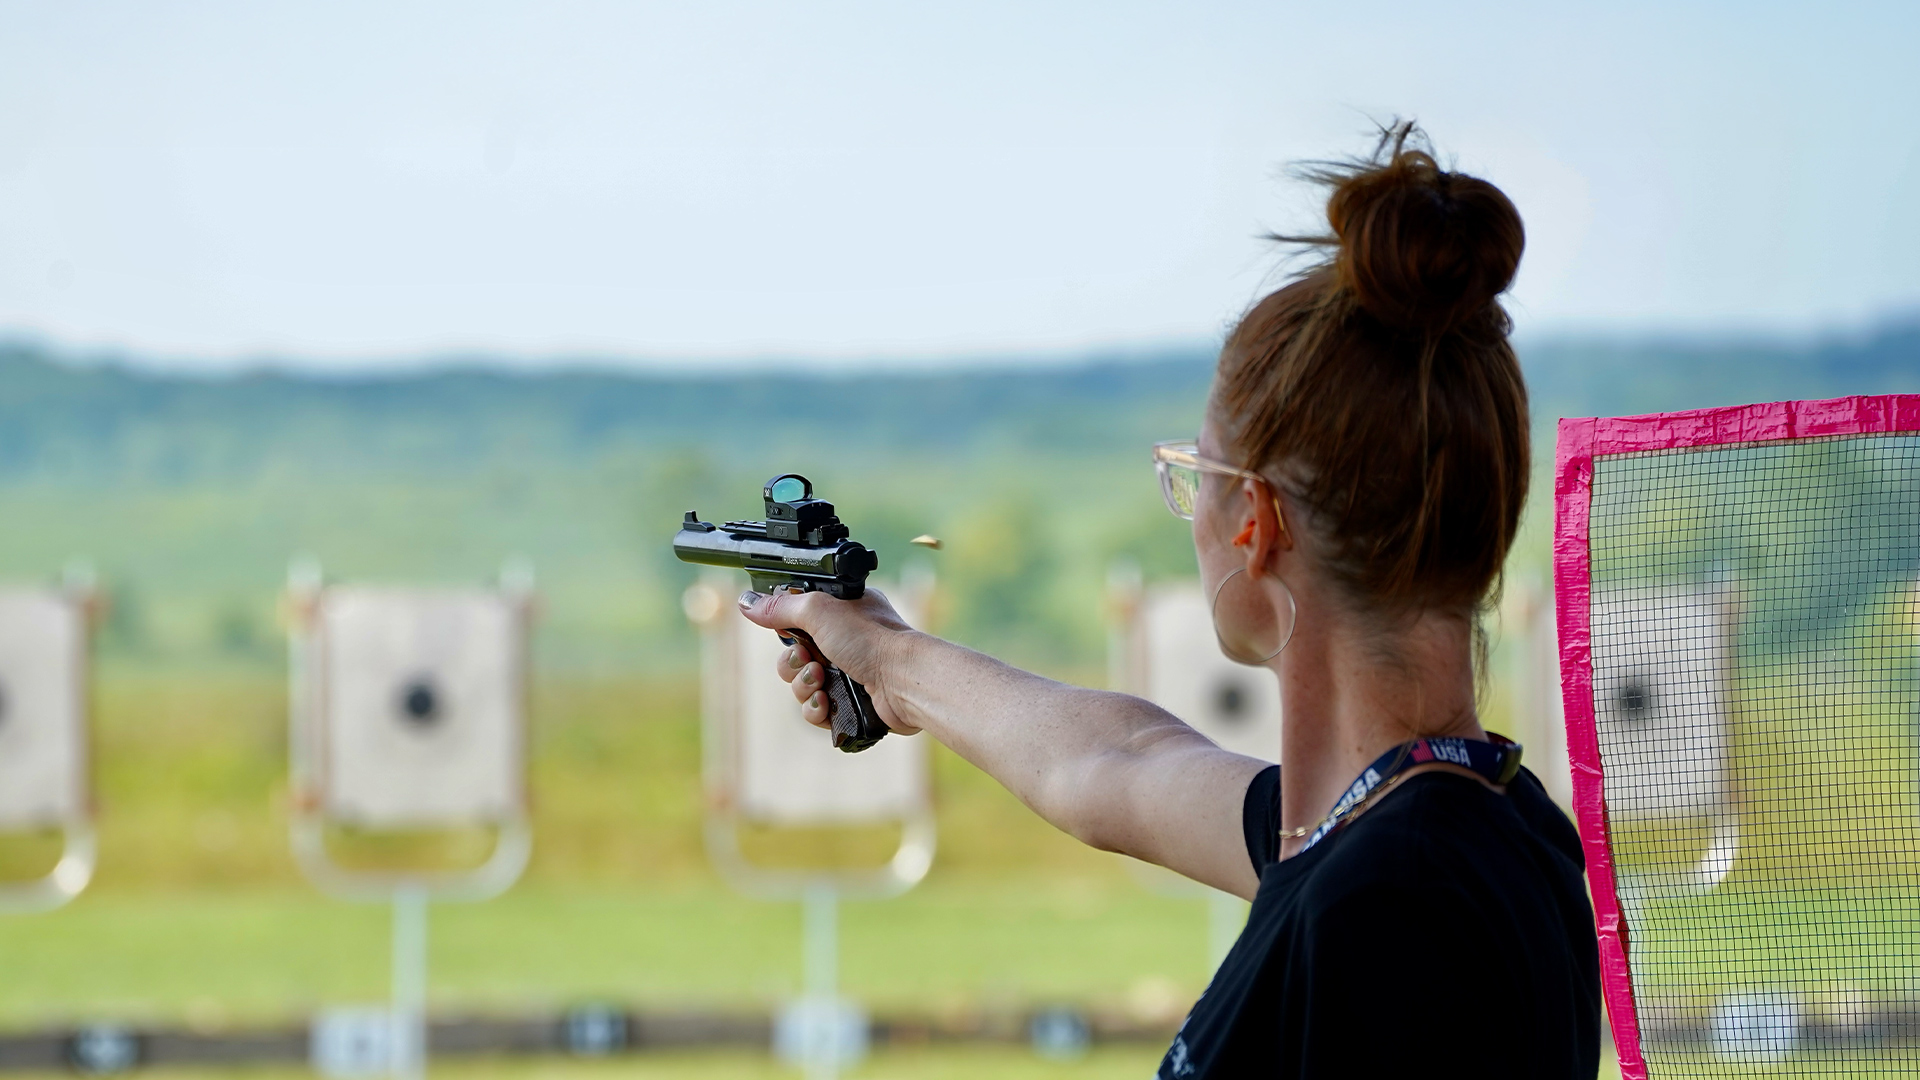
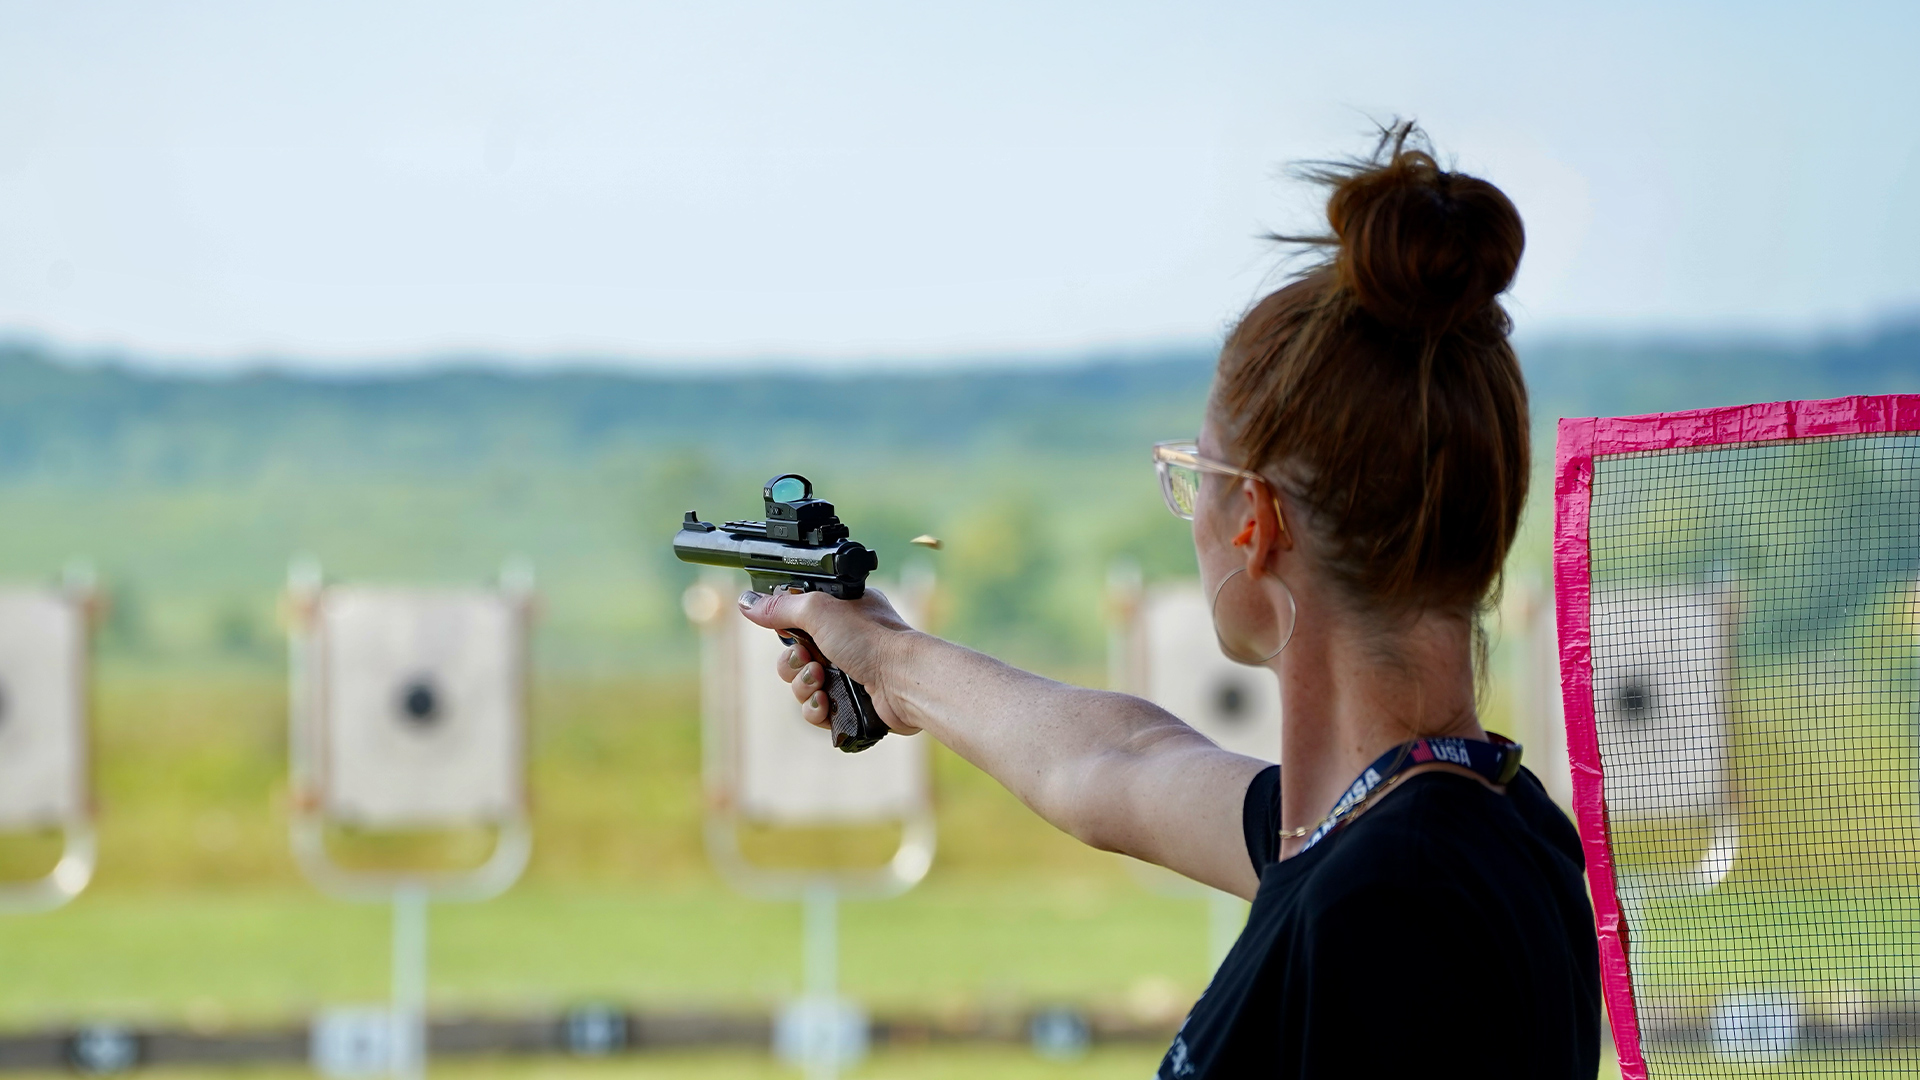
Initially, I put the sight on my Ruger Mark IV .22 pistol. Zeroing the gun was quick and simple. The RMR uses positive and repeatable 1 MOA audible click adjustments and I didn’t need a special screwdriver to do it. A dime worked well given the generous slot on the screws. It took less than 10 rounds to achieve a perfect 25-yard zero.
I then headed to a Steel Challenge match. The first stage was on a bay facing right into the morning sun. The auto adjust feature wasn't bright enough to burn through the back lighting and give me the dot brightness I wanted, but setting it to eight was perfect. Two stages later, another bay had side lighting. The number eight dot was causing ‘bloom.’ Dropping the power to number seven worked well.

A week later I had the same Mark IV at a dimly-lit indoor range for an informal short course (15 yard) bullseye match. Setting the sight to the five power level gave me the precise and compact dot I needed for that match under those light conditions.
I then shifted the sight to my Ruger 10/22 Take Down Lite. The Picatinny rail mount made that easy, and zeroing was fast. I took it to another Steel Challenge match and found that I wanted one power level down from what I had used on the pistol under the same general light conditions. I suspect that was because the sight was now about 20 inches closer to my eyes than it was on the pistol. But the adjustable brightness feature made it easy for me to find what worked best for me at that time, place and ambient light.
With the Picatinny rail mount I could easily see the RMR Type 2 being a very effective competition sight on a rimfire pistol or rifle, or an Open Class gun, or a Pistol Caliber Carbine gun. Or, it can be mounted on any ‘slide ride’ that takes the RMR mount system.
It's rugged enough for all. And the ability to adjust the dot brightness makes it a very versatile tool.

