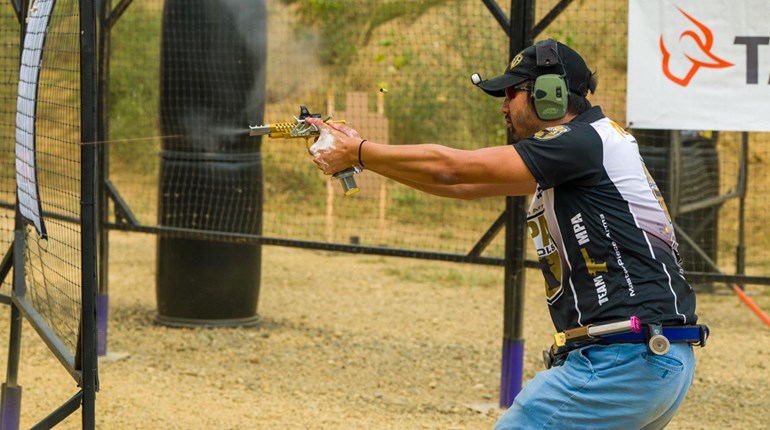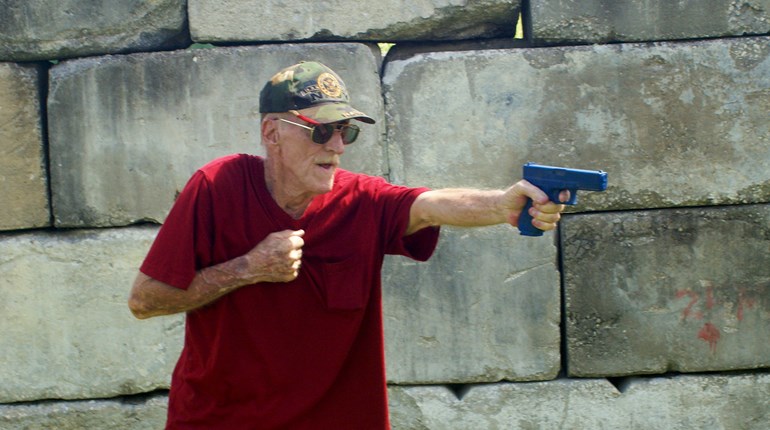
Shooting is often described as fast or slow. Shooters commonly think “that’s an easy target to shoot fast” or “that’s a target I need to shoot slow and carefully.” The problem with this is it’s not specific and means something different to almost everyone. If you really tried to pinpoint what the thought process was for how you engage a target, you probably couldn’t come up with an answer. An easier way for determining how to engage targets is by splitting them into two groups; predictive shooting and reactive shooting.
REACTIVE SHOOTING
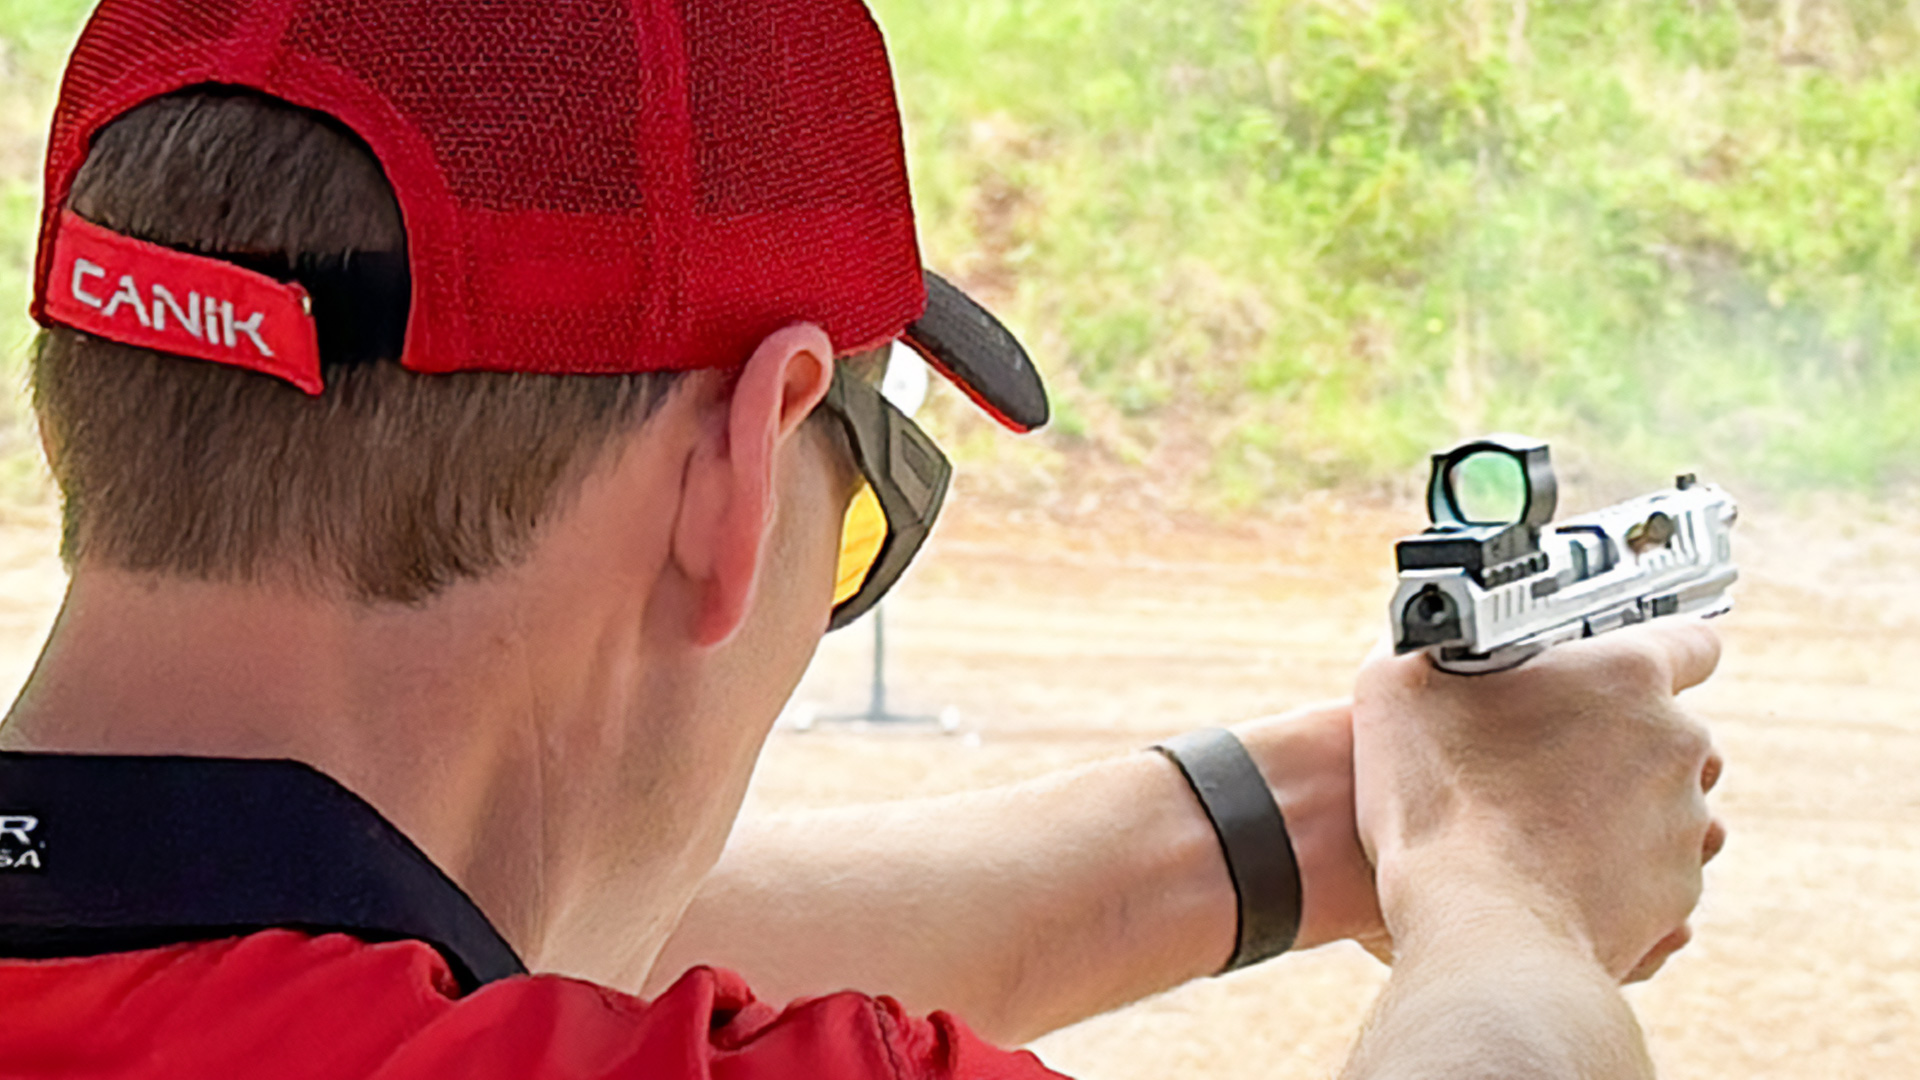
Reactive shooting is reacting to the sights before you fire each shot. An example would be shooting a tight, partial target at a long distance. The process for doing this is: you see the sight alignment you like before you press the trigger for the first shot, the gun recoils, and you confirm the sight alignment a second time before firing the second shot. For a dot, it will likely be seeing your dot stopped and stable without it looking like a streak. For iron sights, it means seeing your front sight in between the rear notch.
This method of shooting is slower but allows for great accuracy and is required for more difficult targets. As with fast and slow shooting, determining difficult or easy targets means something different to each person. Using your training and experience will tell you if this level of accuracy is required. A drill called Practical Accuracy highlights reactive shooting.

The Practical Accuracy drill procedure is to draw and shoot six shots into a single target, while reacting to each sight picture before pressing the trigger. Regardless of skill level, the speed requirement is the same for everyone. You only shoot when the sights return to the spot you’re looking at, without sitting on the sight picture after the sights return. You should focus on a spot the size of a coin on your target and fire the gun as soon as you see the sights return and stop. The goal is to shoot the gun as straight as you possibly can, while shooting at a practical pace that you would use in a match. You can shoot the drill at any distance, and it’s a great way to work on your grip.
Make sure you are in control of the pace of your shooting. You want to develop the ability to shoot reacting to a sight picture for each individual shot. This means followup shots should be in the range of 0.3 to 0.6 seconds between shots. If follow up-shots get to be much faster than 0.3 seconds, it is likely you did not see the sight return and consciously made a choice to fire; instead, you are shooting to a rhythm. If your follow-up shots start to get longer than 0.6 seconds, it is more than likely you are overconfirming your sight picture. When the sights come back, you need to shoot. Sitting on that sight picture will not help you.

Keep looking at a particular coin size spot on the target while you are shooting. Just staring at that spot is going to make you more accurate and likely to hit near that small spot. Be mindful of where your vision is focused; if you start to focus on your front sight or dot, your shots will tend to climb up higher on the target because you will not be returning the sight back down onto the aim point. If your vision stays on the aim point, your sight will tend to come back to that point.
PREDICTIVE SHOOTING
The second method I use is called predictive shooting. You will use this type of shooting on something like a five-yard open target. You would only need to aim once when you decide to fire; you can just pull the trigger twice fast without getting a second sight picture on the second shot, and you should have A zone hits. With training and experience, you can predict where the second shot is likely to go at different distances.

My favorite drill to work on predictive shooting is the Doubles drill. The procedure for the drill is shooting four pairs of two shots (doubles) into a single target. You can learn a lot about your grip and what you’re capable of by experimenting with the pressure you use on your grip and seeing the results you get at different distances.
As your control grows, you can adjust the distance to the target and adjust your pace. This will give you a good idea of what sort of expectations are realistic in a match setting. As the range increases, you will need to accept some points being dropped.
It is important to think of both exercises as grip exercises first and foremost. If you are gripping the gun correctly and consistently, you are going to get solid results. Pay attention to the feel of your hands as you are shooting. When you feel an errant shot happen because you pushed the gun sideways or some similar mistake, you will generally stop making that mistake so frequently. It is counterintuitive, but important, to focus on your hands and not worry so much about the way the sight picture looks.

The goal is for your group to open concentrically as you increase the distance to the target. Flyers can and will still happen. Be looking at where the majority of the hits are going and look for any patterns or trends. Compare any patterns you see to how your hands feel as you are breaking the shot. Connecting the dots, from a feeling you have to where the shots hit, will help towards eliminating marksmanship errors.
With some training, you will be able to look at a target and tell if it should be engaged predictably or reactively, and where your shots are likely to hit. That knowledge is invaluable while making decisions as you work on your stage plan. I shoot Practical Accuracy and the Doubles drills for roughly half of the ammunition that I fire. I’ve found there is much to learn at any level and, no matter how skilled I feel I am, there is always room for improvement for how straight I can shoot.
Article from the May/June 2023 issue of USPSA’s magazine.


