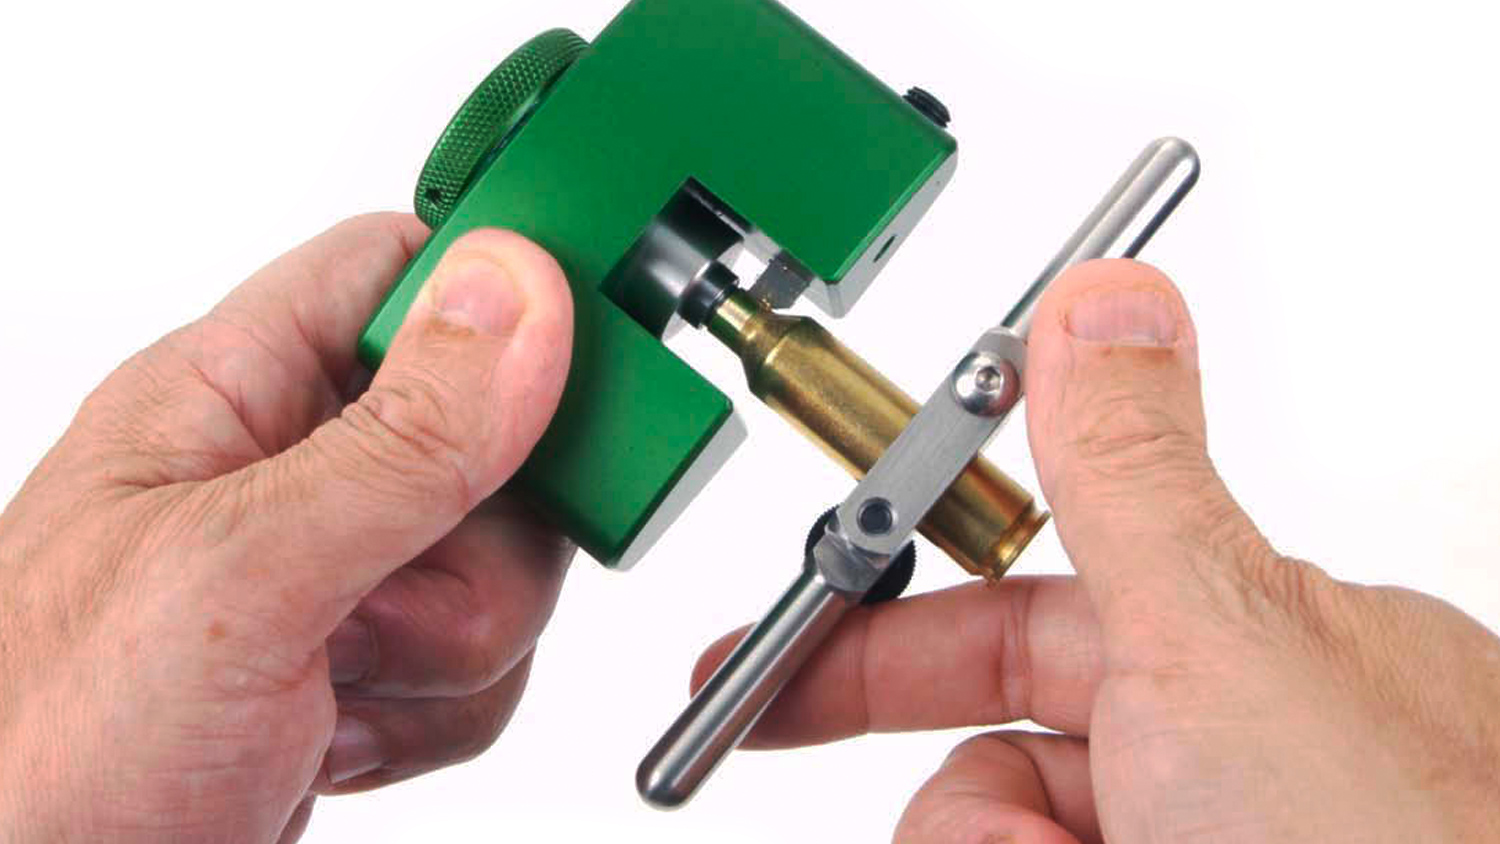
Above: Neck turning with this Sinclair tool improves uniformity of bullet pull.
Upon firing a high-pressure rifle cartridge, the case is slammed forward and rearward, expanding against the chamber walls and battered by all manner of shock waves and vibrations coursing through the barrel, action and stock. The best accuracy is achieved by making the forces acting upon the rifle and bullet more uniform, and by minimizing shot-to-shot variations in bullet velocity. Here’s how to do it.
When a modern high-intensity rifle cartridge is fired, all manner of shock waves and vibrations course through the barrel, action and stock. Best accuracy is achieved by reducing the randomness of these vibrations, and by minimizing shot-to-shot variations in bullet velocity. To achieve this, most competition rifle shooters rely upon carefully reloaded ammunition.
The initial phase of precision reloading is case preparation—a set of operations designed to produce cases that are as uniform as possible in every respect. The following describes the case preparation process employed for absolute maximum accuracy. These procedures can be performed on new cases and/or fired cases that have been cleaned (tumbled and with necks brushed out).
Sizing
When a cartridge is fired, the brass case expands against the chamber walls, and then, when chamber pressure drops, springs back—but only partially. Thus, each fired case must be re-sized in a sizing die to restore it to its original dimensions.
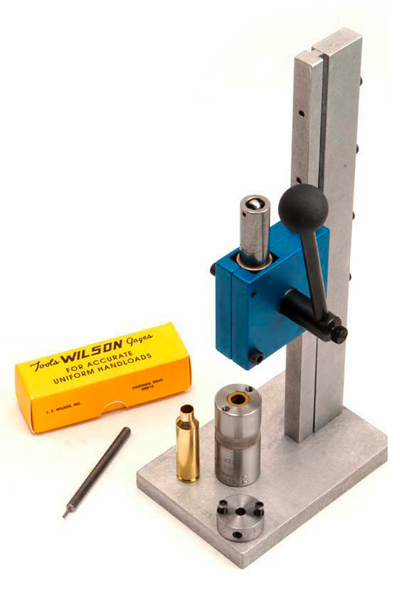
Magazine-fed rifle brass is commonly full-length resized with dies that reduce the neck and body diameter and push the shoulder back. Such dies also incorporate a decapping pin that removes the spent primer, and an expander ball that opens the neck to a size slightly smaller than bullet diameter. Small-base dies reduce the case body diameter even more, particularly in the head area (promoting feeding in semi-autos), while bump dies slightly move the shoulder back without reducing case diameter.
New cases should be run through a full-length sizing die before loading, to reduce body irregularities and to have the expander ball iron out dinged case necks. Cases used in single-shot (and some magazine-fed) bolt-action rifles are often only neck sized. Neck sizing dies reduce neck diameter only, leaving the case body unsized for closer alignment of the case and chamber, potentially enhancing accuracy. Neck-sizing bushing dies that use interchangeable bushings are also popular, available in 0.0005-inch or 0.001-inch increments, to precisely size the neck for more control over bullet pull (the force needed to move the bullet through the neck).
Standard and/or bushing-style match-grade sizing dies for 7⁄8-14 threaded presses are made by all the major manufacturers. Alternatively, neck-sizing can be accomplished with the highly precise L. E. Wilson bushing dies, used with a small arbor press.
Lubrication is required with some types of bushings when cases are to be full-length sized or neck sized.
Measuring neck wall uniformity
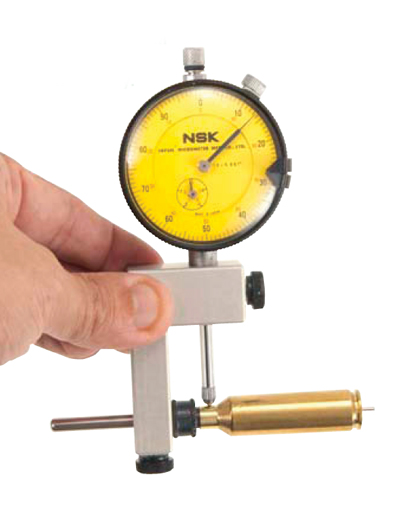
Uniform neck wall thickness is important for both a consistent bullet pull, and for ensuring that the neck’s inside diameter is concentric to the chamber and bore. Additionally, neck wall variations normally reflect variances in case body thickness, which can produce asymmetrical case stretching upon firing. Neck wall thickness can be gauged using a conventional ball micrometer, case neck micrometers from Sinclair and K&M, or special neck gauging tools from Sinclair and others. With all these, the case neck is slid over a mandrel and readings made using a micrometer or dial indicator as the case is rotated.
Ideally, for match use, case necks should have no more than 0.0015-inch of runout. Neck wall thickness across any batch of cases should also be uniform within 0.001- to 0.0015-inches. For accurate readings with these tools, new cases must have their mouths deburred and their necks expanded with the sizing die’s expander ball to give perfectly round necks that properly fit the tool’s mandrel.
Neck turning
Neck turning involves shaving a minute amount of brass from the outside of the case neck to produce uniform neck wall thickness. Neck turning is also required for custom “tight neck” chambers designed for minimal case neck clearance. By allowing close bullet alignment with the bore axis, such chambers promote straight bullet entry into the rifling, increasing accuracy. In general, case necks in tight-neck chambers should have about 0.002-inch total clearance (e.g., if the neck portion of the chamber measures 0.313-inch, the outside diameter of a case neck, with bullet seated, should be 0.311-inch). Some bench resters turn their necks to within 0.001-inch total clearance—0.0005-inch per side—about the minimum that allows the neck to expand and release the bullet.
Neck turning tools have a mandrel that fits inside the neck and an adjustable cutter that removes material when the case is turned. Perhaps the best such tool is the Sinclair Premium Neck Turning Tool (lead photo), which features an ergonomic body and click adjustments in cutter depth of 0.0002- to 0.00025-inch per click, allowing precise control over neck thickness. Neck-turned cases should be neck sized with bushing dies to adjust neck tension for proper bullet pull.
Flash hole deburring
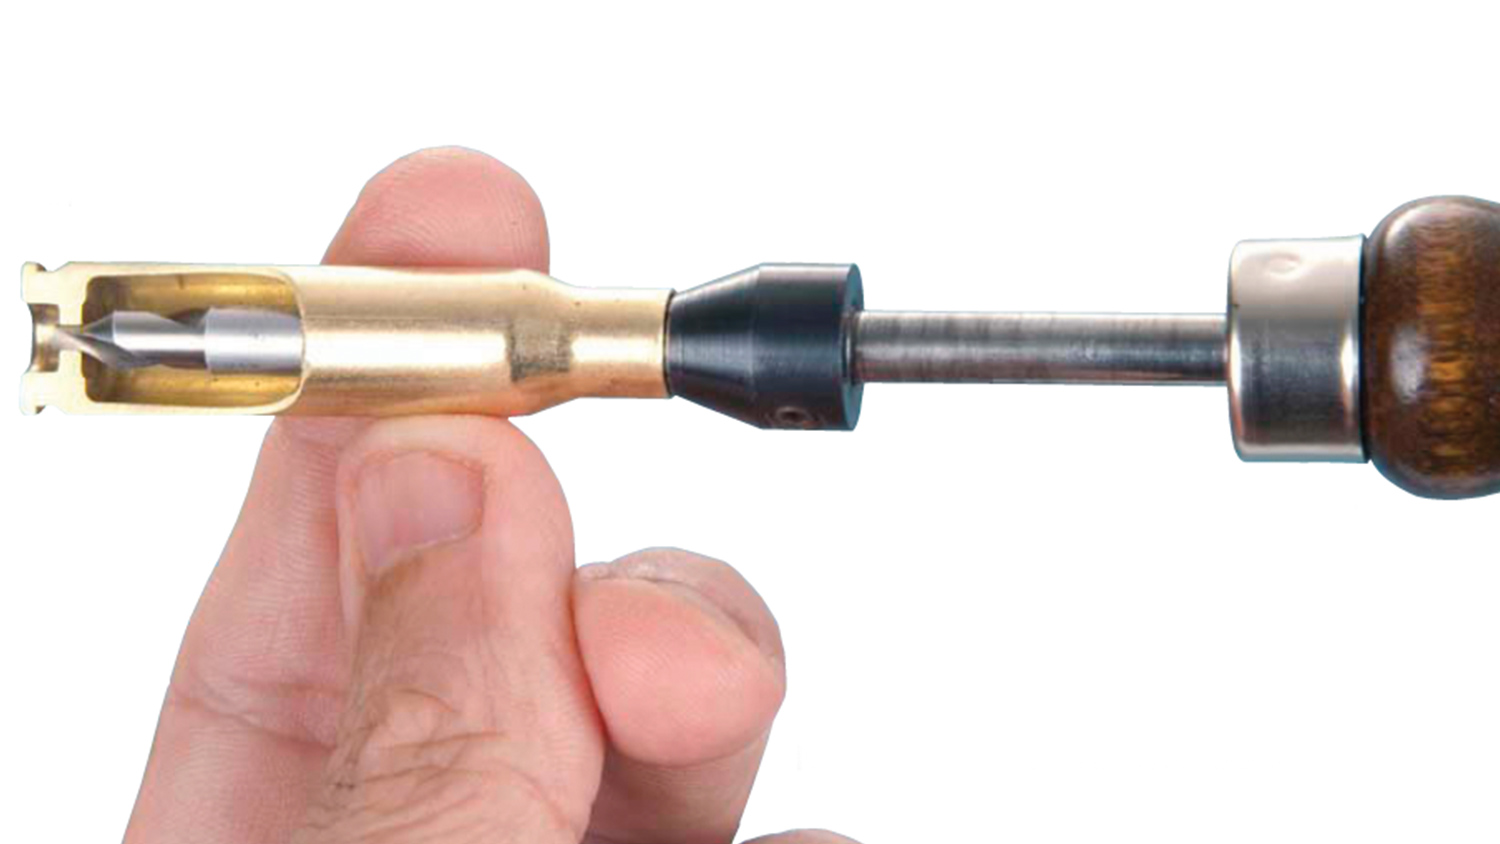
Burrs around flash holes can interfere with the primer spark transmitted through the hole. Removing these burrs is done with a flash hole deburrer, essentially a small cutter having an indexing pin that fits in the flash hole. Flash hole deburrers range from simple hand tools to models that cut to a consistent pre-set depth. Flash hole deburring needs to be done only once.
Primer pocket uniforming, reaming and cleaning
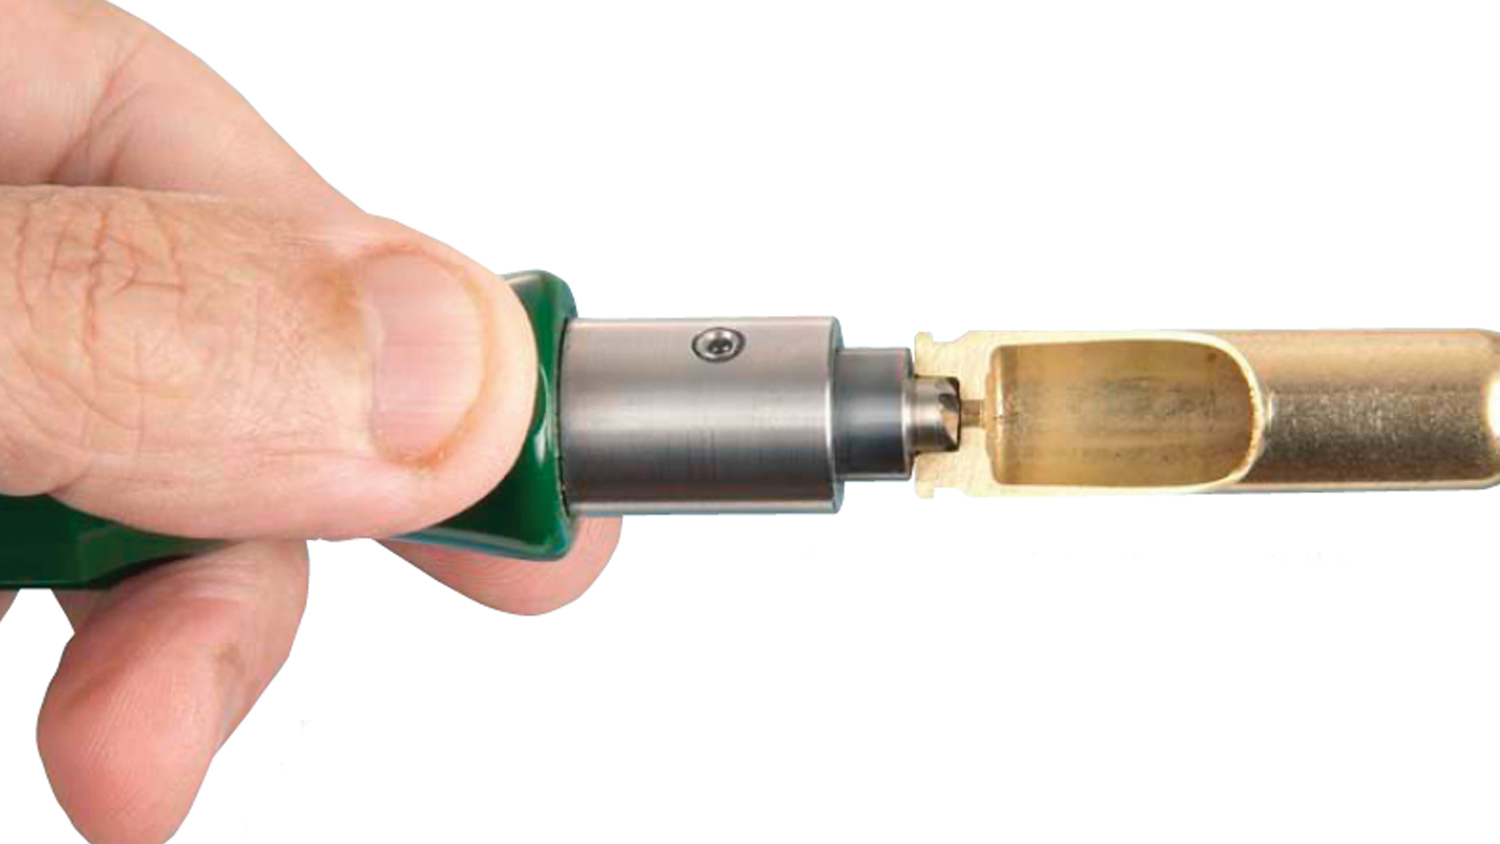
For consistent primer ignition, many reloaders recut the primer pockets square to the case head and to a uniform depth. This requires a primer pocket uniformer, a hardened steel or carbide cutter attached to a handle or to an adapter for a cordless screwdriver. Some experts recommend uniforming primer pockets each time cases are reloaded. Removing the crimp around the primer of military cases is necessary before new primers can be seated, and is accomplished using tools that swage or ream the primer pocket. All primer pockets—uniformed or not, should be cleaned after depriming (removal of the fired primer). This can be done with a small metal scraper or wire brush.
Case length measuring and trimming
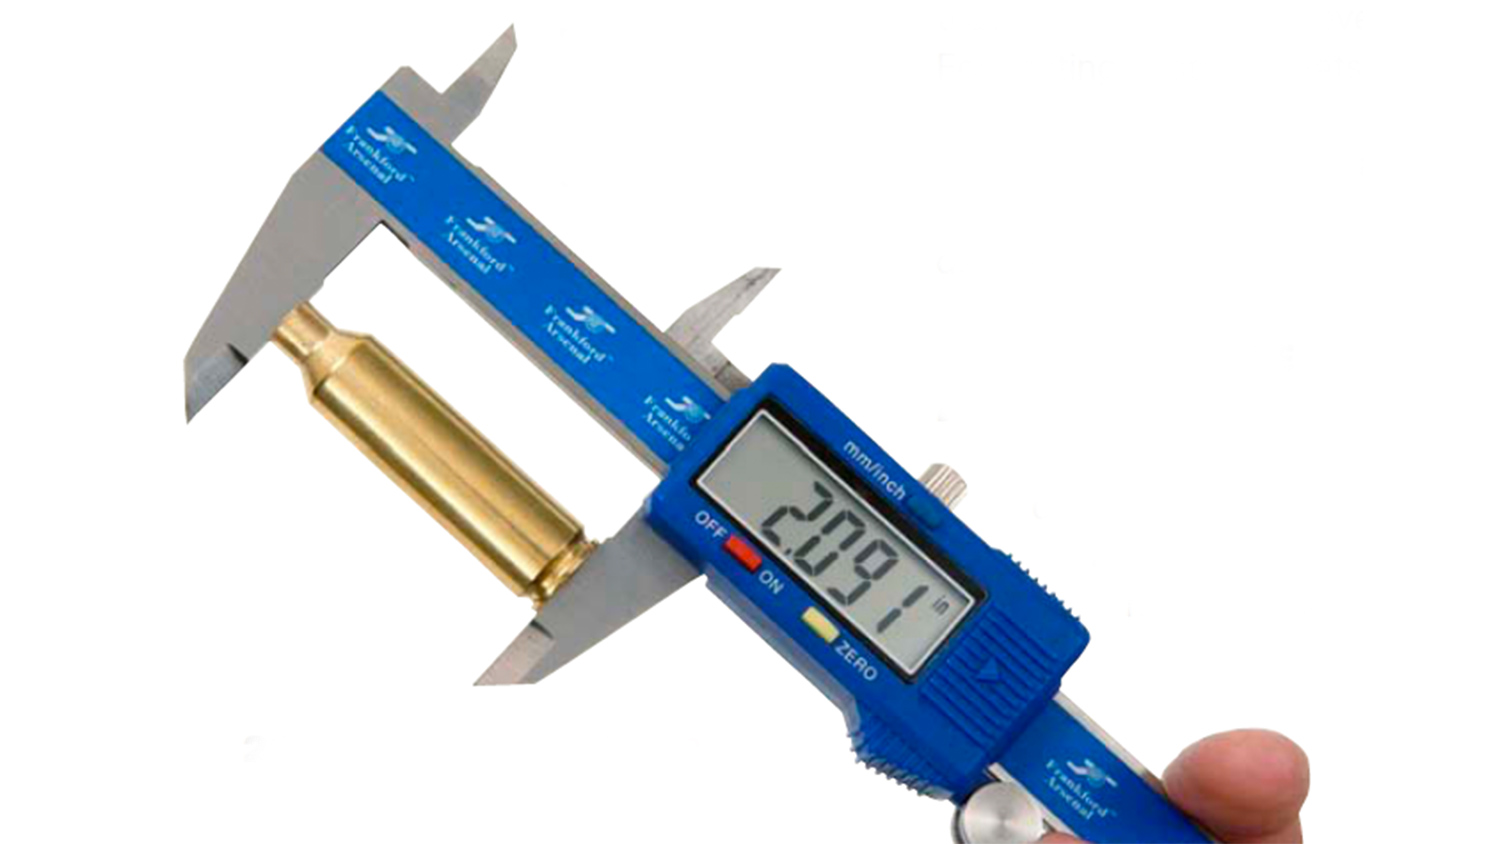
Overly-long cases can become jammed into the case mouth shoulder in the chamber. This prevents the case neck expansion necessary to properly release the bullet, and increases chamber pressure. All cases should be measured for length each time they are reloaded. Those longer than the “trim to” length in reloading manuals—usually 0.010-inch less than nominal case length, should be shortened using a case trimmer. Most trimmers consist of a mandrel that fits inside the case mouth, and a cutter that trims the neck when the case or cutter is rotated.
Case mouth deburring and chamfering
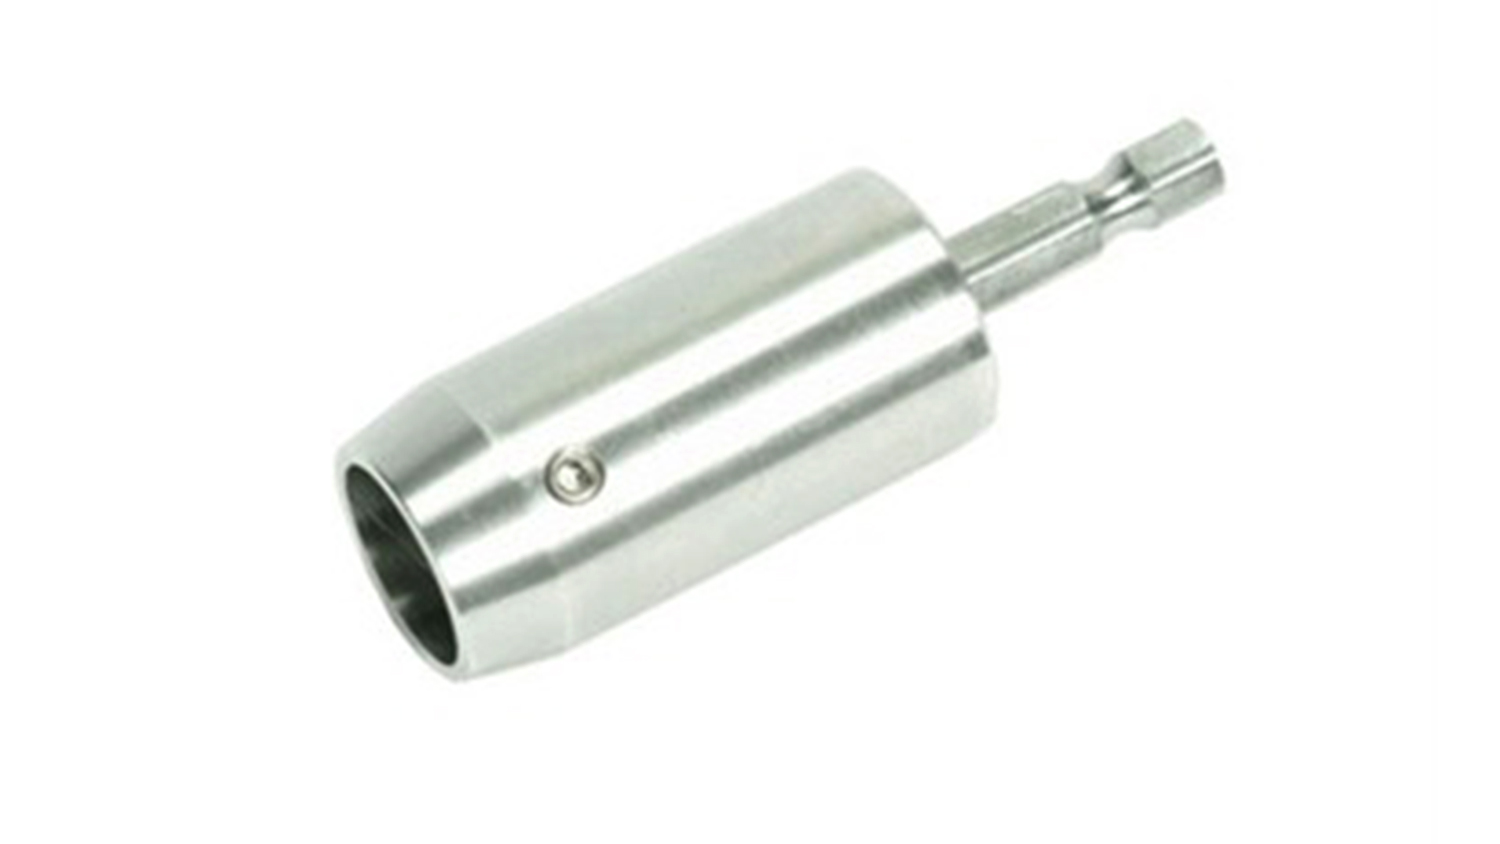
For proper case neck alignment, clearance in the chamber and easier bullet seating, it is necessary to remove the raised burr often found inside and/or outside the mouths of new or just-trimmed cases. Case mouth deburring can be performed with a simple hand tool having inside and outside cutting blades at opposite ends, or with more precise units that give a consistent bevel depth. For seating boattail bullets, Sinclair International and Wilson both make inside chamfering tools that cut a shallower bevel than traditional 45-degree deburrers.
Motorized case preparation
Case trimming, case mouth deburring, primer pocket uniforming and cleaning and more can be speeded-up using power-driven units such as from Giraud, Gracey, Hornady and RCBS. Some are single-function tools, while others, such as Hornady’s Lock-N-Load Power Case Prep Center, have multiple stations for different case preparation activities.
Case weighing
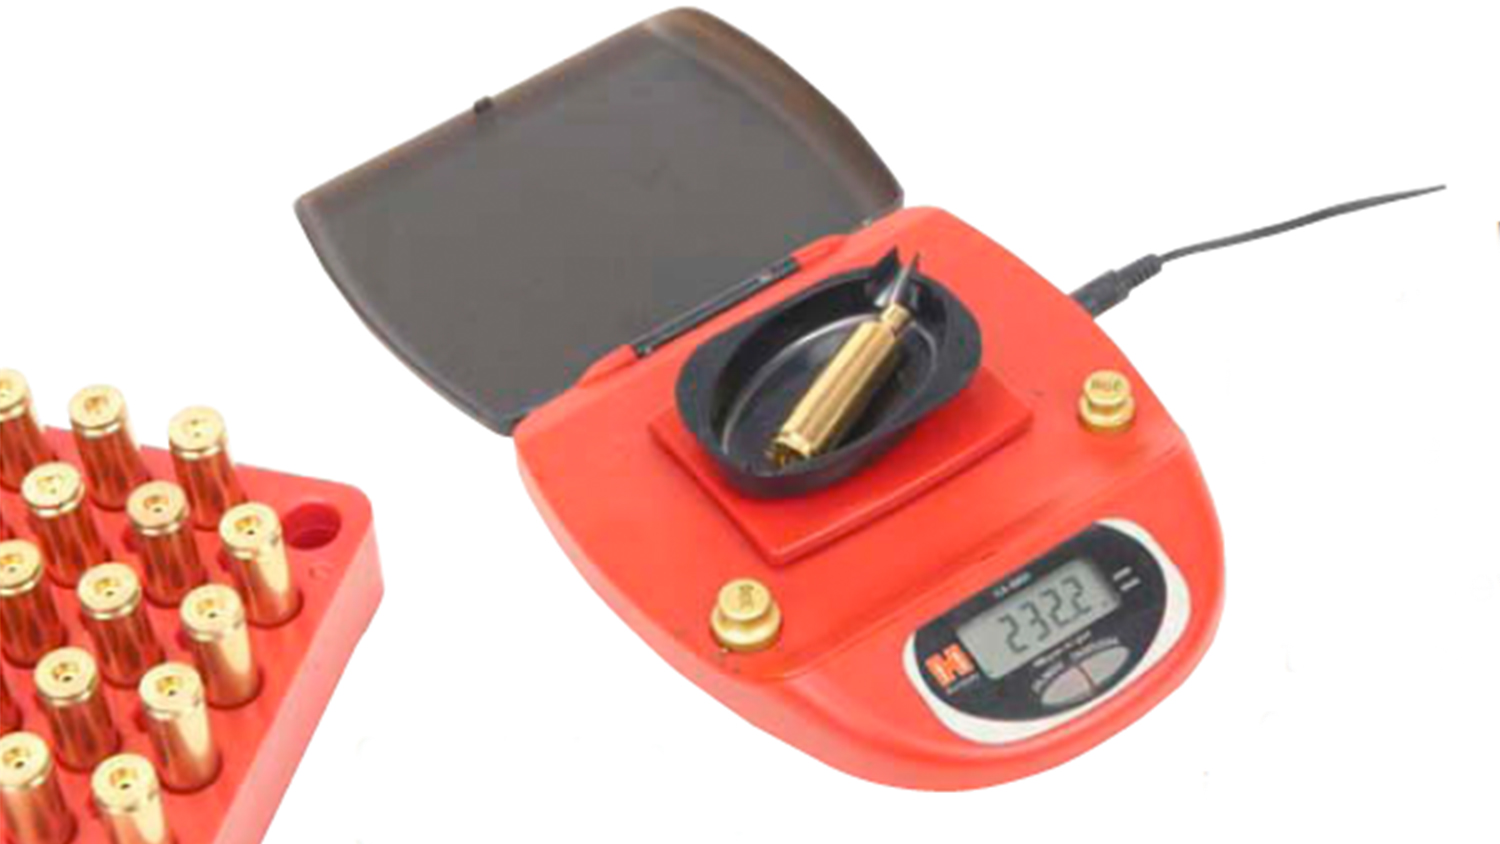
Weight uniformity among cases of the same brand can indicate case volume consistency. Cases should be weighed after trimming, primer pocket uniforming, neck turning, and deburring of the flash hole and case mouth. With the cases thus made as externally uniform as possible, any weight differences must reflect variations in case volume. Precision shooters normally sort cases into batches consistent to plus or minus 1/2- to 1-grain.
Case gauging
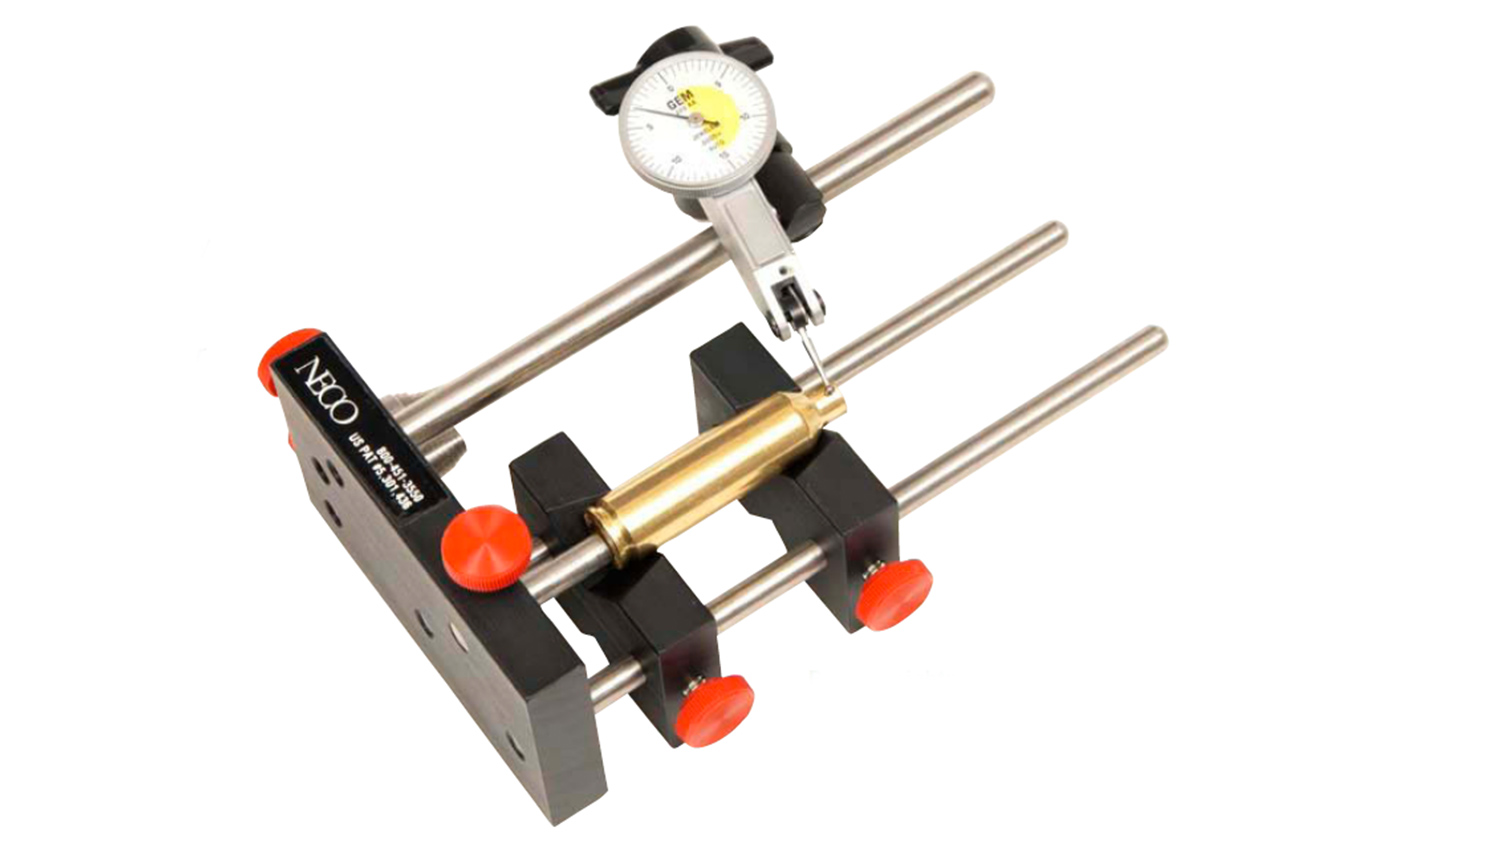
Case straightness and concentricity can be gauged using tools from NECO, RCBS and Sinclair. In these units, the case is set in V-blocks or ball bearings and is rotated while a dial indicator measures the case at different points, revealing a non-concentric neck or a banana-shaped case body. Such irregularities in new cases are often corrected when the case is first fired and conforms to the gun’s chamber.
Note that the foregoing is only a brief overview; detailed instructions on the use of the various case preparation tools should be obtained from each tool’s manual. Also, only the most accurate rifles will benefit from this full case prep treatment, and many highly successful shooters omit one or more of the steps described above. For many disciplines, one may arguably need only to resize and trim the cases, debur the flash holes and case mouths, and perhaps sort the cases by neck wall uniformity or weight. Doing much more than this, some claim, provides little more than psychological reassurance. Others swear by a more involved process. The intelligent reloader should experiment to determine which case prep operations produce a difference on target.
All the items mentioned in this article are available from one or more of the following:
Brownells, Inc.—www.brownells.com
Creedmoor Sports, Inc.—www.creedmoorsports.com
Midsouth Shooters Supply—www.midsouthshootersupply.com
MidwayUSA—www.midwayusa.com


