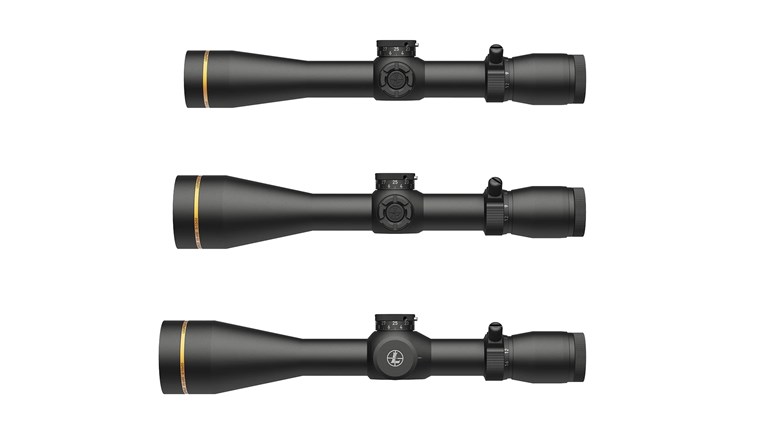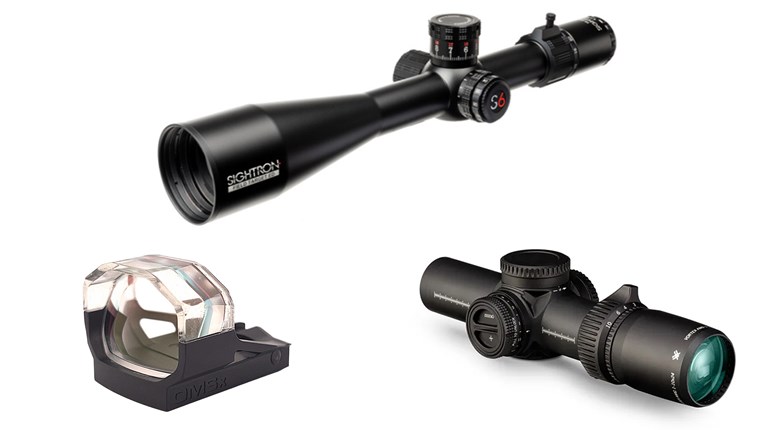
Anything that can go wrong will go wrong. Even your favorite piece of shooting gear can’t escape the wrath of Murphy’s Law. Sure, one may expect certain types of failures from a riflescope on the value end of the price spectrum, but the same failures can also take down an optic 10 times its cost. After working for many years in the optics industry, I’ve had the pleasure of diagnosing failures in riflescopes, binoculars and spotting scopes. While most can be fixed, some simply cannot be remedied. And, sometimes issues arise that are blamed on the optic, but are actually user error. Here, we explore common issues that plague riflescopes and the causes.

What’s that black spot in my scope?
While looking through a riflescope, your view should be crisp and clear at all magnification levels. If you see black spots or lines within your field of view, internal debris is to blame. This debris could have worked its way into your optic over time, because glass is not 100-percent leak-free. Another way internal debris can plague your optic is from the manufacturing process. Quality optics are usually assembled in a clean room where companies go to great lengths when it comes to avoiding dust and other pesky factors through specialized air filters, workers wearing special uniforms and gloves, and a thorough quality control check before being boxed up and shipped out. While you may not notice right away, eventually after use it may be knocked loose and appear in your line of sight. This is usually an easy fix for the manufacturer, just be sure to examine your field of view through all magnification levels so that you can let them know at what magnification levels you notice the debris and exactly where it appears.
Why is the inside of my scope fogging?
Similar to internal debris, an optic that has sprung a leak can also fall victim to fogging. You may see water droplets in your field of view, or the lenses of your optic fog up enough to block your view—rendering the optic unusable. A quick call or email to the manufacturer can generally resolve this defect without much issue. If you want to test your optic after receiving it back from service, submerge it in a tub of water, paying close attention to any bubbles rising to the top, which is indicative of a leak being present. Additionally, you can place your scope in the freezer for 24 hours and check back to see if any of the internal lenses have fogged up during the process.

I was shooting and suddenly everything became blurry.
If you ask a shooter how many lenses are in their riflescope, they may quickly say their scope has two lenses, the ocular and objective. While this may appear true to many, it is not the case, as riflescopes contain a series of lenses each serving a distinct purpose. The number of lenses within a riflescope varies depending on the make and model, but the cause of sudden blurriness is often due to the glue used in the assembly process. Whether the glue was applied to assemble the internal working of the optic or there’s a defect within the glue itself, a lens can work itself loose over time and become unfastened from your scope in the middle of your string of fire. Less common in scopes mounted on rimfire rifles, this defect occurs more often on larger caliber, center-fire rifles. This cannot be fixed at home and requires the optic to be sent to the manufacturer for warranty service.
I used the scope from my gun on my kid’s air rifle and now I can’t see out of it.
All recoil is not created equal. With the popularity of air rifles growing each year, this is a failure that cannot be blamed on the optic manufacturer. Standard rifles are designed to recoil back towards the shooter. Spring pistol air rifles recoil both back toward the shooter and forwards as well. The riflescopes mounted on these spring-piston air rifles are designed specifically to accommodate for the multi-directional recoil, while the riflescopes used outside of this realm only accommodate for rearward recoil. What can happen if you mount one of your trusty riflescopes on one of these air guns? You run the risk of knocking a lens loose and kissing your field of view goodbye after it becomes a blurry mess. Some options are rated for both—know what your scope is rated for before mounting and you’ll have nothing to worry about.

I adjusted 20 clicks up, which should have brought me to the center, but I’m still low.
Let’s assume that weather conditions, the shooter, gun and ammunition are consistent. When adjusting elevation and windage, you expect your clicks to be true—meaning what you dial translates onto paper without discrepancy. If your riflescope is not tracking correctly, there is likely a defect with your turrets and the construction inside. To determine if your scope is tracking correctly, take any grid-style target of your choice and shoot a group in the bottom left-hand corner. Adjust your elevation up 20 clicks and shoot another group. Adjust your windage 20 clicks to the right and shoot another group. Adjust your elevation down 20 clicks and shoot another group. Finally, adjust your windage left 20 clicks. At this point, your group should be in the same spot as your first—if it’s not, then you’re going to need to send your riflescope in for repair.
I constantly adjust my scope to keep it zeroed.
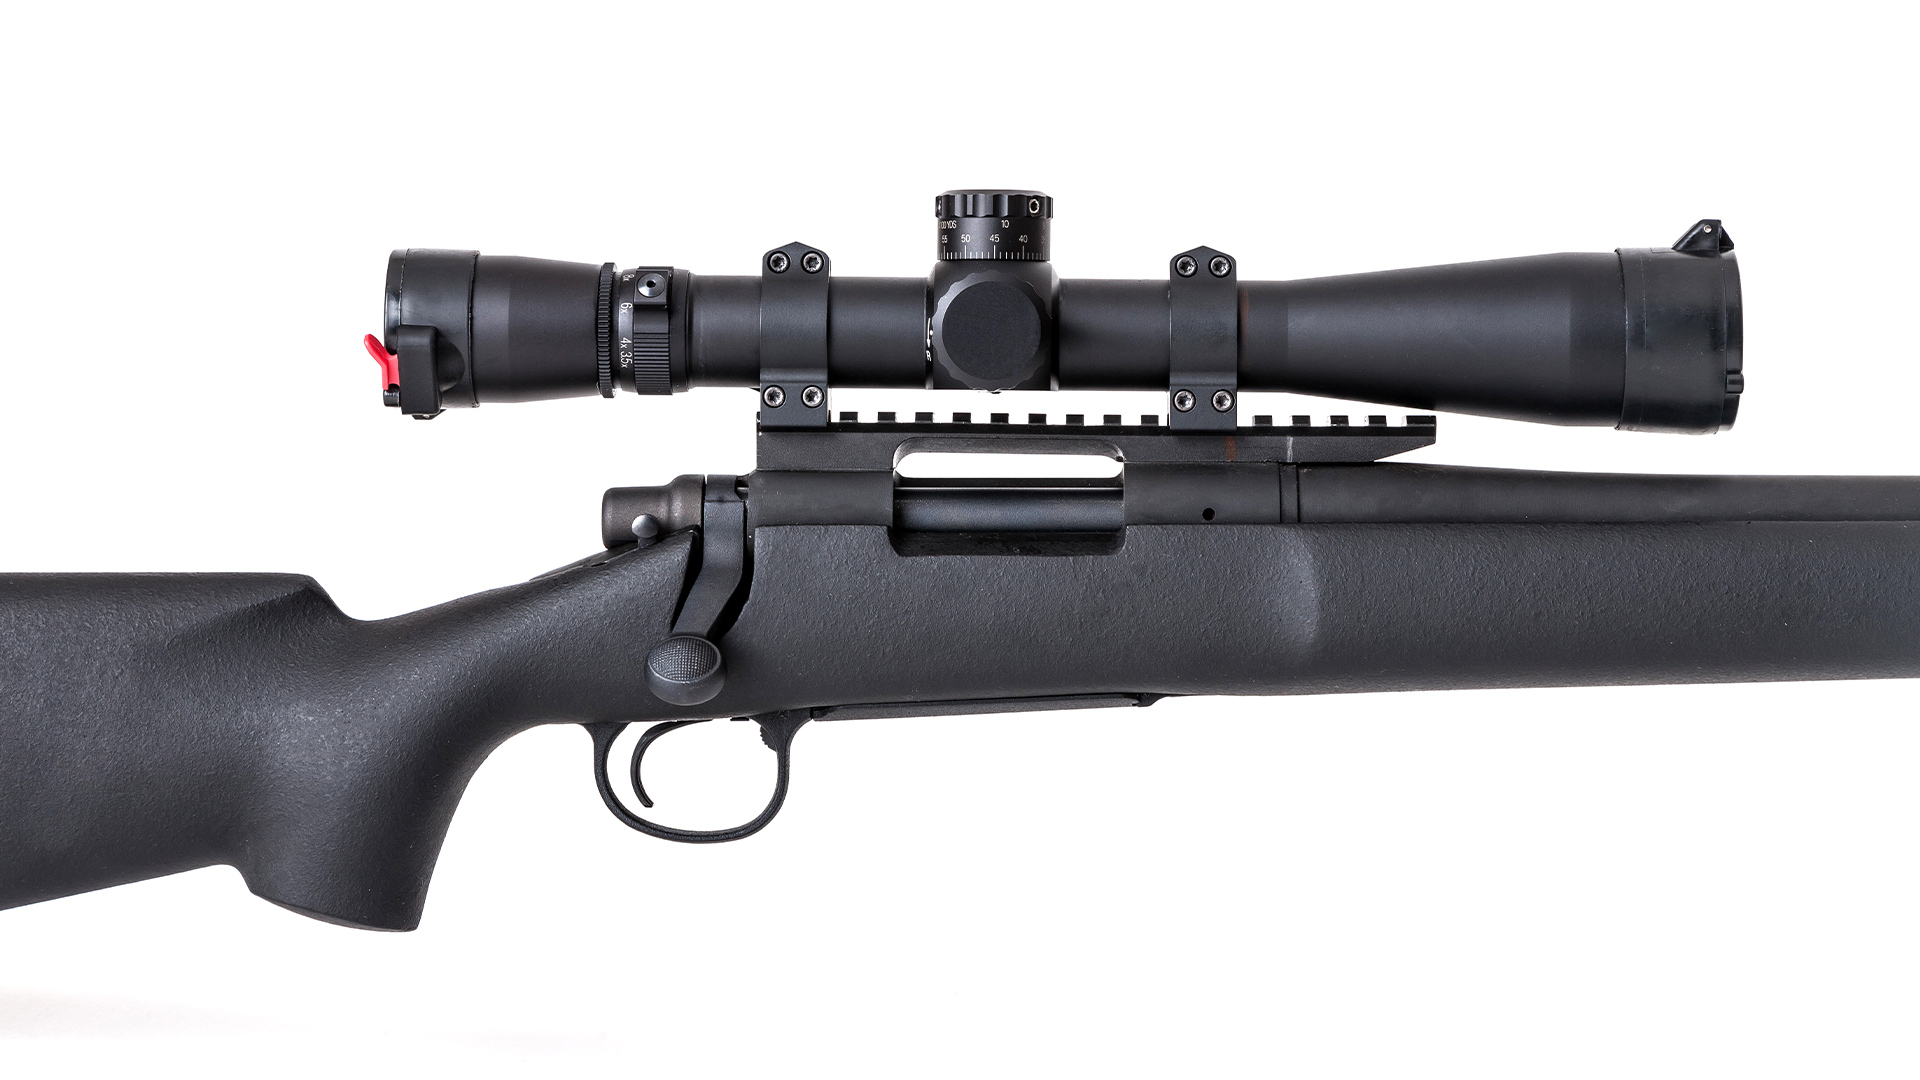
Once again, let’s assume that there are no issues to be found with weather conditions, gun, ammunition or the shooter. Let’s take it one step further and assume there are no defects with the optic as well. If you are shooting like a pro, but later in the range session seem to constantly adjust your scope to keep it zeroed, the mounting method could be to blame. Did you tighten down the screws on the mount to the recommended torque settings? Did you use blue threadlocker on the screws during installation? Are the screws on the rail that the scope rings are mounted to tightened down sufficiently with blue threadlocker as well? Prior to heading to the range, use these tips to ensure you stay zeroed throughout every trip.


