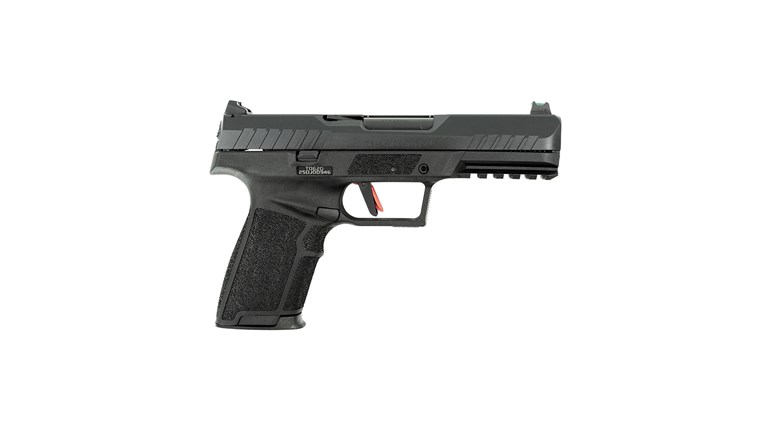
One brilliant thing about many semi-automatic pistols is that you can change barrels to expand their versatility. A different barrel can enhance accuracy, allow the use of a suppressor or compensator, or change calibers. Depending on your goal and who makes the barrel, it might require fitting by a gunsmith, or it can be a “drop-in” barrel that requires no fitting, and you can swap it with the original barrel.
I’ve bought several drop-in barrels over the years, and most of them do just that—no fitting required. Occasionally, they don’t quite drop in and require minor fitting.
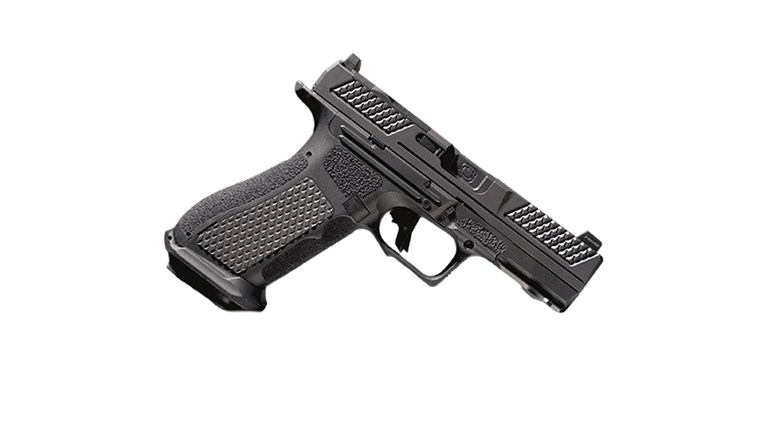
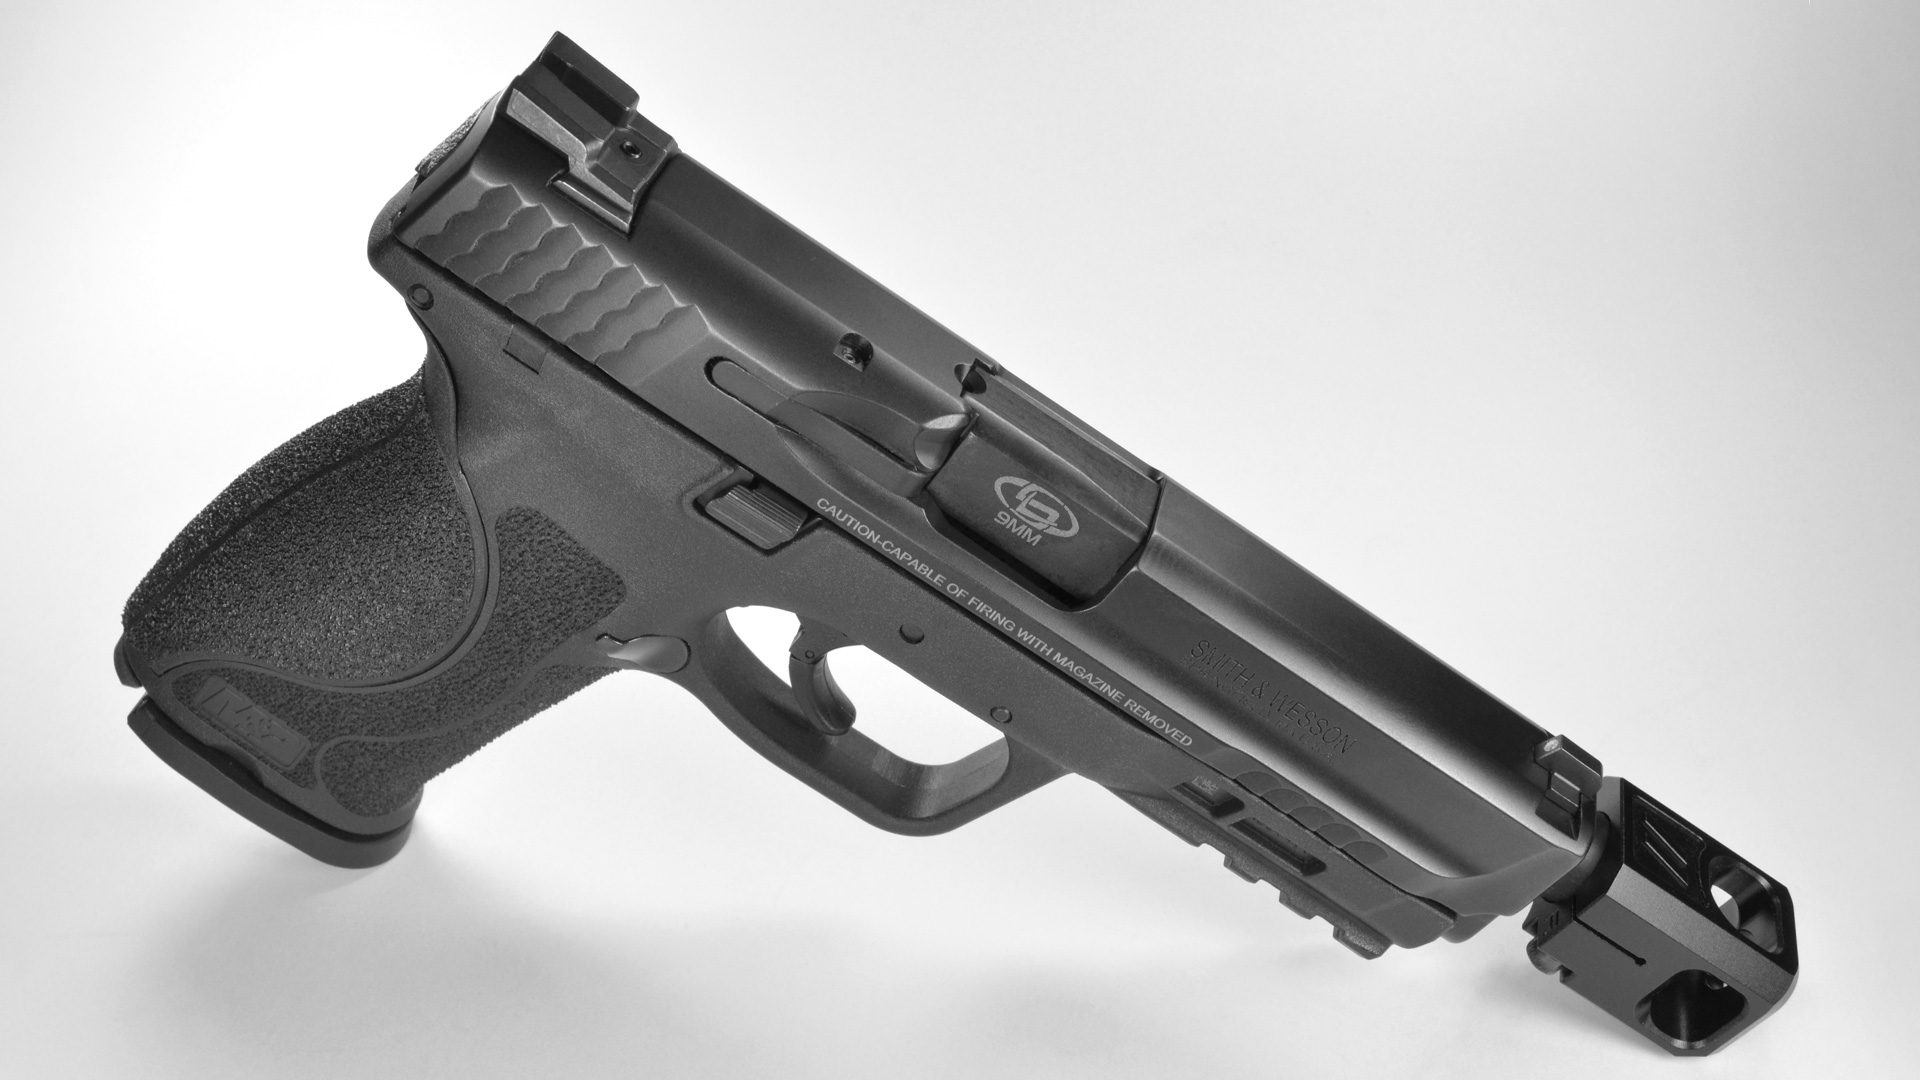
To add a compensator to my Smith & Wesson M&P9 M2.0 pistol, it requires a threaded barrel. I found a Storm Lake barrel at a good price and placed my order. Storm Lake barrels for non-1911 pistols are engineered to be drop-ins. The barrels for 1911s can be either drop-in or gunsmith fit, your choice.

When the Storm Lake barrel arrived, I dropped it in and it didn’t quite fit. The barrel hood was a little too wide to fit in the slide’s breech. No problem. I’ve fit many 1911 barrels the hard way, so fitting the hood was easy work.
There are two ways the barrel hood might not fit the cut in the slide. It can be too wide and too long. The first thing to fit is the hood width. You won’t know if the hood is too long until the barrel can go back far enough for the hood to contact the breech face.

Hood width of the S&W factory barrel was 0.393 inch and it fit with a little side-to-side movement. The cut in the slide was difficult to get a good measurement from with my calipers, but appeared to measure 0.395 inch. Hood width of the new Storm Lake barrel was 0.398 inch.

My slide’s front-to-back window for the barrel chamber measured about 1.220 inches. Chamber length of the factory barrel measured 1.215 inches. This is the length of the chamber plus the hood that has to fit in the window in the slide. There was small front-to-back movement with the factory barrel. Chamber length of the Storm Lake barrel was 1.220 inches.

Tools
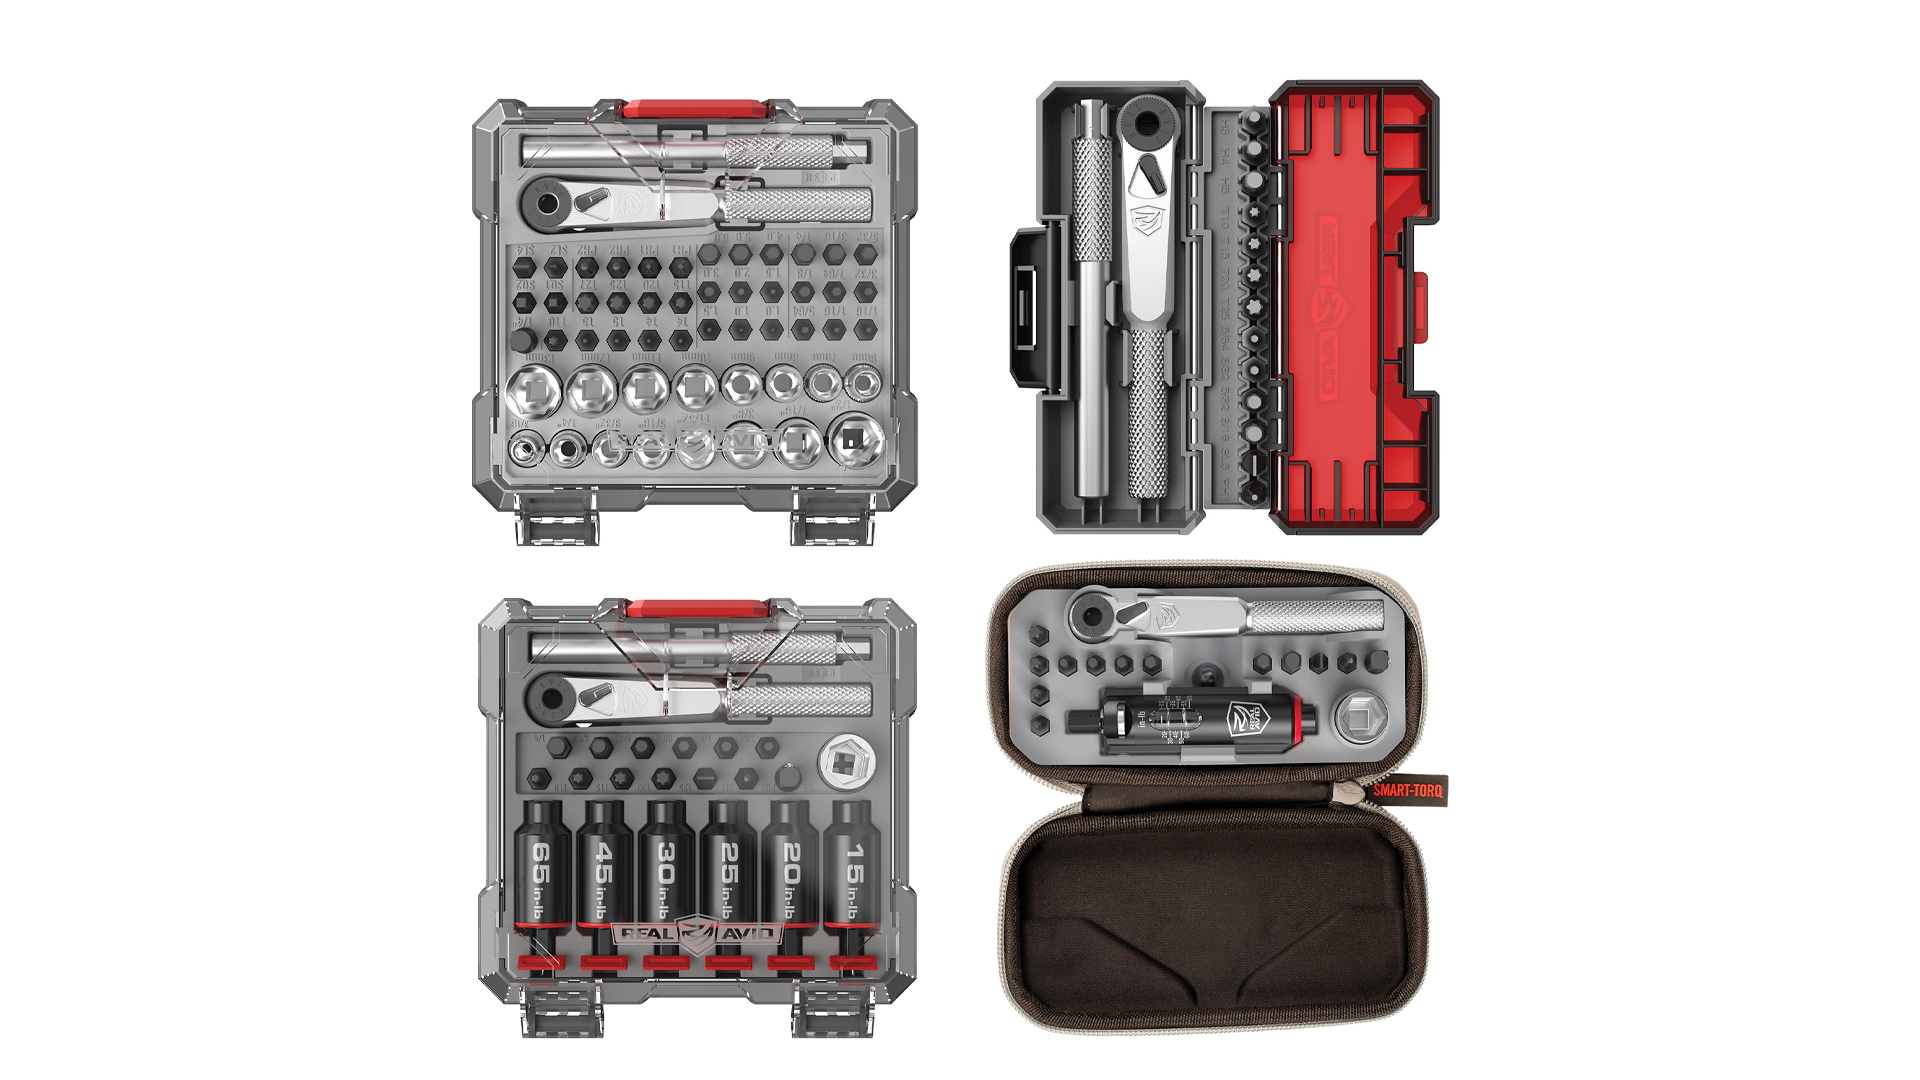
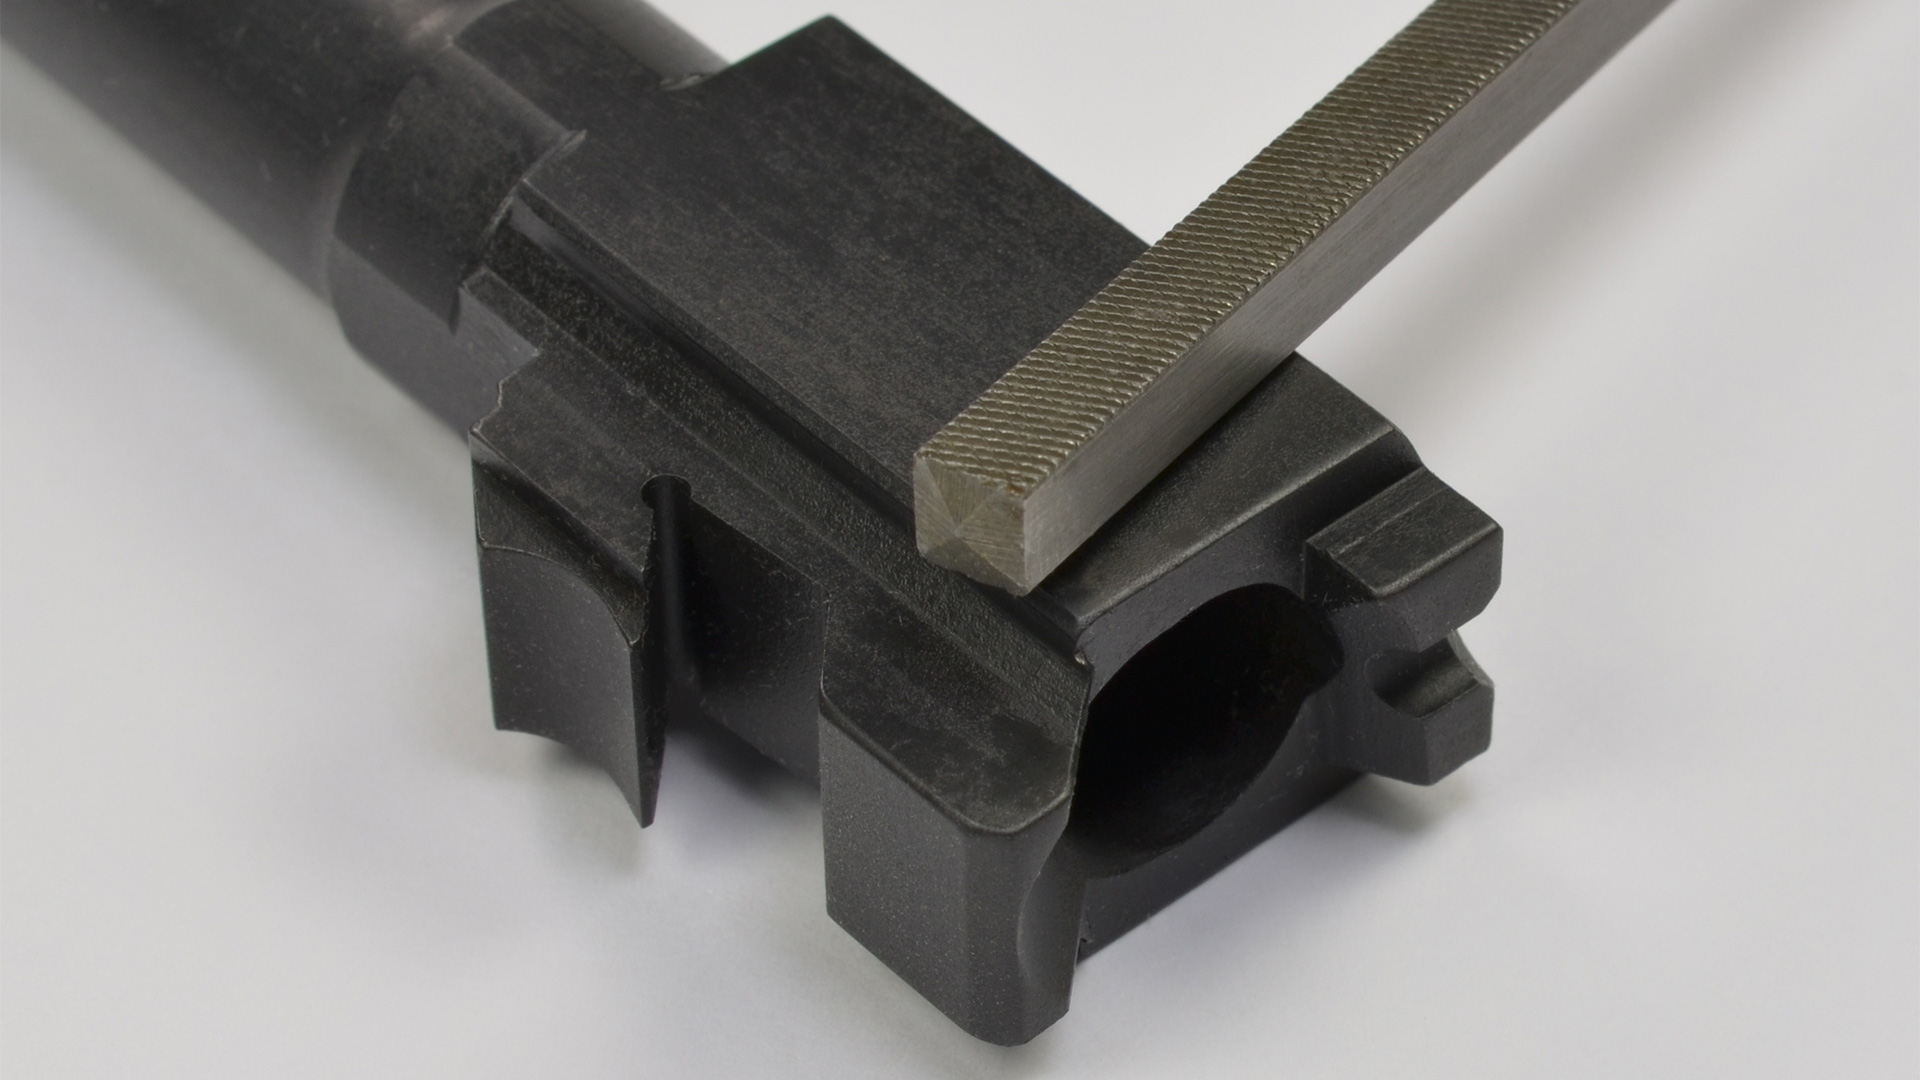
The best tool for cutting the side of the hood is a file with a safe side that has no teeth. The safe side goes against the chamber wall to avoid unnecessarily removing metal there while filing on the side of the hood. This Storm Lake barrel had a black nitride finish, and it is hard. My regular files would not cut it. That meant a diamond file or an Arkansas stone was required. I used both to cut through the black nitride easily.

Metal has to be removed from the sides of the hood to make it fit. There’s a working assumption that there is an equal amount of excess material on both sides, therefore the goal is to remove an equal amount of metal from each side. This is important so the barrel continues to point straight. If more metal is removed from one side than the other, the barrel will point more to the right or left than it should. This is not the end of the world, however, as most guns have rear sights that are windage adjustable, and this can correct for changes in horizontal impact.
Here’s how to do this: Remove a little metal from one side, measure it to see how much thickness you’ve removed, then remove metal from the other side. Repeat until it fits. Check fit constantly as you remove metal. As you get closer to the correct width, the barrel will start to slide into place. Don’t be in a hurry. A close fit will aid accuracy.
My measurements suggested I would need to remove roughly 0.003 inch from the hood width. But this was not certain because of the imprecise nature of my calipers, so progressing in small increments is warranted. When the final work was done, the hood measured 0.395-inch wide, so it was 0.003 inch.
Fitting the length of the hood is the next step. Fortunately for me, this barrel’s hood was not too long. The barrel slid up in full lockup after fitting the hood width. In some cases, barrels need to have the hood length trimmed for a proper fit.

Follow the same procedure when cutting the hood’s length. Remove small amounts of metal from the back of the hood and check fit frequently. Removing minimal metal means the hood will fit closely with little front-to-back play. Key to a good fit is to remove the same amount of metal from the entire width of the rear face. You can check your progress and how evenly metal is being removed by inserting the barrel in the slide and holding the assembly up to a light. Here again, don’t rush. A close fit that will aid accuracy is worth the effort.
The back of the hood is much wider than the sides, and I’ve found that using a file wider than the hood width helps me to remove metal more evenly than if I use a file narrower than the hood. That said, I sometimes use a narrow file to even up uneven cutting. But this might not apply to you, so use whatever you prefer. Go slow and check fit frequently, so you don’t remove more metal than you want.
Once you’re done, be sure to bevel or round the edges of the hood to help it move into position with ease.

In the end, the Storm Lake barrel was a closer fit than the factory barrel. The hood width was 0.002 inch closer and the hood length was 0.005 inch closer. Indeed, the new barrel had noticeably less free movement when in place than the factory barrel.
A little bit of effort, combined with lots of measuring and fit-checking and your new barrel will fit closer than the old one.
I purchased the files and Arkansas stone from Brownells. The diamond file was purchased at a gun show. MidwayUSA has a good selection of gunsmithing tools as well.
Read more: How To Avoid Revolver Forcing Cone Failure


