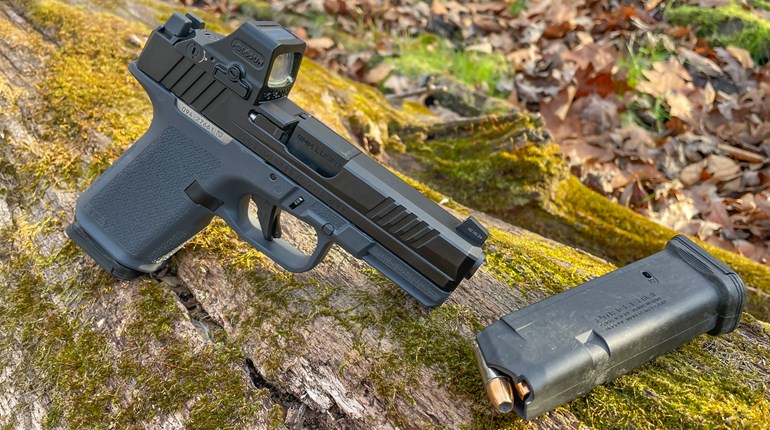
Recently I was testing some factory ammunition in my GLOCK G19C and a Para Ordnance 1911. I was experiencing some misfires in the GLOCK. I have experienced an occasional misfire in this gun since it was bought new, but the misfires were frequent with this ammunition, at nearly 10 percent. There were no misfires with this same ammunition in the Para Ordnance.
Naturally, I blamed the blankity-blank GLOCK. It could have been the ammunition, but since it was firing in the Para Ordnance, it was likely a gun issue.

Misfires can be caused by the ammunition if the primer is not very sensitive. They might require a firm firing pin blow to set them off. Also, if the primer is not fully seated in the primer pocket, they might not ignite when hit by the firing pin.
Striker-fired guns (i.e. guns with no external hammer, which includes GLOCKs) have a reputation among some shooters for a weaker firing pin hit than hammer fired guns. Of course, this depends on the strength of the springs, but the reputation persists.
The first thing to do was to clean the firing pin assembly and the firing pin channel in the slide. Built-up gunk can restrict firing pin movement and cause misfires. I disassembled the slide and cleaned everything thoroughly. The misfires persisted.
I suspected that the firing pin spring might have weakened from use and could be the cause of the misfires. This GLOCK fired 4-5,000 rounds through it since it was purchased new. Although that’s not very many rounds―maybe it was enough to reduce the strength of this particular firing pin spring. GLOCK has no recommended schedule for replacing the spring.
In any case, replacing the firing pin spring with a new one could stop the misfires. No problem, springs aren’t very expensive.
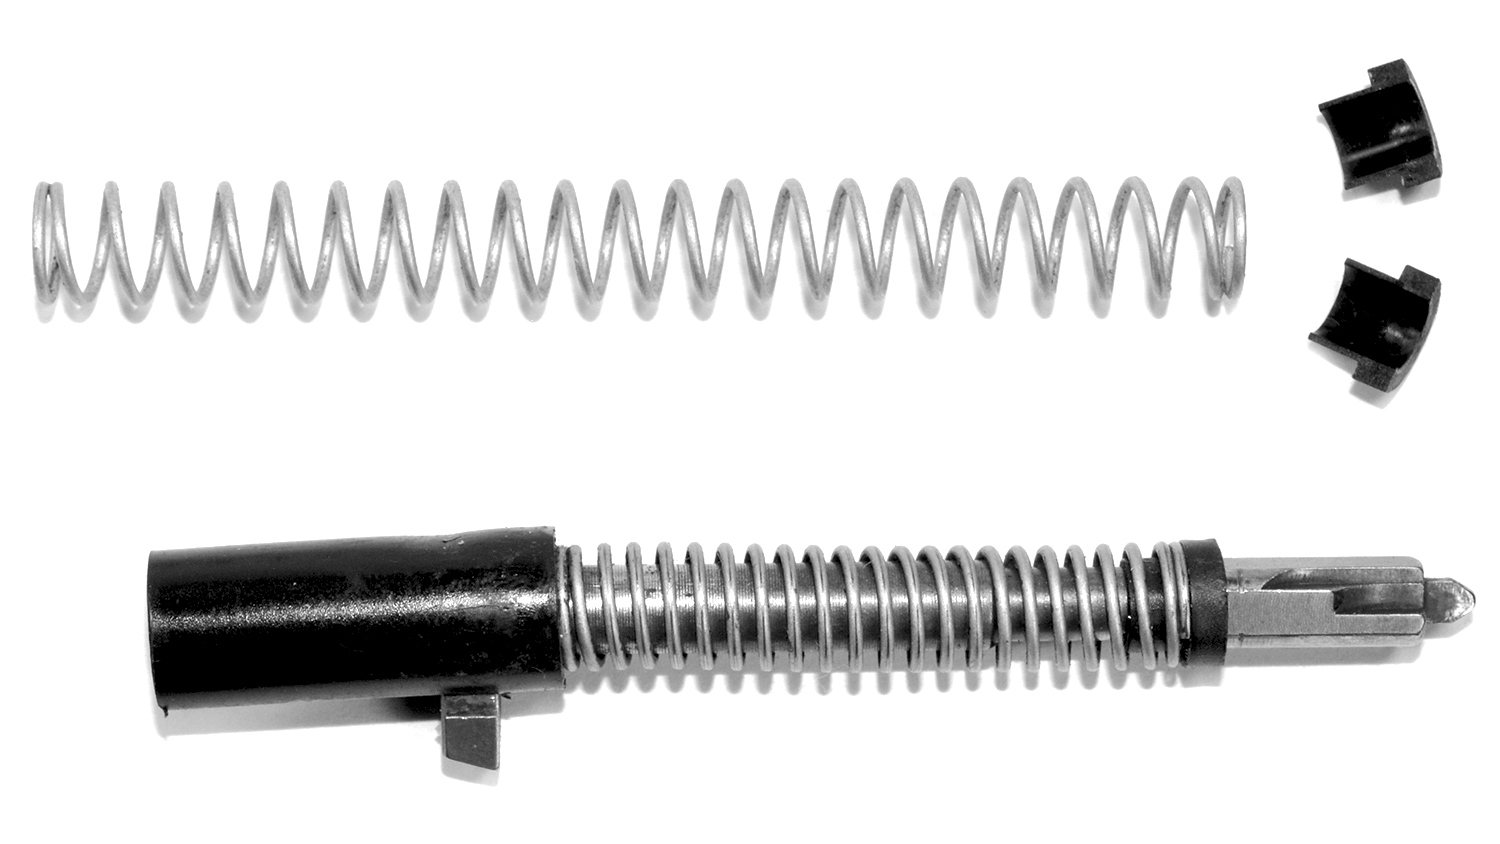
I noticed something else during cleaning. The firing pin spring is held in position by a two-piece plastic cup, and there were some metal fragments embedding in the cup. The fragments probably originated from sheared primers. The cups might be weakened or damaged by the embedded material, so I replaced them as well. They, too, are inexpensive.

I purchased a GLOCK OEM standard weight (24 Newton) firing pin spring and cups from Lone Wolf. These parts can be found at several places online―see the resources listed below. Or you might ask your local gunsmith or gun store to order them for you if they don’t already have them in stock.
Replacement is an easy do-it-yourself job. I’ve included a brief description of how to replace the firing pin spring below. You can also find instructions on how to remove the firing pin assembly and replace the spring and cups online by searching for “GLOCK Armorer’s Manual” or “GLOCK Firing Pin Spring Replacement”, or you can watch videos on YouTube. If you’re squeamish about working on your gun, find a gunsmith that can do it for you.
To do the job yourself, put your safety glasses on because some parts are under spring pressure. Make sure the gun is empty and remove the slide. You need to remove the back plate. It is held in place by spring pressure from the firing pin. The firing pin spacer sleeve must be pushed forward. Insert a punch or small screwdriver in front of the firing pin foot and push the spacer sleeve forward (toward the muzzle) while sliding the back plate off. Now the firing pin assembly can be removed.

To remove the firing pin spring, place the assembly upside down on a bench or you can place it backwards in the slide. I’ve found it easier to place the slide in a vise to keep it steady. Be sure to use padded jaws so you don’t scratch the finish. Grasp the firing pin spring and pull down to release pressure on the cups and remove them. Remove the firing pin spring.

Put the new firing pin spring on, and, if you like, new cups. Getting the cups in place is a little tricky since you have to put each half on one at a time. Reverse the order of disassembly to put it all back together. When putting the back plate on you’ll have to compress the extractor rod spring to push the plate all the way into place. That’s it. Reassemble the gun as usual and you’re ready to go.
Did the new firing pin spring solve my misfires? Yup. I’m back in business.
Note: Read this article for even more tips on how to upgrade your GLOCK.
GLOCK Parts (partial list)
Naturally, I blamed the blankity-blank GLOCK. It could have been the ammunition, but since it was firing in the Para Ordnance, it was likely a gun issue.

GLOCK 19.
Misfires can be caused by the ammunition if the primer is not very sensitive. They might require a firm firing pin blow to set them off. Also, if the primer is not fully seated in the primer pocket, they might not ignite when hit by the firing pin.
Striker-fired guns (i.e. guns with no external hammer, which includes GLOCKs) have a reputation among some shooters for a weaker firing pin hit than hammer fired guns. Of course, this depends on the strength of the springs, but the reputation persists.
The first thing to do was to clean the firing pin assembly and the firing pin channel in the slide. Built-up gunk can restrict firing pin movement and cause misfires. I disassembled the slide and cleaned everything thoroughly. The misfires persisted.
I suspected that the firing pin spring might have weakened from use and could be the cause of the misfires. This GLOCK fired 4-5,000 rounds through it since it was purchased new. Although that’s not very many rounds―maybe it was enough to reduce the strength of this particular firing pin spring. GLOCK has no recommended schedule for replacing the spring.
In any case, replacing the firing pin spring with a new one could stop the misfires. No problem, springs aren’t very expensive.
I noticed something else during cleaning. The firing pin spring is held in position by a two-piece plastic cup, and there were some metal fragments embedding in the cup. The fragments probably originated from sheared primers. The cups might be weakened or damaged by the embedded material, so I replaced them as well. They, too, are inexpensive.

Figure 1. The GLOCK firing pin spring is easily replaced. Two half-piece plastic cups hold the spring in place.
I purchased a GLOCK OEM standard weight (24 Newton) firing pin spring and cups from Lone Wolf. These parts can be found at several places online―see the resources listed below. Or you might ask your local gunsmith or gun store to order them for you if they don’t already have them in stock.
Replacement is an easy do-it-yourself job. I’ve included a brief description of how to replace the firing pin spring below. You can also find instructions on how to remove the firing pin assembly and replace the spring and cups online by searching for “GLOCK Armorer’s Manual” or “GLOCK Firing Pin Spring Replacement”, or you can watch videos on YouTube. If you’re squeamish about working on your gun, find a gunsmith that can do it for you.
To do the job yourself, put your safety glasses on because some parts are under spring pressure. Make sure the gun is empty and remove the slide. You need to remove the back plate. It is held in place by spring pressure from the firing pin. The firing pin spacer sleeve must be pushed forward. Insert a punch or small screwdriver in front of the firing pin foot and push the spacer sleeve forward (toward the muzzle) while sliding the back plate off. Now the firing pin assembly can be removed.

Figure 2. A pin must be inserted to remove spring pressure from the back plate.
To remove the firing pin spring, place the assembly upside down on a bench or you can place it backwards in the slide. I’ve found it easier to place the slide in a vise to keep it steady. Be sure to use padded jaws so you don’t scratch the finish. Grasp the firing pin spring and pull down to release pressure on the cups and remove them. Remove the firing pin spring.

Figure 3. With the firing pin assembly held firmly in place, pull the spring down to remove pressure on the cups. The extractor rod and spring assembly is shown on the right side with a blue arrow. You’ll need to compress this to slide the back plate fully in place.
Put the new firing pin spring on, and, if you like, new cups. Getting the cups in place is a little tricky since you have to put each half on one at a time. Reverse the order of disassembly to put it all back together. When putting the back plate on you’ll have to compress the extractor rod spring to push the plate all the way into place. That’s it. Reassemble the gun as usual and you’re ready to go.
Did the new firing pin spring solve my misfires? Yup. I’m back in business.
Note: Read this article for even more tips on how to upgrade your GLOCK.
GLOCK Parts (partial list)


