Some time ago, I did an article series for Shooting Sports USA on NRA High Power Rifle that shared some ideas on how to “move up the ladder,” progressing through the ranks from Marksman, Master and beyond. As mentioned in one of those articles, at some point the machine-side of the equation has to ramp up. Therefore, in order to earn every point that is possible in a match, you must improve two things: your rifle and ammunition.

The “ammunition” component pretty much means improving (or introducing) handloading. Welcome to the spiraling descent of trickiness! Handloading can be described in near-infinitesimal detail. Along with that, many, perhaps most, of the next-step levels of attempting to perfect a round of ammunition likewise result in fractional gains. In short: there are a lot of areas to consider, and a lot of tooling to invest in, and a lot of time that can be spent in squeezing the last inth from a bullet. Any one step, or certainly any group of associated tools and steps, can and should be an entire article. But, what things matter the most?

Ammunition performance is a combination of three things. First is consistency. Next is consistency. Third is consistency. Right: the same thing over and over and over again. Same speed, same impact location. And we want that to continue, reload to reload to reload, all season long. True: not all of this is about seeing the out-and-out smallest single group you’ll ever see, but it is about not seeing a bigger group—no surprises. These are six things I’ve found that actually make a difference on target (when you do them, and when you don’t). Most of these have nothing to do with tools, but instead with decisions and judgment. And, so begins the list.
1. Propellant Choice
It’s pretty well accepted that precisely weighing each and every propellant charge makes a difference, by reason of assurance of more consistent velocities. But, what matters is finding a load combination— mostly choosing a propellant that produces nearly the same impact locations over some variance in charge weight. There won’t be surprises day-to-day, hotter-to-colder. If it only seems to shoot well within a narrow frame, it’s ready to let you down. To quantify this: If the difference between a group and a gathering is .20 grains, or the difference between “safe” and “over-pressure” is .20, that’s not enough leeway. A half-grain is about 40 feet per second in a .223 Remington for a guide.

To find that combination, I follow an “incremental load work-up” method developed by the late Creighton Audette. The “Audette Method” is most worthwhile, even though it may seem overly labor-intensive. I can promise you that, in the long run, it’s time well spent, and it will be less time overall. Here’s the (modified-by-me) essence of it: Take primed cases, a bullet seater and a (good) propellant meter to the range. Put up a target (mine is at 300 yards) and set up a chronograph. The idea is to start (at some level you’ll have to decide, but lower is better than higher) with “a” propellant charge, fire 3 rounds, note velocity, and (always) take a look at the spent case condition for clues to the pressure level. Bump up the charge a step and repeat. Don’t change the target or the sight setting.
Lets do a little back-pedaling: I use .30- to .50-grain steps. That’s not so much a formula as much as it is the value of increments on my meter (varies with propellant). However, if a load bumps its head on the pressure ceiling, it is time to come off a “whole” half-grain.
After a few times following this “bump up and shoot” routine, you’ll see bullet impacts getting higher and higher on the target, which is coinciding with velocities getting higher and higher. Pressures, of course, will also be getting higher. So watch out. Fast-forwarding: What we’re looking for is at least two three-round groups to be in the same location on target, which is to say that elevation has “leveled off.” Now, when you see that, don’t ask for more. You have found a propellant that is not sensitive to small variances in charge weight. I also tend to choose the “one-step-less” charge under where I think I edged close to pressure maximum. You will, by the way, be able to meter-throw those charges and not see any velocity differences than if you hand-weighed them. Clearly, confirmations follow with testing at increased round counts.
Again, this isn’t because we can’t precisely fill cartridge cases. We can. This much insensitivity to weight variance means less sensitivity to the (sometimes) inexplicable variances we experience day to day. Make sense to you?
2. Do not “mix” propellants and bullets.
Once you’ve found that propellant, pick a bullet brand, and stick with both! To be clear, change bullet weight but not bullet brand because you need the same jacket composition. Change propellant charge weight, but use the same propellant. The residues that the propellant and jacket leave behind create shots that go off-zero when there’s a switch. For instance, using one brand of bullet behind one propellant for 200 to 300 yards and then switching to another recipe (different propellant, different bullet brand, which again, means “jacket”) at 600 yards will (not can) result in off-zero impacts. That will last for one to several shots until it “settles.” The impact changes might be small, but even so, they can throw off your assessment of corrections—and lose points in the process. Remember, the goal here is to get more points.

3. Go with a “tolerant” bullet for 600 yards.
By “tolerant” I mean a bullet that is not picky when it comes to seating depth, which means, here, the distance from the barrel lands, with cartridge loaded into the chamber, where the bullet’s first point of barrel land diameter is holding off those lands. That’s called “jump.” Specifically, that “tolerant” bullet is going to be a tangent profile that’s forgiving of the jump necessary to engage the lands.
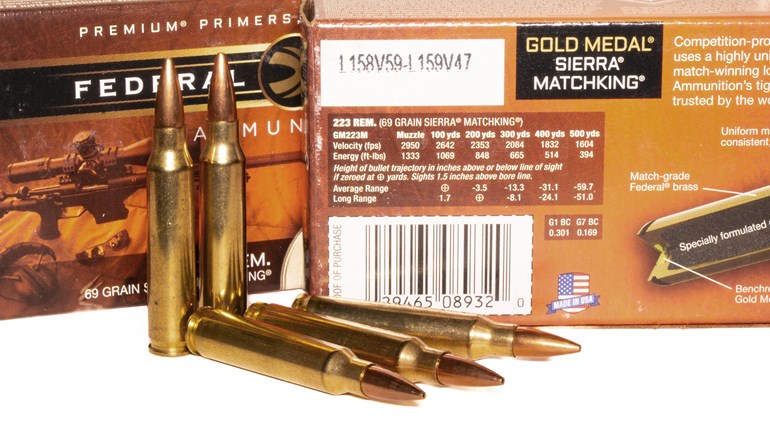
Using any rifle with a box magazine, there will be an overall cartridge length limit that will fit into that box for the 200- and 300-yard events, and that limit is usually going to result in at least some jump for the bullet to engage the lands. That’s the reason for and origin of “length-tolerant” bullets (like the Sierra 77-grain MatchKing, which has a tangent profile and generous bearing area). Well, that’s important at 600 yards too, even when there’s no magazine-restricted overall length limit.

Do not misunderstand this even a little bit: Ballistic performance at 600 yards is very important! I have a self-proven knowledge of the potentials of the “very-low-drag” style bullets. I also have driven myself nuts using some of them. Lemmeesplain: Bullets with a secant-style ogive profile (that’s more “spikey,” more sharply-angled) and relatively long nosecones tend to be sensitive to jump. Using proper bullet terminology, they have high-caliber ogives. They also tend to have relatively short bearing areas (length of full diameter section). The high-caliber secant profile and short bearing area combine to give increased aerodynamics and higher safe velocities. They also tend to be a tad finicky, and I’m sometimes known as the Prince of Understatement.
Most often, these perform best when seated to a depth that has them very near to or actually touching the lands. Most bullets do. That in itself is not a bad thing. The question is how well they do otherwise, and that’s the advantage of a tangent-profile. My experience has been that these bullets are simply less tolerant of jump than a tangent-profile ogive, as well as one with a little longer bearing area. As rounds go through, the barrel throat erodes and gets longer. The first point of contact with the lands gets farther away. To maintain consistent jump, or lack of it, the bullet needs to be scooted farther and farther forward. The load is then changing (additional case volume is created). At the least, velocity drops (always). Throat erosion alone creates more volume ahead of the bullet to accept expanding propellant gases. Savvy shooters account for and accommodate this by increasing the propellant charge over the life of a barrel, with the idea of maintaining velocity. Wise. I’ve found that the seating adjustment part is just not critical using a “forgiving” bullet.
4. Cartridge case segregation.
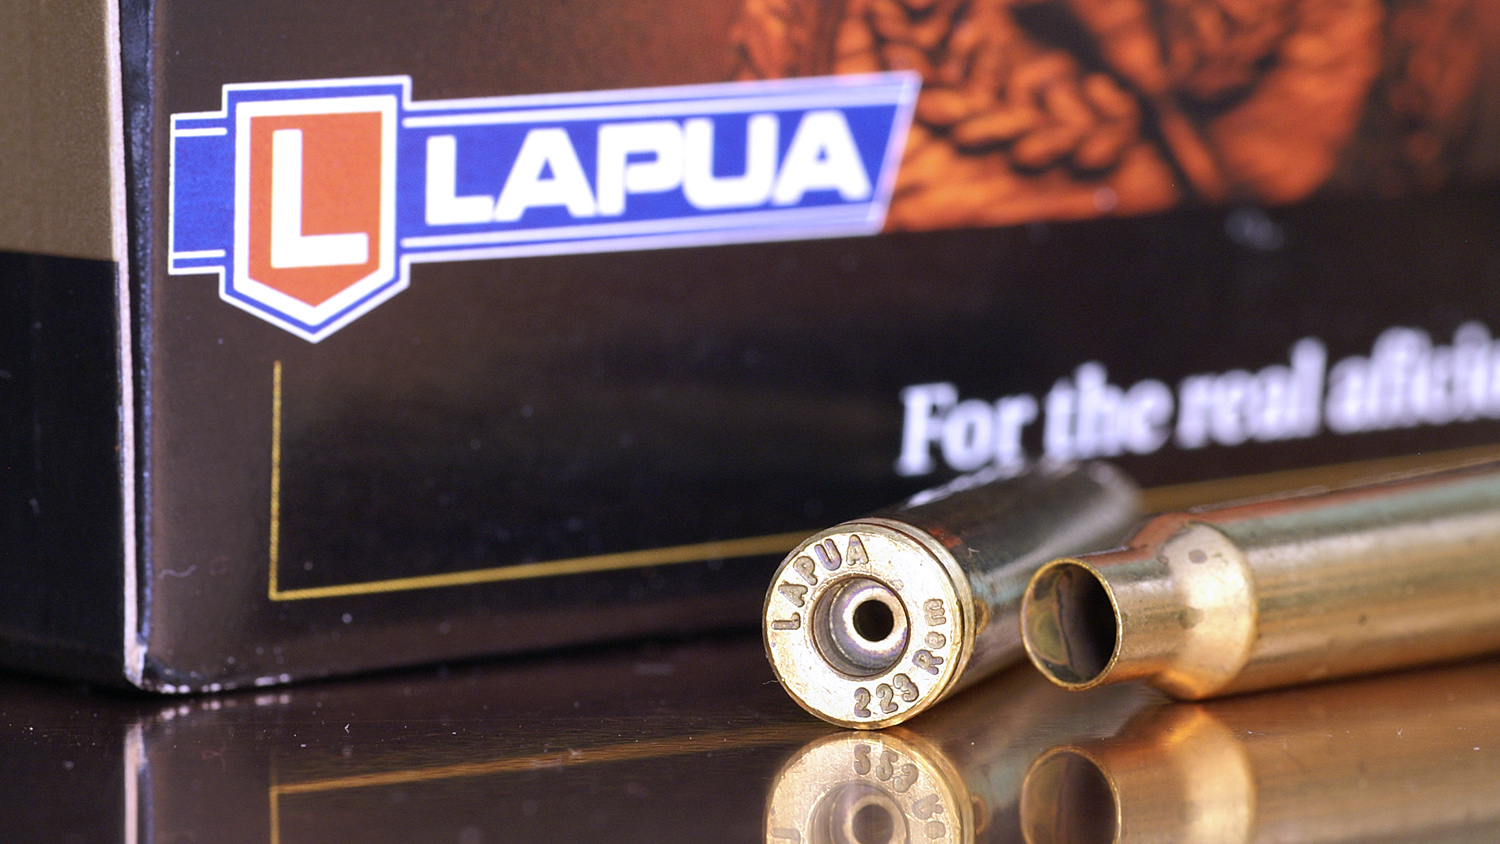
At the least, I suggest sorting and grouping new cases by neck wall thickness consistency (around the circumference). That really does matter. The more consistent neck wall thicknesses are, the more centered the case neck will be after sizing. It’s “concentricity”: centers within centers. Either measure the walls using a specialty tool or use a concentricity fixture (most call it a “spinner”) to find those that run the most true (spin only after sizing the neck).
5. The first tooling trick: inside flash-hole deburring.
This shows on target next group you fire. Most primer pocket flash holes are punched, and that operation leaves a burr inside the case. An inside flash-hole deburring tool, you guessed it, gets it gone. It obviously influences the consistency of ignition because, as said, I’ve seen measurable differences, all other things the same, on cases that have been treated, and you will too. It only needs to be done once.

6. Primer pocket uniforming.
There can be an accuracy improvement from this operation. What it does is flatten the bottom of a primer pocket. They’re punched also, and have a sort of cereal-bowl appearance in a cross-section.

Seated just right, a primer will be sitting flush on the bottom of a pocket, with equal compression on the anvil feet. Not truly possible unless the pocket bottom has 90-degree “corners.” The “plus” is also ensuring that all pockets are the same depth, and that’s an asset to safety in a semi-automatic (no “high” primers that might encourage a firing pin inertia-induced “slam-fire”). It’s a little tedious, but not so bad if power is applied. I use a tool chucked into a corded drill. However, I don’t always do this operation on a new case. I often wait until after one firing because the primer pockets expand (and get more shallow) with each firing, and the tool is way easier to use then.

Lastly, there’s tool selection and setup, and a dozen or more details and, like the content of this article, some have to do with “technical” improvements (outside case neck turning), and some have to do with “judgments” (“how much” sizing) and all those I plan to go into in the future.
Essential Advice
Don’t pursue as many ups and you’ll have fewer downs. This is in no way to say “don’t look for better combinations,” but it is to say to respect the need for consistency and flexibility in your choices. The very best propellant for your “600-yard” bullet may not be the best for the short-line. The very best bullet for 600 might not agree with your selection for the other events. But, over the long haul, there’s more points in your favor if you find a compromise that’s pretty good all the time. Again, it’s about gaining a few points here and there (otherwise lost to inconsistency)—and all shots count (which is to say that all shots score).
This article was specially adapted from Glen’s book Top-Grade Ammo that’s available at www.buyzedikerbooks.com.
Sources
Harrell’s Precision
540-380-2683
HarrellsPrec.com
Hornady
800-338-3220
Hornady.com
Nosler
800-285-3701
Nosler.com
JLK Bullets
417-831-2309
SwampWorks.com/jlk
Sierra Bullets
888-223-3006
SierraBullets.com
Sinclair International
800-741-0015
SinclairIntl.com
Forster Products
815-493-6360
ForsterProducts.com


