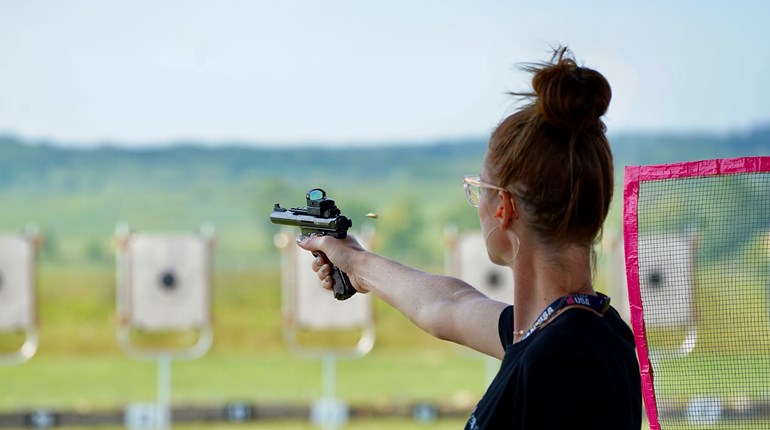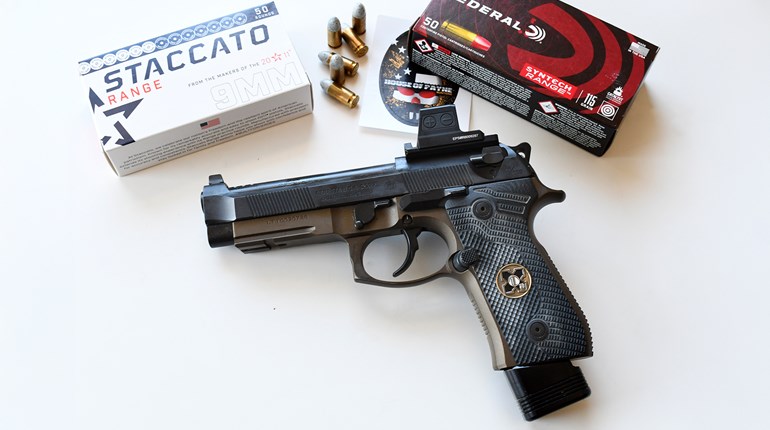
A revolver's simple appearance can be deceiving, as David outlines in this article about preparing a "wheel gun" for match grade performance.
It still amazes me how we can achieve precision accuracy from a revolver. Most of my work involves accurizing semi-auto and bolt-action rifles and semi-auto pistols, all of which have an integral chamber and bore. When I chamber a barrel, I go to great lengths to ensure that the bore and chamber are PERFECTLY aligned to allow the bullet to transfer from chamber to bore without any offset. A revolver really makes it challenging to achieve this same degree of alignment.
Each time the cylinder rotates, a new and separate chamber must be realigned with the barrel. For the revolver builder, this becomes quite an obstacle to overcome to ensure precision accuracy. Hopefully, your gunsmith is trained and skilled enough to accomplish this.
Certain adjustments, alignments, alterations and even replacements need to be performed to bring out the best function and accuracy of a revolver.
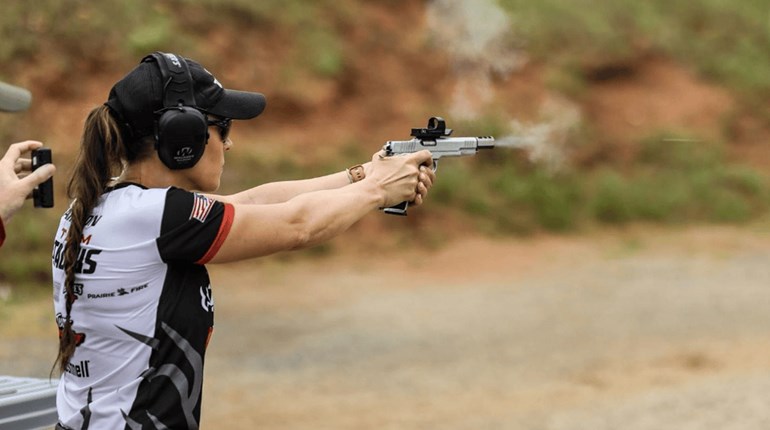
Additional considerations are the shooting disciplines for which the gun is intended: PPC (Police Pistol Combat) competition, Precision/Bullseye, Distinguished Revolver, the Harry Reeves Match, Action Pistol (NRA Bianchi Cup, IDPA and IPSC), Hunting, Silhouette or a precision defensive revolver. Each one will have its own limitations or expectations, either by rule of the game or the desire of the customer. However, all will share the same areas and components that require attention to detail to perform at their best.

Barrel: (Profile, Overall Weight, and Length)
The barrel length and weight will be determined by the shooter’s desired performance. Everything from a round cylinder to flattened sides or a combination of scallop cuts can be used to match the shooter’s grip and technique. The most common barrel bore twist rates are 1:10, 1:12, 1:14 and 1:16 (one complete rifling twist in 10, 12, 14 or 16 inches of barrel length). I prefer 1:14 for the more common 148 grain lead wadcutter bullet.
The first step in rebarreling a revolver is truing the receiver/frame shoulder where it joins the barrel shoulder. Next, cylinder/chamber alignment and adjustments are made, followed by profiling the barrel (setting external dimensions), threading, crowning and installation. The end of the barrel that joins the cylinder face is then cut to obtain a proper gap—normally .004 - .006 inches. Some gunsmiths use a .002 gap, but I feel this is a little too close due to leading, which can cause cylinder drag during rotation. Adjustments are then made to the cylinder hand and stop to achieve timing release and cylinder lock. The throat/forcing cone is then cut to within tolerance.
Cylinder
Next is cylinder alignment with the barrel. Adjustments may be necessary with the yoke, cylinder and cylinder bolt. Cylinder end shake (fore and aft movement) can be adjusted at this time, if necessary. All parts are then adjusted and polished for smooth cylinder rotation. If not, it will be felt during double-action trigger pull.
Smith & Wesson revolvers, as with the snub-nose project for this article, incorporate a locking bolt and center pin to prevent lateral movement of the cylinder. However, when a replacement barrel is installed, the front locking bolt is usually omitted, which only leaves the rear center pin to hold the cylinder in position. Installing a ball lock in the yoke is the solution.
Next is the most critical part of the entire accurizing process—the internal mechanism. The major components are the hammer; stirrup; sear; hammer nose (firing pin); trigger; hand; trigger lever; rebound slide and spring; mainspring; and cylinder stop and spring. These parts allow the revolver to fire and operate.
All of these internal parts are polished and adjusted for “butter smooth” double-action trigger pull. Lighter trigger pull is achieved by mainspring replacement or modifying the original. Care must be taken not to make the mainspring too light, or you will not have sufficient primer strike to fire the cartridge. Some customers elect to have the trigger pull lightened enough to detonate specific “sensitive” primers, but won’t fire other, harder primers. While polishing, care must be taken not to remove too much material, which would cause the mechanism to be out of “time” with other components.
The double-action firing sequence in a typical Smith & Wesson revolver includes thirteen steps, from pulling the trigger; trigger lobe engages sear; hammer begins rotation; cylinder hand begins lift-up; mainspring compressed—to the hammer nose finally striking the primer. There’s another, similarly lengthy sequence from releasing the trigger, which starts everything just mentioned to move in reverse. Any one component that rubs or is out of sequence will result in rough operation, malfunction or worse.
Sights and Other Options
There are many sights to choose from including a full rib-style that is adjustable (front and rear) with presets for proper lead at different distances. Others include mechanical and red dot sights, each with their own mounting requirements.
Other features to be considered include trigger over-travel stop screws; a wide variety of grips; chamfering chambers to aid in loading; removal of the hammer spur (for double-action only concealed use) different trigger pull weights; polishing the face of the trigger and barrel porting—to name a few.
As you should realize by now, the typical revolver is quite a complex machine, perhaps more complicated than one might think. However, they can be made to be extremely accurate, reliable and smooth operating, if done properly.
World’s Most Accurate Snub-nose?
SSUSA asked master gunsmith David Sams to accurize one of the most inaccurate guns—a snubby. In addition to the 3” barrel, Sams applied all of the measures discussed in this article. The results:
To learn more about Sams Custom Gunworks, go to www.samscustomgunworksusa.com.
All photos by Lloyd Hill.


