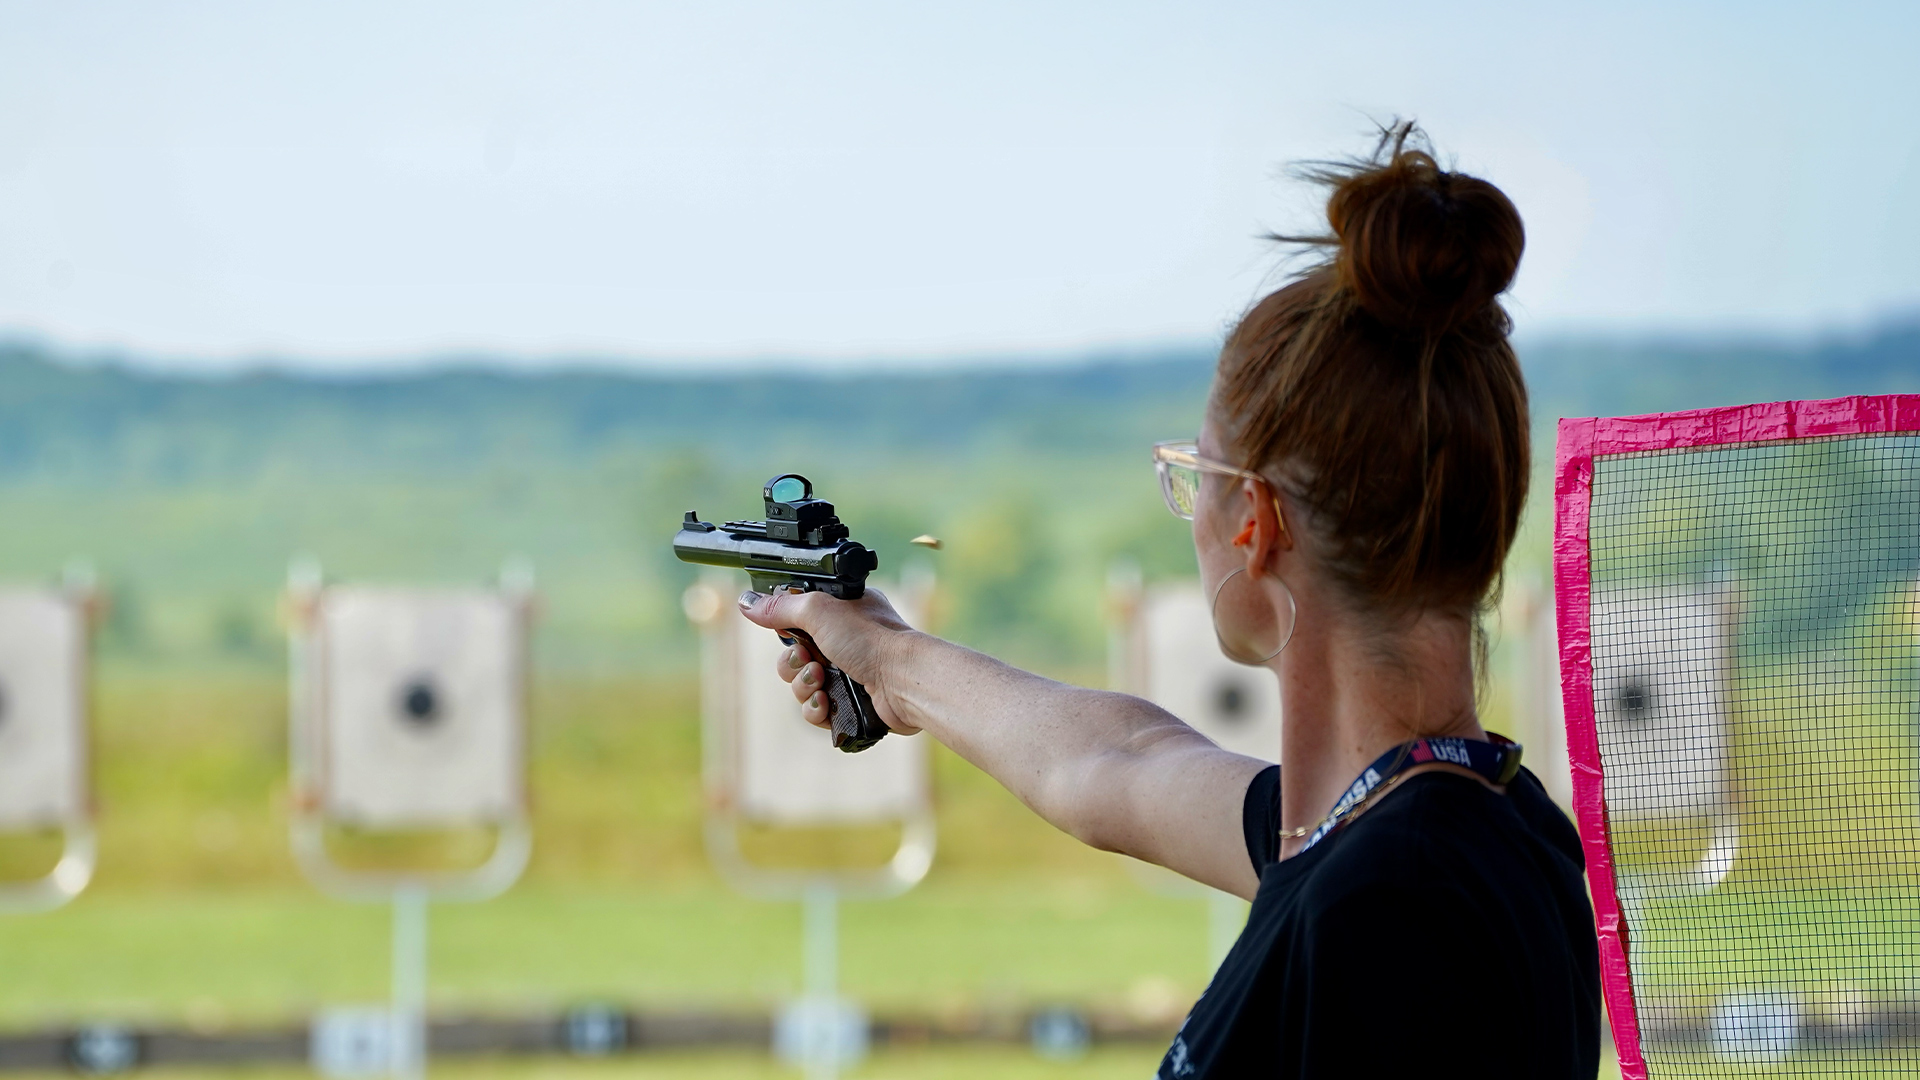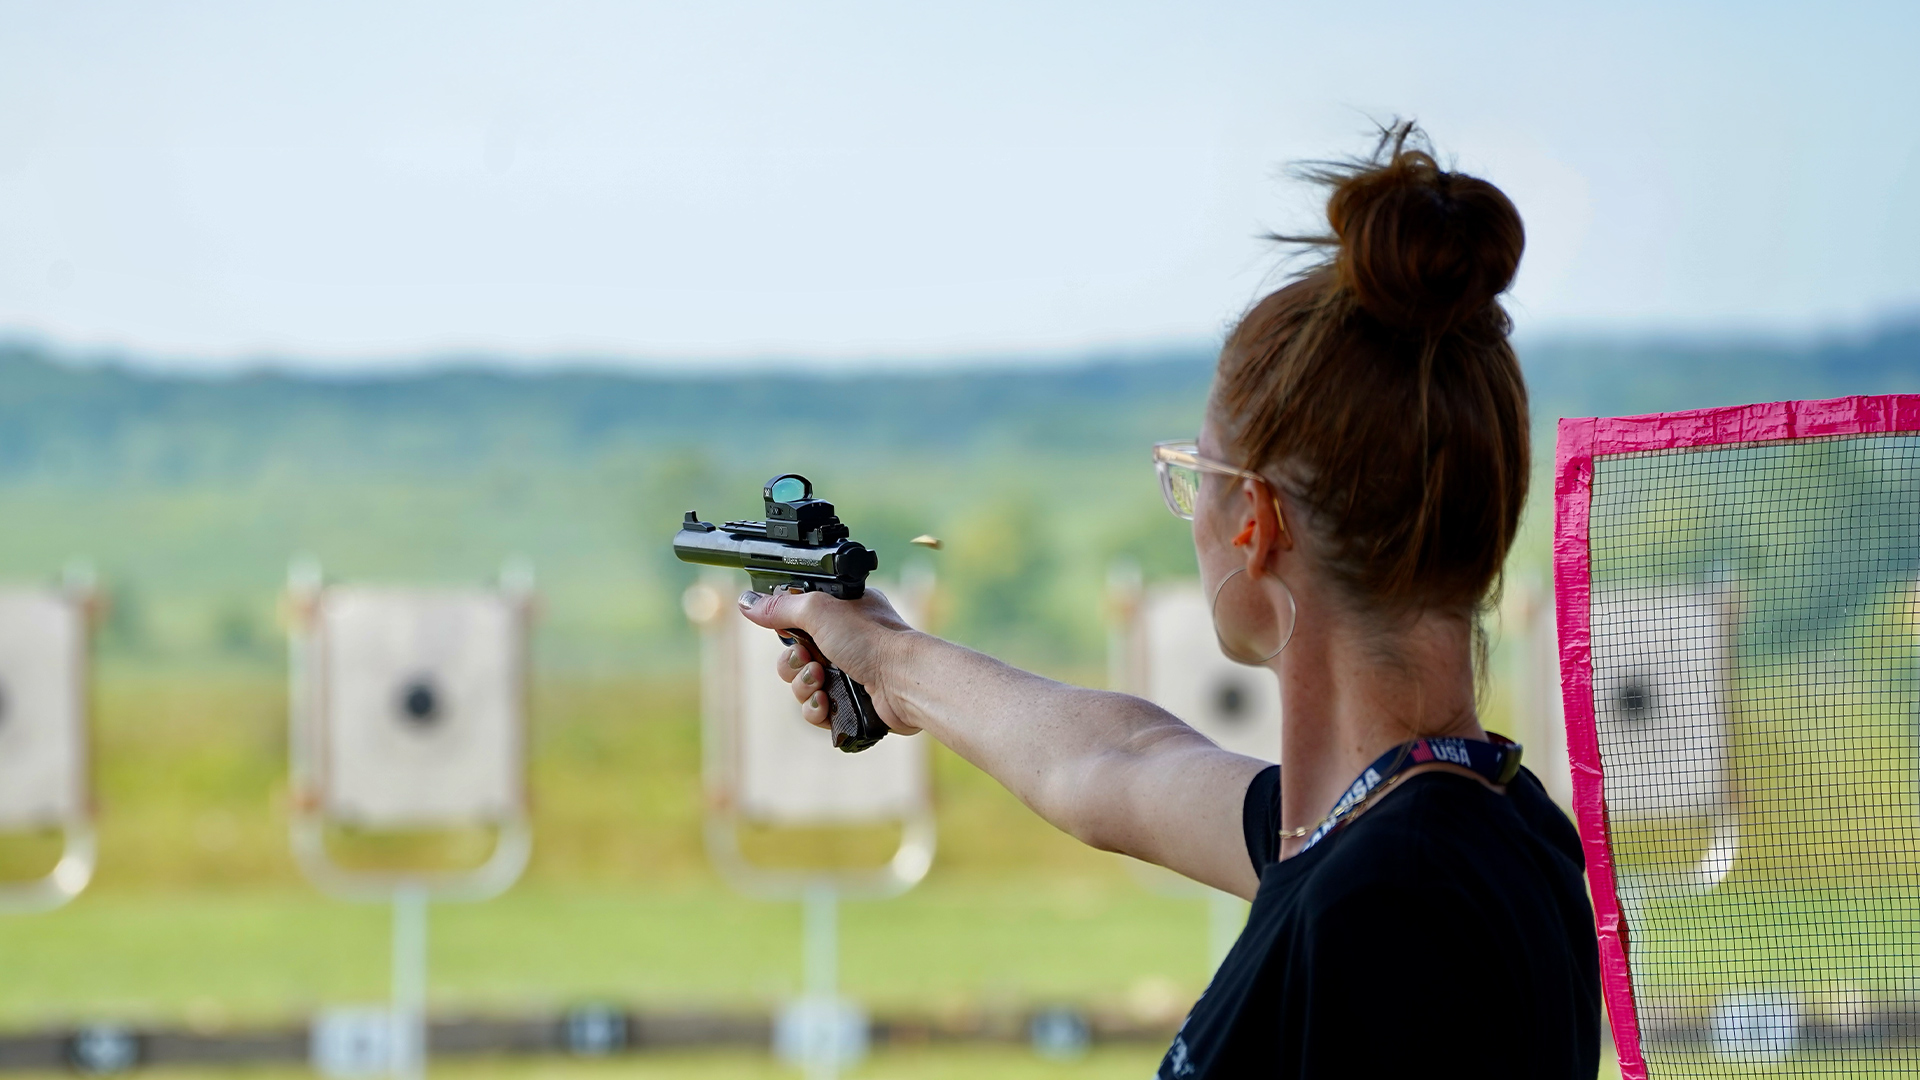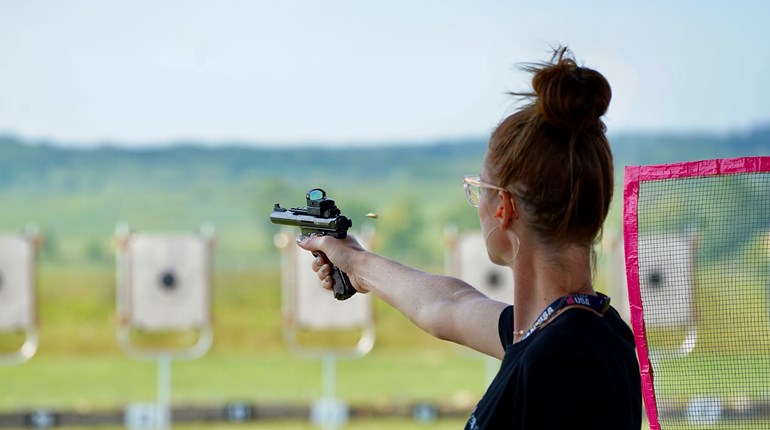
Some of what you’re about to read may sound contradictory to other lessons that have been taught in the past. By no way am I suggesting they are incorrect. I am merely giving my approach to learning precision pistol—and what I do as a shooter.
Trigger control

Trigger finger placement really counts when the shot breaks. Now don’t get me wrong, stance, grip and aiming are important but keep in mind that you can have a perfect grip and hold perfect sight alignment all day long. It only counts when the gun goes bang and only one action causes the gun to do that—pulling the trigger. You can hold the gun upside down, squeeze the trigger with your pinky, and align the sights to the target in a mirror and shoot tens as long as you don’t jerk the trigger. However, please *do not* try that at home!
Aside from that, this is what I was taught and this is what I do. Please keep in mind it is only one way, and not the only way—but I have had pretty good results with it. Also, this is for a trigger that has at least a little roll—which is my preference.
First, let’s look at trigger finger placement. And remember this is an article on precision pistol shooting. If this were an article on free pistol or air pistol, it would be different. International shooters, please don’t unleash the hounds on me!
Now, where should the trigger make contact on the finger? The trigger should be centered in the first crease of the trigger finger. Why you ask? We have always been taught to place the pad on the trigger. If you have a trigger that weighs in-between two and four lbs., that is enough weight to move the fleshy part of the pad of your finger. Try it! Get something that weighs at least two lbs. and has a tip or point on it the size of a pen, or just use a trigger. Put your hand on a table or desk, palm up and slowly lower the weight onto the pad of the finger. It moves a lot. Now lower the weight onto the first crease of the finger, right on the joint. Sure it moves, but a whole lot less than the fatty, fleshy part of the finger pad.
After having conducted this little experiment, think about pulling the trigger with the pad of the finger. The first part of movement you feel is flesh and fat moving out of the way. This is not part of the movement involved in trigger control.
For example, have you ever been shooting well and in slow fire you start to get “chicken finger?” The trigger starts moving and then it stops and feels like it weighs 30 lbs., or did it move at all? Maybe what you felt was the flesh moving out of the way because you were shooting well and didn’t want to screw up the match, so you are really in tune with what you are feeling in the trigger.
Now think if the trigger were placed at the crease or first joint of the trigger finger. When the trigger moves, what you are feeling is really the trigger moving.
Let’s go even deeper—take a pen or a pencil and start tapping the fleshy part of the web between your trigger finger and the thumb. Keeping the same intensity, move the tapping up to the large knuckle on your trigger finger. Feel the difference? The flesh acts as a shock absorber to the tapping where the tendon in the joint is more of a conductor. I know what you’re thinking—why do I want to feel that?
Because it is that important to be able to feel every little movement of your trigger so you know that you are squeezing the trigger and not jerking the trigger.

Types of trigger squeeze—when I was in Boot Camp they taught us about trigger control before we went to the rifle range. I now look back and realize they were, well not wrong, but mistaken (just in case I run into my old Drill Instructors and by some strange twist of fate they read this article). The U.S. Marine Corps taught two different types of trigger control, Interrupted and Uninterrupted. And, I still believe that there are two types, Uninterrupted and Wrong.
If trigger control is ever interrupted in slow fire, the shot needs to be aborted and the shot started over. If trigger control is interrupted in a sustained fire stage, then we revert to our “key word” that triggers us to kick start our shot process.
Sight alignment and trigger control—often when the fundamentals are explained, these two are explained as two different acts. In actuality, it’s hard to accomplish one without the other. They have a symbiotic relationship. To truly settle the movement in the dot or sights you need a smooth, steady trigger squeeze. Trigger control is merely a reaction to what the eye sees.

What? One can hold perfect sight alignment/sight picture for a long time. Now, apply pressure to the trigger and what happens? Something moves, right? If this happens in a slow fire shot, what typically happens is we stop squeezing until everything settles down again and we start the trigger. It moves. We stop the trigger. It settles. We start the trigger. It moves and so on and so forth. From this we can see how the finger already acts to what the eye sees. We do not have to train the eye to accomplish this, since it already does it. We need to make it work for us and get the finger to react at a more opportune time, before we have obtained perfect sight alignment/sight picture. Yes, I just said to start squeezing the trigger before you have obtained a perfect sight alignment/sight picture.
Your sight alignment should be pretty close to perfect, since we have mastered a perfect grip and the sights are aligned, not just to each other but also to the other eye as soon as the gun is raised. If not, we will master that soon. Before the sights or dot have settled into the center of the target, we should start our trigger squeeze, taking advantage of the pressure that is being applied to the trigger to help stabilize the sight. Continue to squeeze the trigger uninterrupted, using that pressure to help move toward and stay center and allow the shot to break.
Therefore as it stands, I am not a big believer in the surprise break. I know when my gun is going to shoot and what it feels like right up until it shoots. I really know my trigger and I have done lots of dry firing without looking at the sights—just to know what it feels like.
This method has been called steering the sights with the trigger, but I’m not a fan of the connotation that carries—it is more of a sight alignment/sight picture through trigger control concept.
Grip issues

I am not saying that the grip I describe here is the only one to use. It is merely an option—it all depends on your hand size and structure. It works for me, and it has worked for many shooters that I have taught it to. And just to be clear, it is not unsafe for those who have questioned it, because the gun will move less with this grip. Hence, if you do use a grip that aligns the sights and gun up your arm to your shoulder, you are putting yourself at a huge disadvantage.
A proper grip is a grip that will naturally align the gun’s sights to the eye of the shooter, without having to tilt your head or move your wrists around in order to do that. Also, most importantly, a proper grip is a grip that allows the gun to return to the same position that allowed the sights to be aligned without having to search for the sights after each and every shot.
Too many times I have seen, and I am sure most of you have done it yourself. Someone shoots and you can see the front of the gun waving around as they try to get sight alignment back. This is not a problem with recoil management, grip strength or position. This is a grip issue.
As a result, if you line the gun up your arm and to your shoulder in order to align the sights one of two things must happen. Your head leaves a natural position in order to see the sights since they are lined up with your shoulder or you have to turn your wrists until the sights are aligned to your eye, but then the gun is no longer aligned up your arm. This was called “grip alignment.”
Yes, back in the day they taught “grip alignment.” Well, grip alignment as they described it is BS, just like Natural Point of Aim with a pistol is BS. But that’s a completely different conversation. Two-handed shooters don’t even shoot with the gun aligned up their strong arm to their shoulder. Unless you have some deformity, and your head is growing out of your shooting side shoulder, why would you want the gun aligned up your arm to your shoulder?
Now keep in mind, this is for a 1911 slab-style grip or a .22LR with slabs. Unfortunately, if you are using orthopedic grips—you can’t do this with them.
Using Zins grip

My grip is simple, it’s not hard to get into and once you get it, it will feel better, recoil will be better managed and the sights will always come back to alignment. If you rotate the meaty portion of your hand below the little finger behind the back-strap of the gun, every time you shoot, it will want to move off of it. It is just a squishy, fatty portion of your hand that cannot control the gun or offer any resistance to recoil whatsoever. The fatty portion of the hand there cannot be moved, it is just fat. Try to move it. The movement caused by making a fist does not count, because the rest of the hand causes that movement. The place the gun tends to move to is the valley formed between that meaty portion below the little finger and the meaty part of the thumb. So I ask—why not start with the gun in the place it wants to be?
Unfortunately, even with a picture this is hard to describe. When done in person, I usually have to work individually with shooters to show them how to do it.
The best and easiest way to get the proper grip, at least a good starting position as you may need to tweak it around a bit until it feels good, is with a holster.
Put your 1911 in a holster on the side of your body; not in front or behind, but on the side of your hip. Put your hands in the surrender position, like the action shooters form. Keep your eyes and head straight and allow your shooting hand to come down naturally to the gun; don’t move it around—just let it come down and grab the gun. The fatty part of the little finger should all be on the right panel of the grip. Now, keeping the gun in your hand with the grip, assume your one handed shooting position. The sights should be pretty close to being aligned. If they are not then you need to tweak the grip a bit.
Part 2 of this series will include aiming the red dot sight, forming a shot process, and handling anticipation.
Photos by John Parker.

