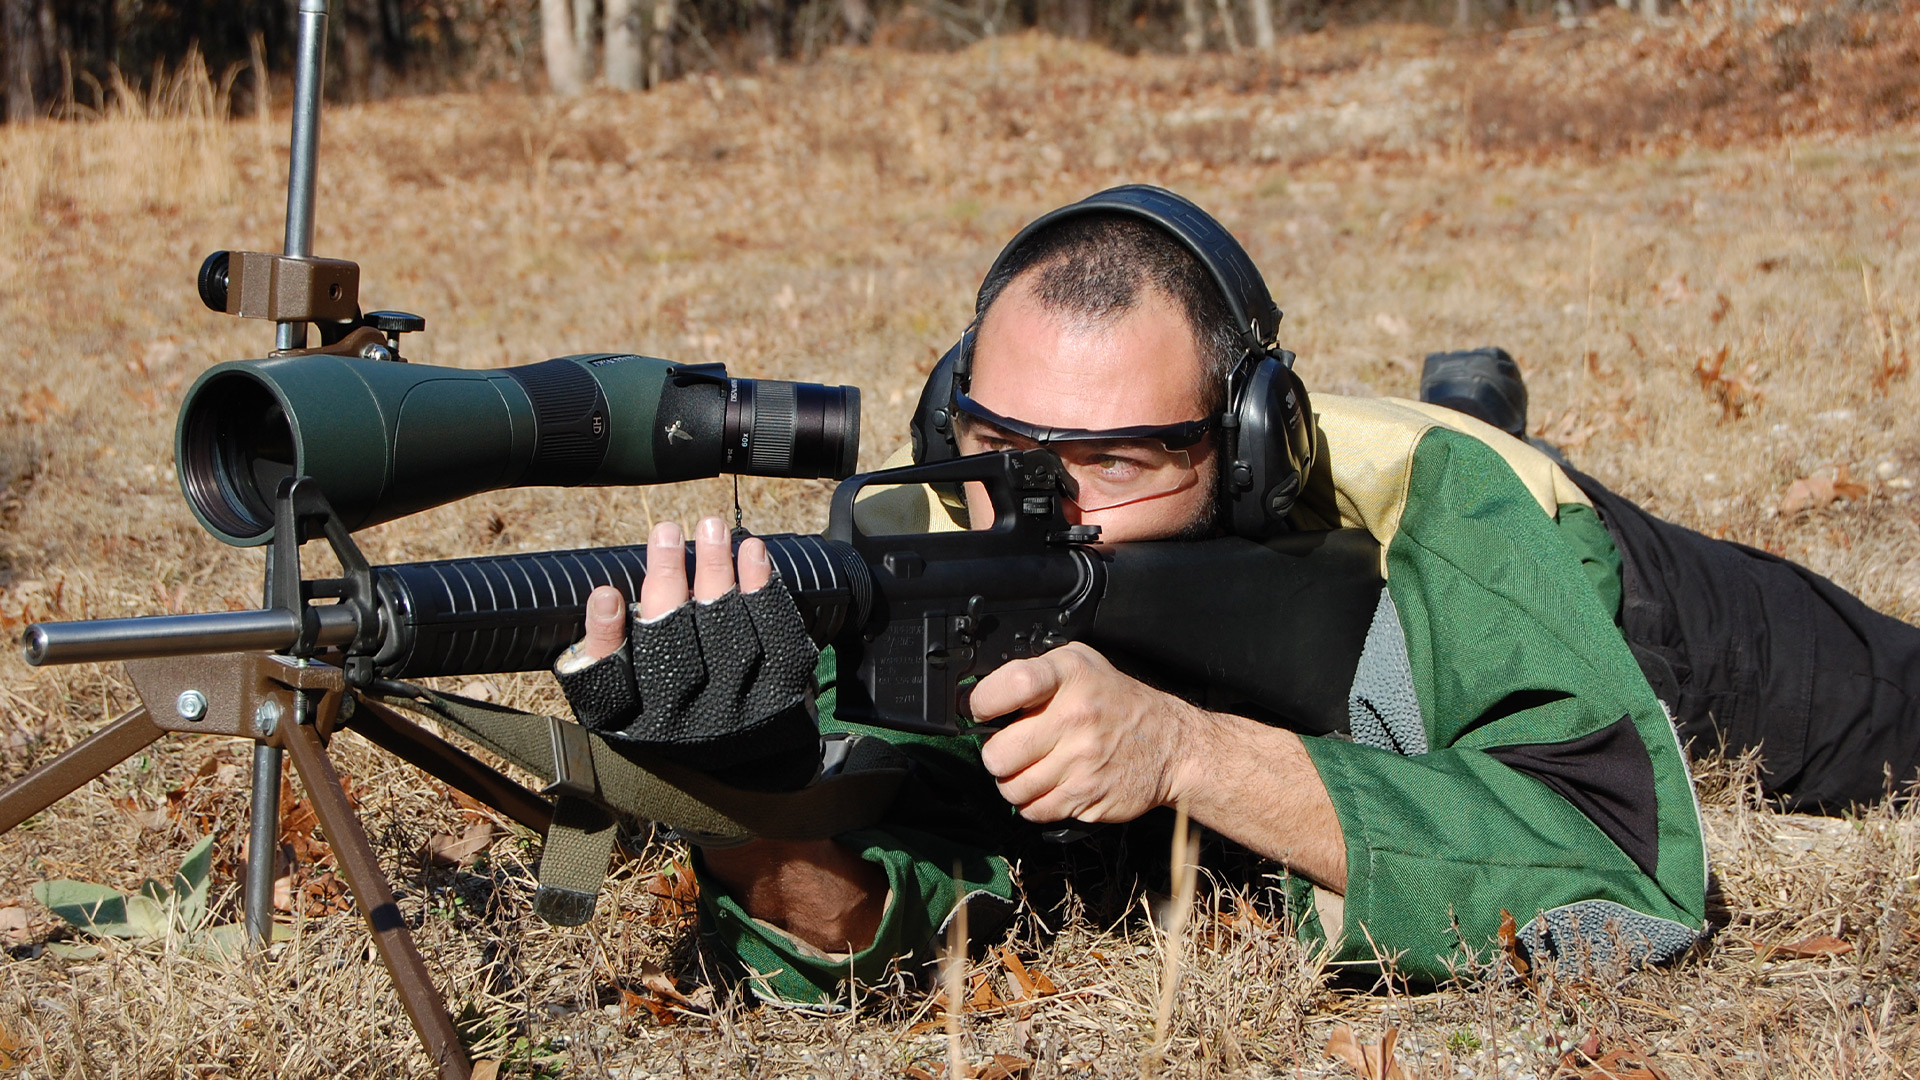
One of the purest forms of marksmanship, there’s a good reason that Service Rifle has been a popular discipline for many years—shooters are challenged to shoot bullseye-style targets from the standing, sitting and prone positions.
Typically fired as a four-stage match, many shooters are intimidated by the standing leg of the match, as it is completely unsupported, without so much as a sling to help steady the rifle. While this is certainly challenging, the standing leg is shot at the most forgiving target and comprises only one-fifth of your score (National Match Course, 50 rounds). In addition, as the closest target, the wind seldom needs to be addressed and compensated for.
In Service Rifle, more than 50 percent of the match is shot in the prone position (again, 50 rounds in the National Match Course). Additionally, high power prone targets have the smallest X-rings and are shot at the furthest distances. Thus, it pays to become skilled at shooting while on your belly. Here are five tips to help improve your prone shooting.
Help yourself breathe
First and foremost you have to be comfortable—otherwise you are going to rush your shots just to get back up off of the ground. Many shooters come into Service Rifle using a shooting position that is better suited for firing guns that are braced with a bipod. Yes, getting yourself completely behind the gun will help with spotting impacts—but that is not part of this style of shooting. Moreover, your support arm isn’t back by your chest, helping to keep it off of the ground.
The key to being able to breathe in Service Rifle is getting the shooting leg up towards your chest, which takes the pressure off of your diaphragm. Once you do that, it will be far easier to endure this position and concentrate on shot placement.
Unbuckle your coat
Congratulations are in order if you’ve reached the point where you notice an improvement by wearing a shooting coat. This piece of clothing does wonders in the standing position and also serves a purpose in the sitting stage. However, in prone it only provides support for the elbows and will slightly help keep the buttstock from slipping. That being said, don’t take it off. Instead, loosen the bottom buckles and allow a little air in. This will be more comfortable, because said buckles have a tendency of poking you in the gut and straightjacket-style lumbar support isn’t helpful on the ground.
Fix your support arm
Bone is far more resilient than muscle. This is why you should bring in as much bone support as possible and minimize muscle use. Essentially, the closer your support arm is to your rifle, the steadier it will be. Often, a shooter will attempt to “chicken wing” both arms and the result is an unsteady position that becomes an unintentional chest and bicep workout. This is usually done to accommodate a predetermined sling tension, so be sure to adjust your sling around your shooting position—never the other way around.
Relax your legs
After you have found that sweet spot to help you to breathe, you are going to want to relax every part of both legs. If you feel your quads tightening in your shooting leg, be sure to adjust so that you don’t have to squeeze them to hold your position. As for the other leg, many shooters will “stand” on the toes of their support foot, which is unnecessary muscle use and can even cause a pendulum effect on a breezy day. This foot needs to be relaxed in a way where the top of your foot is making maximum contact with the ground.
Remember—muscle will either react or relax once the trigger has stopped moving. This is a split second before the hammer hits the firing pin, which in turn strikes the primer, burning the main charge and sending the bullet down the barrel. During this sequence, the last thing you need is any movement from a muscle that is giving up or twitching because it has been engaged too long.
Remember natural point of aim
Also on the topic of muscle error is natural point of aim. After you have a comfortable, balanced and relaxed shooting position, next you need to index it to your target. To do this, pretend that your support elbow is strapped to a swivel and cannot be moved off of the ground, only rotated. Now, shift your hip around your elbow until your front sight is on the target. Once it is there, take a shallow, relaxed breath with your eyes closed, then reopen them and examine. If you are no longer on target, then you need to adjust your position until you can repeat this process and stay where you need to be. The shallow breath and relaxation replicate what your body does immediately before and during recoil. This is a small portion of your unique shooter error and can be minimized through this technique.
Shooting the rapid-fire leg? No problem. Establish your natural point of aim during your prep period and then put a piece of brass (or a chamber flag) when your support elbow was. As you become more consistent in your position, this will begin to serve as a faithful bookmark—leaving you more time to get all 10 of your shots off.
Read more: Intro to Service Rifle


