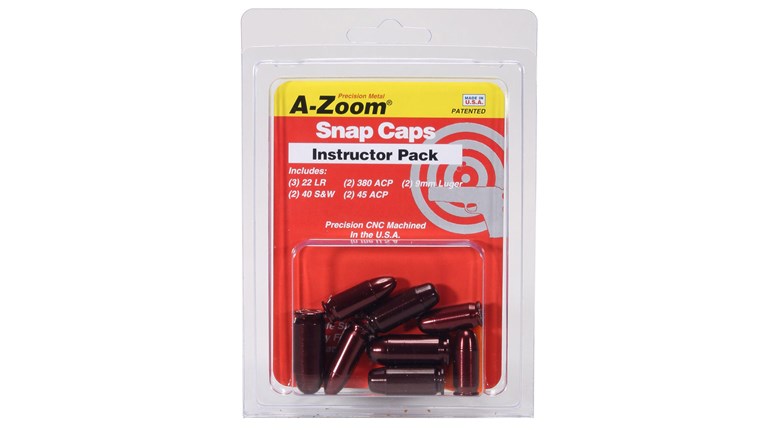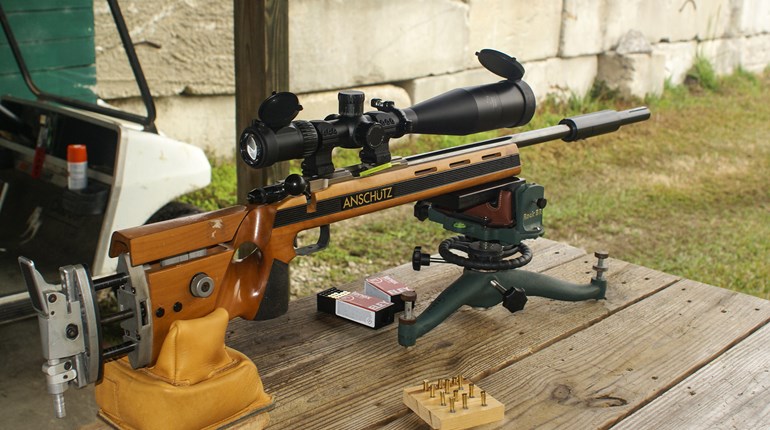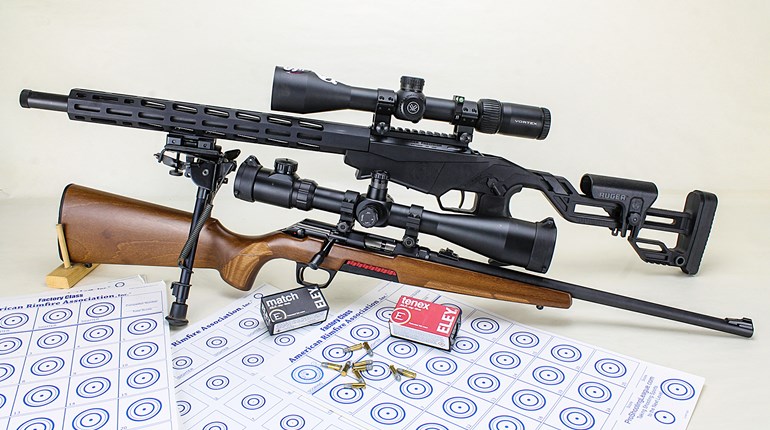
Above: Dry firing a .22 can peen the breech face so that a cartridge has difficulty—or is impossible—to chamber or extract.
We all know that dry firing a rimfire cartridge firearm can damage the chamber edge to the point of rendering the firearm inoperable. With an inexpensive tool and the proper procedure, most DIY gun owners can fix the problem easily at home.
Probably all of us who grew up as children shooting firearms became acquainted first with the rimfire cartridge. One of the early rules we learned, soon after, “Keep the muzzle pointed in a safe direction,” was, “Don’t dry fire a .22 LR.”
Peening problems
Of course, a .22 rimfire hammer or firing pin must travel far enough forward and with sufficient force to crush the rim of the cartridge in order to detonate the priming compound distributed around the inside of the rim. Rim thickness of the .22 LR cartridge is an ostensible 0.043 inch; without a cartridge in the chamber, the typical .22 LR firing pin will overtravel that distance to strike the bare steel breech face. Firing pins must be of hardened steel if they are to survive long, and repeated dry firing will eventually cause the firing pin to peen a bit of the breech face steel to partially block the chamber mouth. This bit of peened-over steel can cause difficult chambering of a cartridge, or prevent it entirely; and if it does manage to chamber, extraction of a cartridge case may be difficult or entirely prevented. In a semi-automatic action, you may experience feeding failures and jams caused by either of these chambering and extraction problems. Peened chamber mouths on revolvers can create very difficult extraction, too, requiring knocking the extractor rod with or against a hard object, which can then damage the extractor rod.
While this peening potential was part & parcel of common .22 LR rimfire firearms before the 1960s, today there are some, such as Ruger’s 10/22, that are not damaged by dry firing. Still, such guns are exceptions to the general rule, and it isn’t unusual to pick up a used .22 LR rifle from a dealer’s rack and find a peened chamber mouth.
Ironing the chamber
Repairing the damage is usually simple and straightforward—swaging or “ironing” the peened metal to clear the chamber mouth. We accomplish this with a swage of the proper design, taper and diameter; a gunsmithing swage specific to this task is called a chamber iron.

Lacking a dedicated rimfire chamber iron or swaging tool, gunsmiths and DIYers sometimes made (and make) their own from #1 drill rod, which has a diameter of 0.228 inch, a close but imperfect fit to the SAAMI standard 0.2307-inch diameter at the .22 LR chamber mouth. Note that drill rod is typically sold tempered soft so that it can be easily worked; a drill (that you chuck in your drill motor for drilling holes) is hardened, making it more difficult to modify into a swaging tool.
A tapered punch might also work as a chamber mouth swage, but it’s even more of a “shade tree mechanic” approach than the almost-fits-drill-rod scenario that can create other problems. A punch must have both the correct diameter and the correct taper. If the taper is too long, the front edge of the punch can contact the chamber throat, leade or bore and may damage it, leading to a loss of accuracy and an increase in lead fouling. Also, for most rimfire rifles and semi-automatic pistols, and with revolvers, it will be necessary to remove the barrel from the action to utilize the ersatz punch tool.
The ChamberMade
The proper tool for the job has been the T. W. Menck .22 LR Rimfire Chamber Ironing Swage; not only the correct dimension and hardness, it can also work without removing the barrel from the firearm. A Menck chamber iron has been in my toolbox for many years. The bad news: it went out of production some time back. The good news: Tandemkross is now producing a clone.

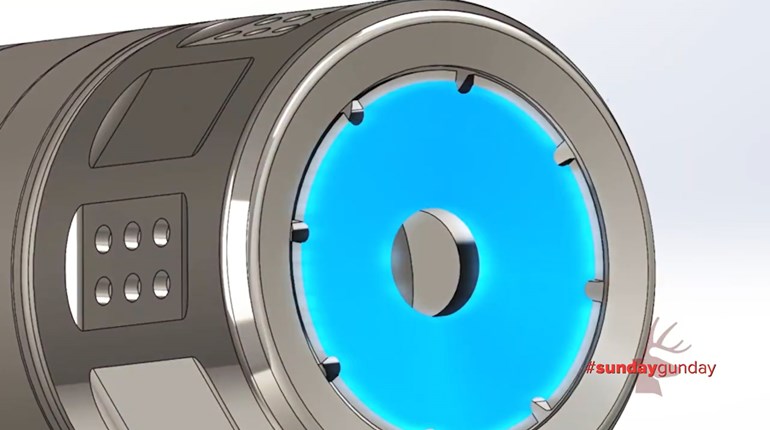
Similar to the Menck tool, the Tandemkross “ChamberMade” Chamber Ironing Swage works by inserting the swage into the chamber mouth, applying hand pressure, then turning to “iron” the peened metal. The procedure is as easy as one, two, three:
- Apply a light coat of oil to the chamber mouth and tool to prevent galling.
- The tapered ChamberMade has a flat machined on one side; insert the tool into the chamber with the flat facing the peened metal.
- Apply stiff hand pressure and rotate the swage with a ¼-inch hex drive screwdriver or wrench until the damage is ironed out.
If necessary, you can insert a cleaning rod through the muzzle of the firearm and then thread the ChamberMade onto the rod at the chamber. Clamp a visegrip (locking pliers) onto the rod (use padding to protect the rod), then pull on the cleaning rod to apply pressure and turn the rod with the visegrip.

Alternatively, insert the ChamberMade swage into the chamber with the flat away from the peened metal, insert a ⅛-inch drift punch into the swage and tap lightly with a hammer.
You can mount the barrel in a padded vise, or cushion the muzzle while placing it against the workbench or floor. With the cleaning rod method, you may want to utilize a bench vise or the assistance of a helper.

Tandemkross’s ChamberMade is available via its online catalog for $25.99. No, the home DIYer probably won’t use it often, but the chamber iron is one of those “forever tools” that won’t need replacing, and sooner or later you’ll be a minor hero to a grateful shooting buddy who doesn’t know how to repair a .22 damaged by dry firing.
See more: Why Dry Fire?


