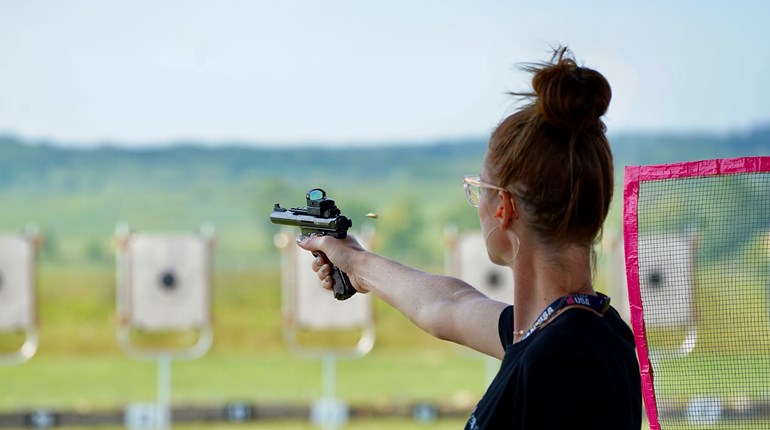
Steel Challenge is all about being efficient, achieving maximum productivity with minimum wasted effort or expense. So with that in mind, I went about how to maximize my productivity with my gear this year and to hopefully improve my overall performance.
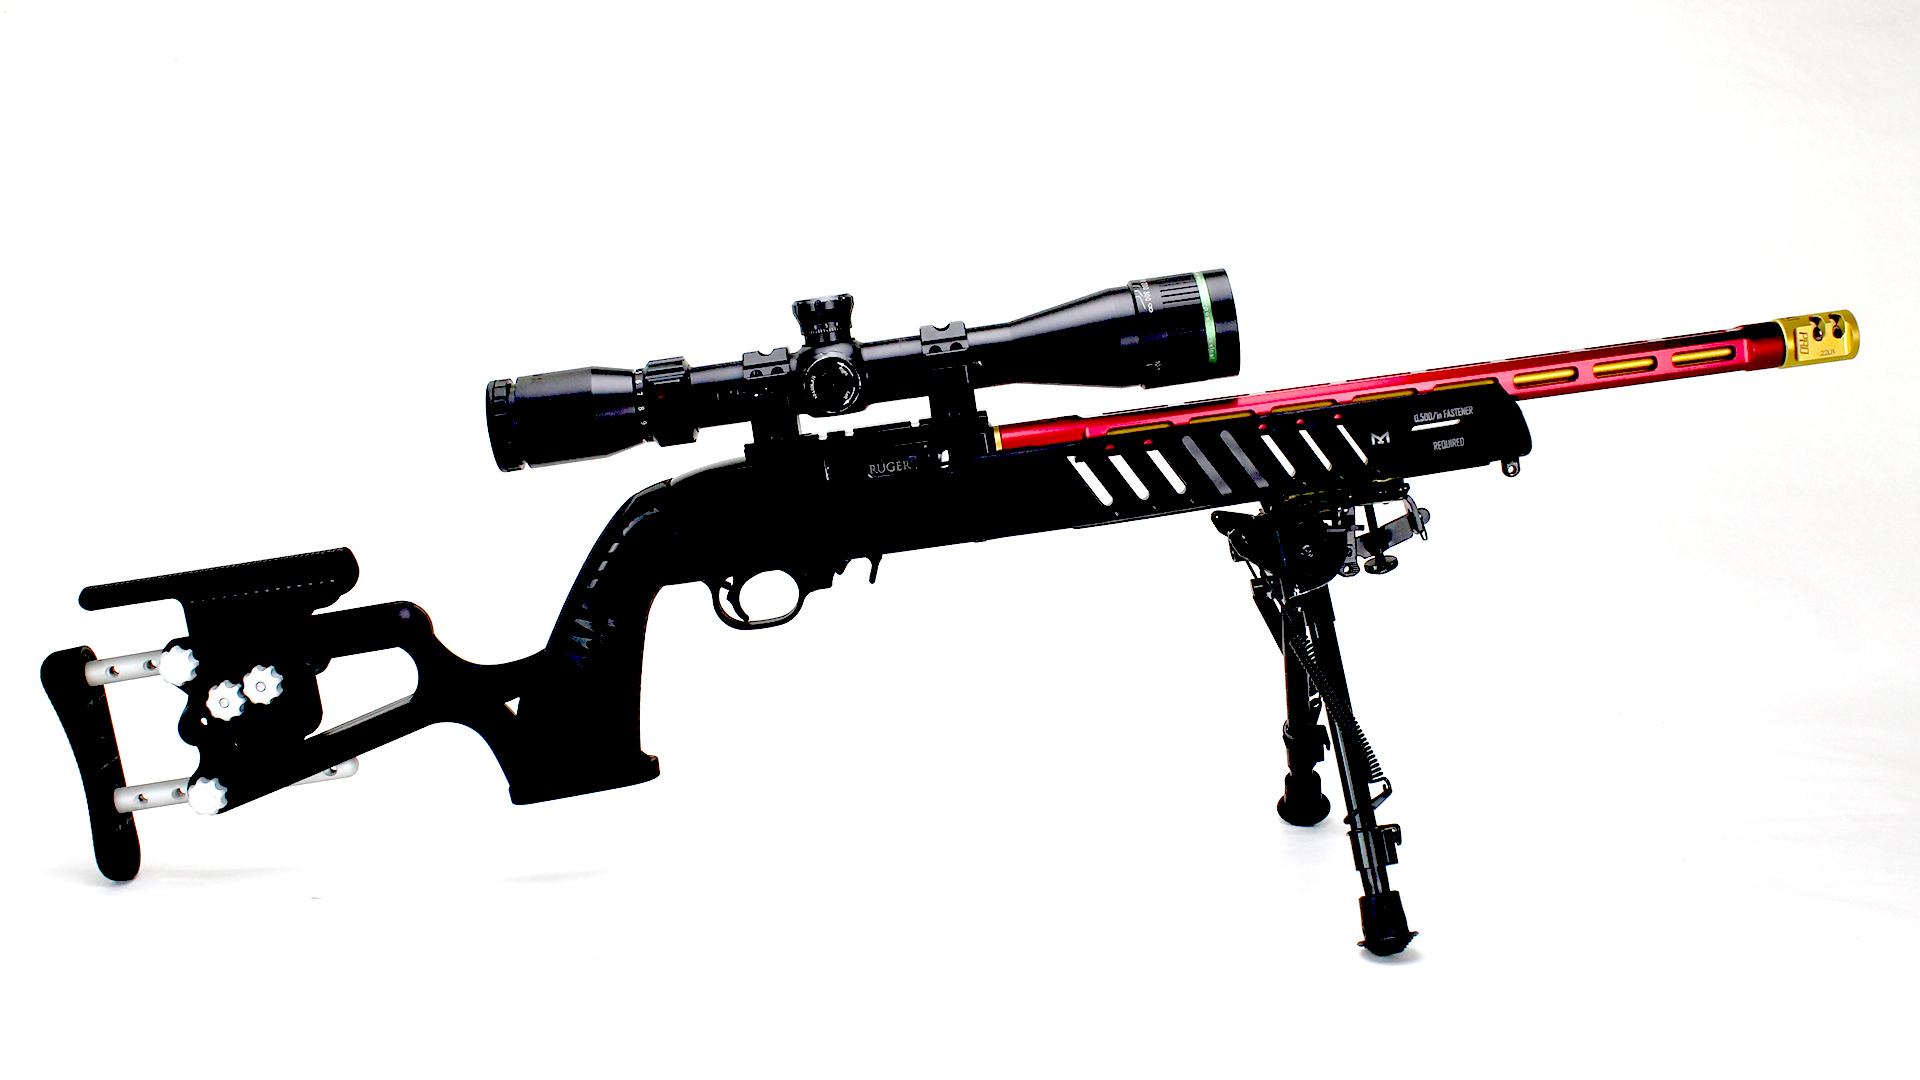
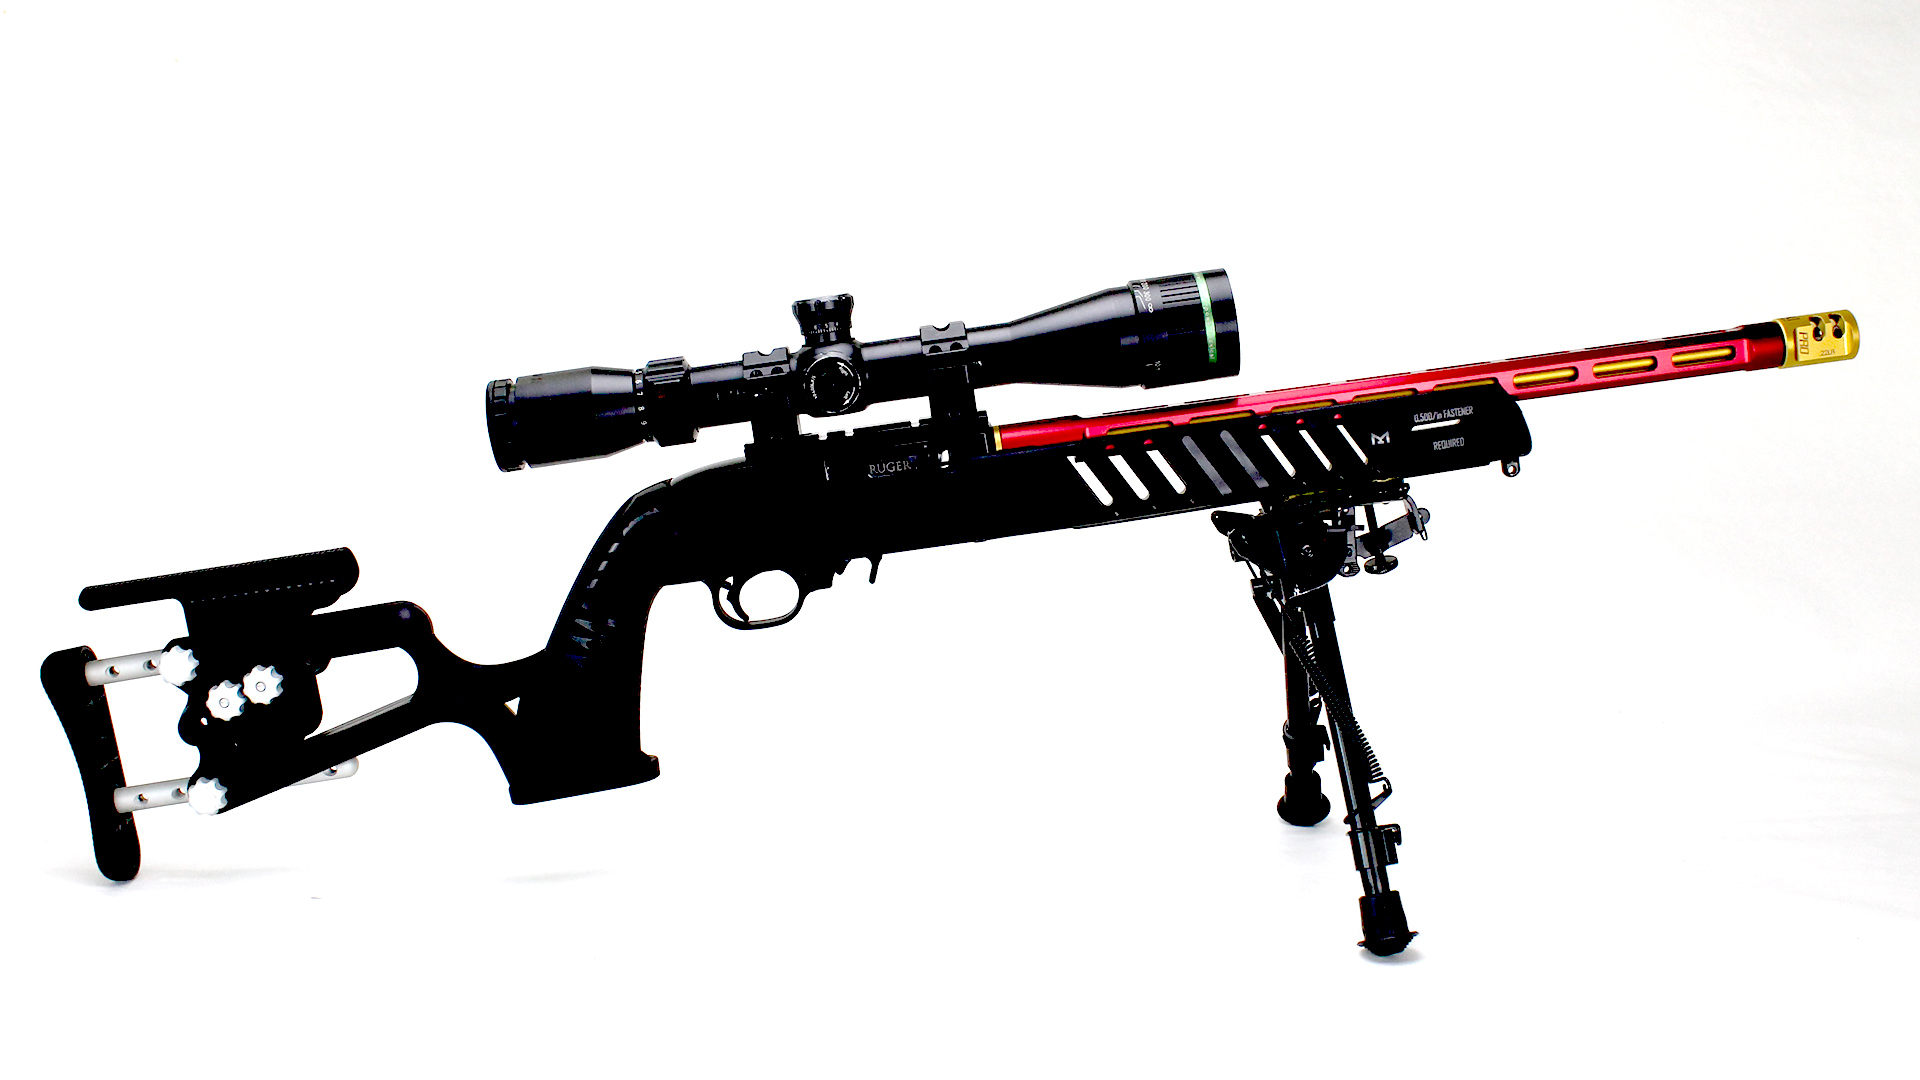
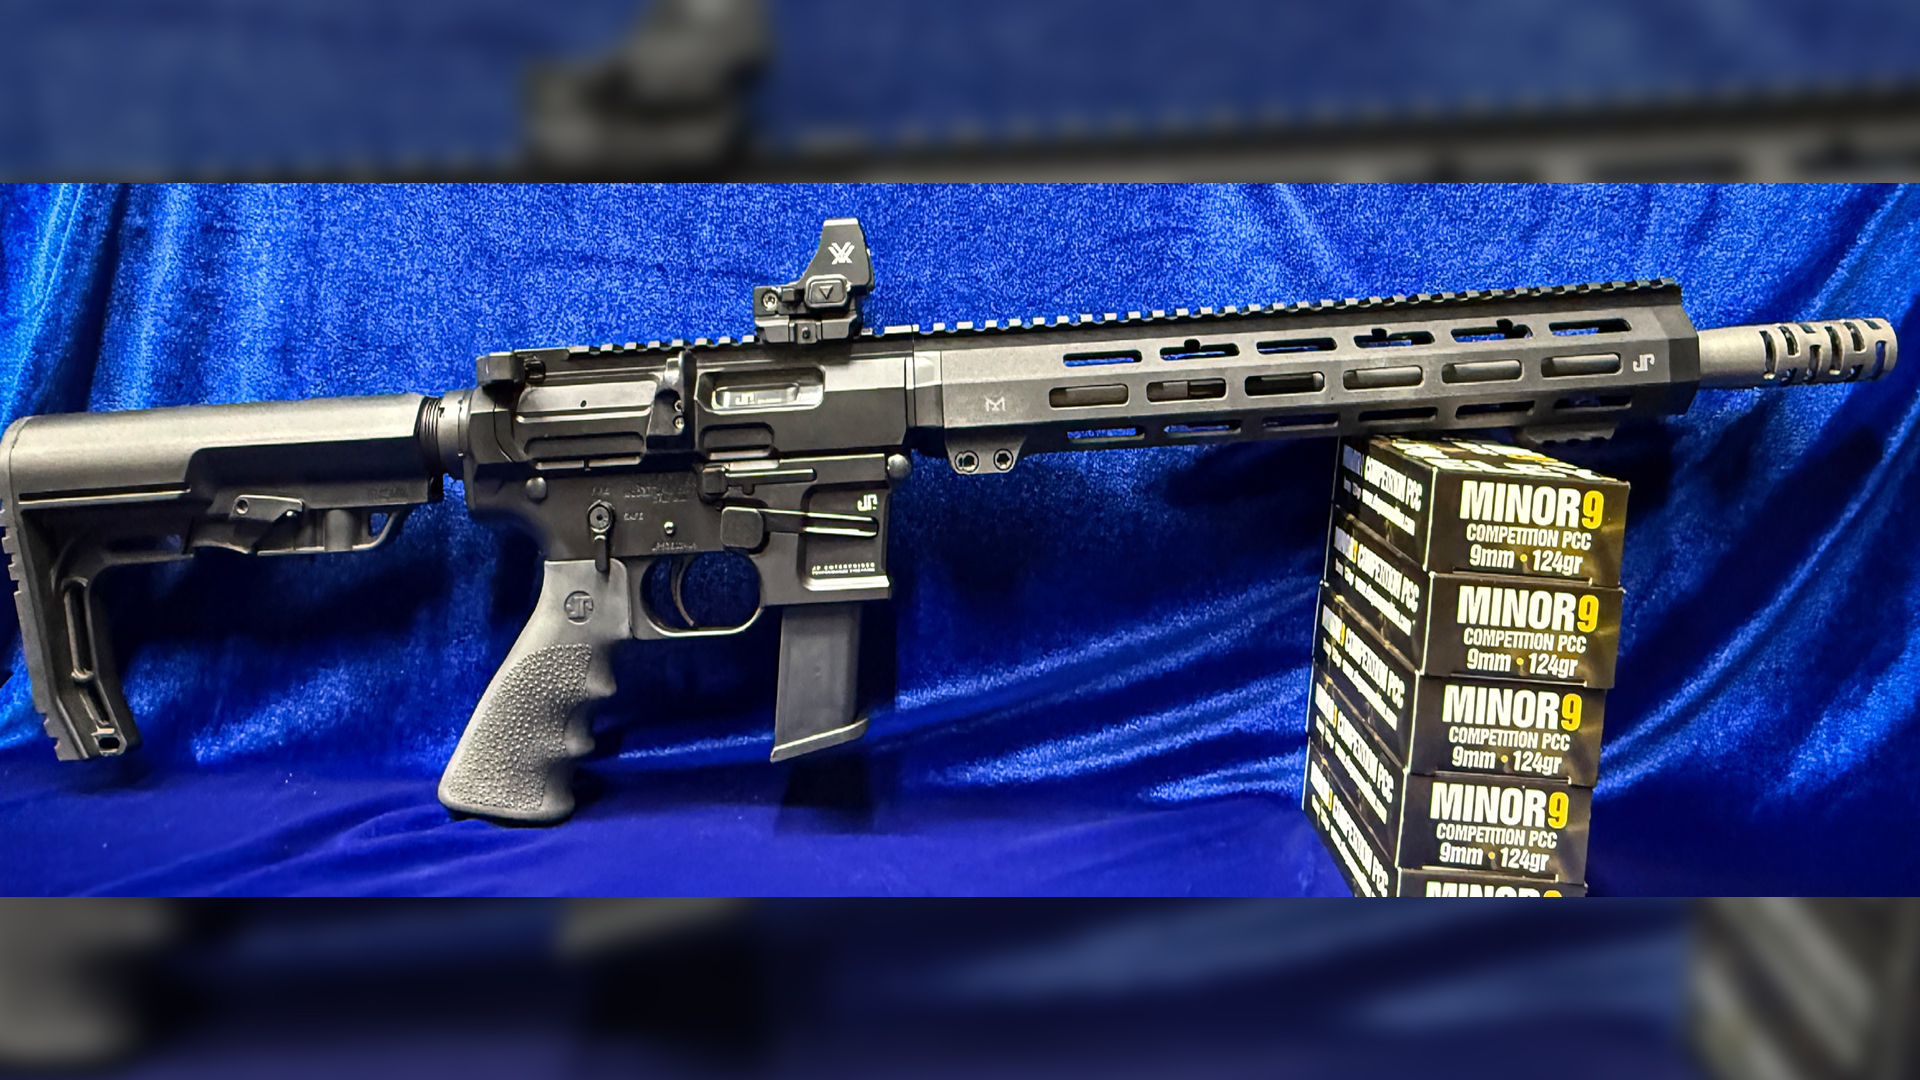
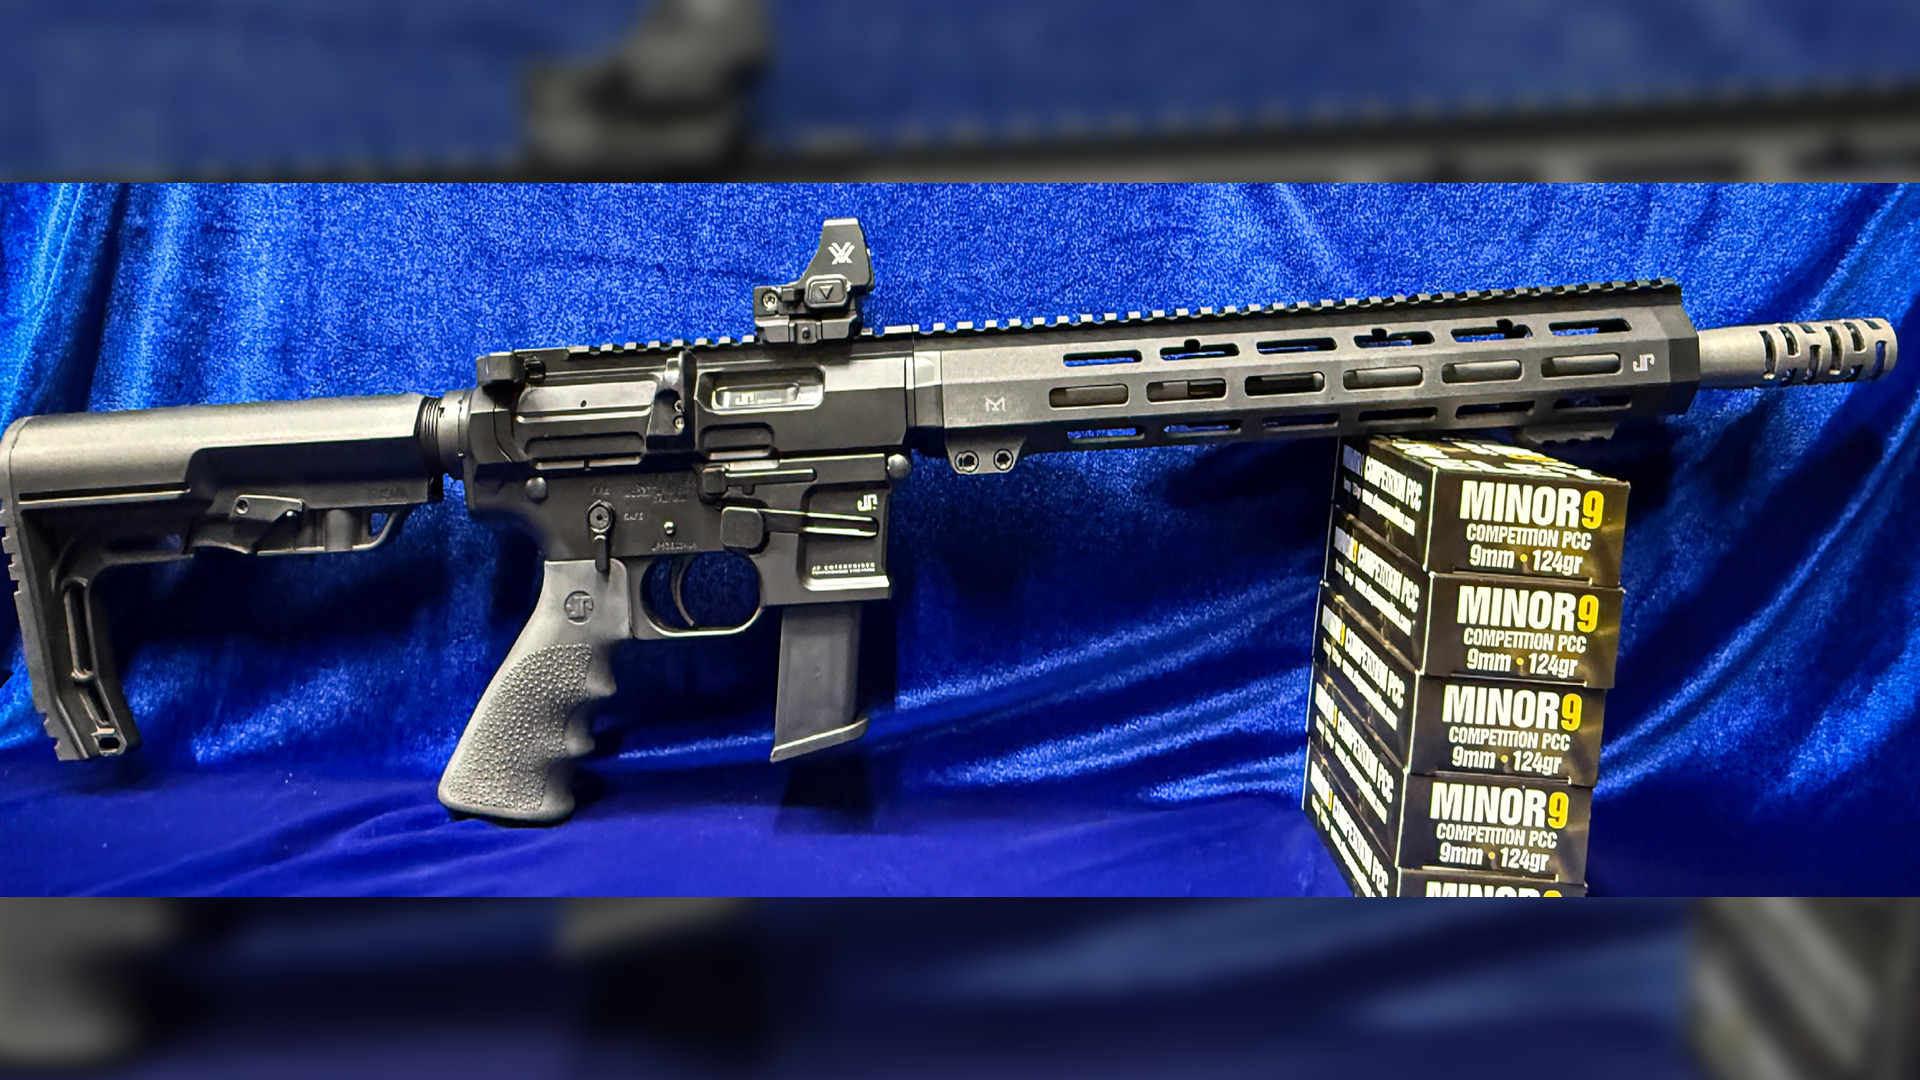
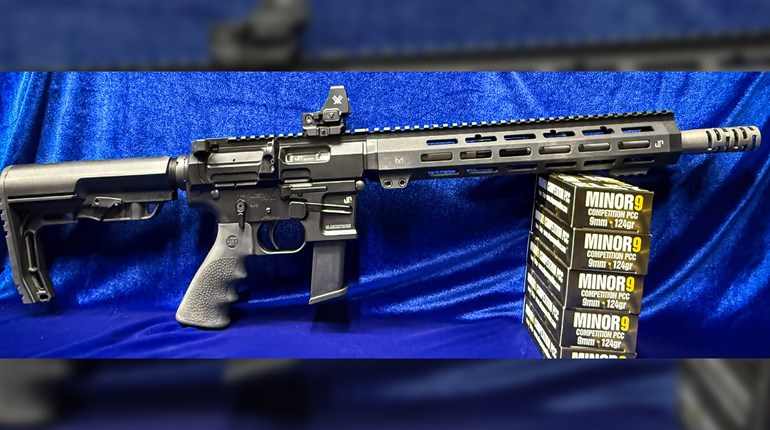
Over the last couple of years, I have messed around with different rifles for Rimfire divisions as well as shooting PCC. I had been bugging JP Enterprises to get a .22 LR Steel Challenge-ready AR to duplicate their GMR-15 PCC. In January of this year they introduced it at SHOT Show, and I ordered one that day and received it a few weeks later. I also had a new upper built for my GMR-15 to include the JP Ultralight Shrouded Barrel and M-Lok handguard to match the new rimfire rifle. The M-Lok handguard weighs a little over two ounces less than the standard MK III tube, and since this is a competition setup, I wanted the weight savings.

Now with the new upper on the 9 mm matching the rimfire with the weight out in front, the part you are transitioning is about the same. The GMR-15 has a buffer system so the buttstock or shouldered part of the rifle is different, but it’s not really noticeable while shooting. The trigger is a little heavier on the rimfire, using JP’s Reliability Enhanced Spring Kit to ensure it sets off rimfire ammunition.
The next step was to get the rifles set up with optics to use in two of the four rifle divisions in Steel Challenge. There are plenty of options when it comes to red-dot optics, and personal preferences abound on the type of dot size, size of window etc. I already had a C-More Railway with an 8-MOA dot on a rimfire, so I ordered another one for the PCC. The next piece was the American Defense Manufacturing quick-release mount made specifically for the C-More. (You remove the Railway from its factory base and mount it directly to the American Defense mount.) I received two of these to put on both rifles. With mounts in place, I can easily remove them when I want to switch to iron-sight divisions. The C-Mores have remained zeroed with no issues taking them on and off. I am not even sure which one goes to which rifle, but the point-of-impact hasn’t changed.
With the QD mounts and red dots in place, the question remained—what to use for iron sights? So I did what most people would, I hit social media to ask the question. Overwhelming, the answer was Striplin Custom Gunworks. I was familiar with his custom rimfire builds after handling one of them that Brian Conley has on the Hunters HD Gold table during matches. I was not familiar with his iron sights, so I ventured to the website. As I scrolled through the options, I was pleasantly surprised to find all kinds of custom accessories and upgrades for all kinds of firearms—thumbrest, extended bolt locks, mounts, guide rods, slide rackers, and the iron sights I was looking for.

The fiber-optic flip-up sights are a customized front and rear sight that Billy Striplin used to only offer to his team members. These start out as a set of sights from Ozark Armament that are customized and have a fiber-optic rod installed in the front sight. This is an all-aluminum sight set designed for competition with the fiber optic. The MBUS set can co-witness with your red dot, but since they are flip-up style, the idea is to remove the quick-release red dot and flip these up for the iron sight rifle divisions.
The Striplin Custom Gunwork sights install directly to the Picatinny rail and when in the down position, they are out of the sight line of the C-More installed on the QD mount. The sights lock solid into place on the rail, and when ready to use, you just flip them up and they lock into place with a solid click. The rear sight includes a large or small peep and is adjustable for windage with a knob on the right side. In addition, the front sight is adjustable for elevation with a set-screw on the left side of the sight. Once up, the sights are quick to acquire when shooting, and the red fiber-optic rod is very visible.
At the Range
My first outing with this setup was at the Michigan State Steel Challenge Match. I set three “personal bests” in PCCI and two in RFRI using these sights for the first time. I followed that up the next month at the Indiana State Steel Challenge match with another personal best in PCCI and four more in RFRI, and added the last two personal best at the WSSC. By the end of the WSSC, I had set four more personal best in PCCI as well—if you are counting, I set 16 personal best times in RFRI and PCCI with the new rifles using the Striplin Custom Gunworks sights. I also had five personal best times in RFRO with the new JP .22 LR, which means I am now a Master class in all four rifle divisions as well.

I like the idea of shooting the same platform for all four divisions, and the ability to easily change out the optics for the irons with no tools. I carry both rifles in a Safariland rifle bag with all the mags and ammunition I need to shoot two rifles in one flight at a match—then between flights, I take the red dots off, flip up the irons and get back to work. The Safariland bag is easy to carry, with just enough space to hold everything I need.
If you are looking at an efficient and competitive way to maximize your performance during a Steel Challenge match, think about using the same—using the same platform between rimfire and PCC, with the ability to change easily during the match from optics to irons.
Article from the November/December 2020 issue of USPSA’s FrontSight magazine.
Read more: 2020 Holiday Gift Guide


