For Part 1 of the “Precision Pistol Tips with Brian Zins” video series, the focus was on pistol grip improvement. In Part 2, Brian’s shared his trigger control methodology. Part 3 highlighted the special relationship between aiming and trigger control, as well as reviewing a few of the key points from the first two videos. Which brings us to Part 4, where Brian teaches us how to properly aim a pistol red dot sight (watch the video above).
Part 4: Red Dot Aiming
Aiming with a red dot sight in the precision (bullseye) world can be quite tricky. Here’s a question that Brian Zins often asks his bullseye pistol students:
“So, I am sure at some point or another you have thrown a ball to someone right? When you threw the ball, what were you looking at? The ball, or the person or object that you were throwing the ball at?”
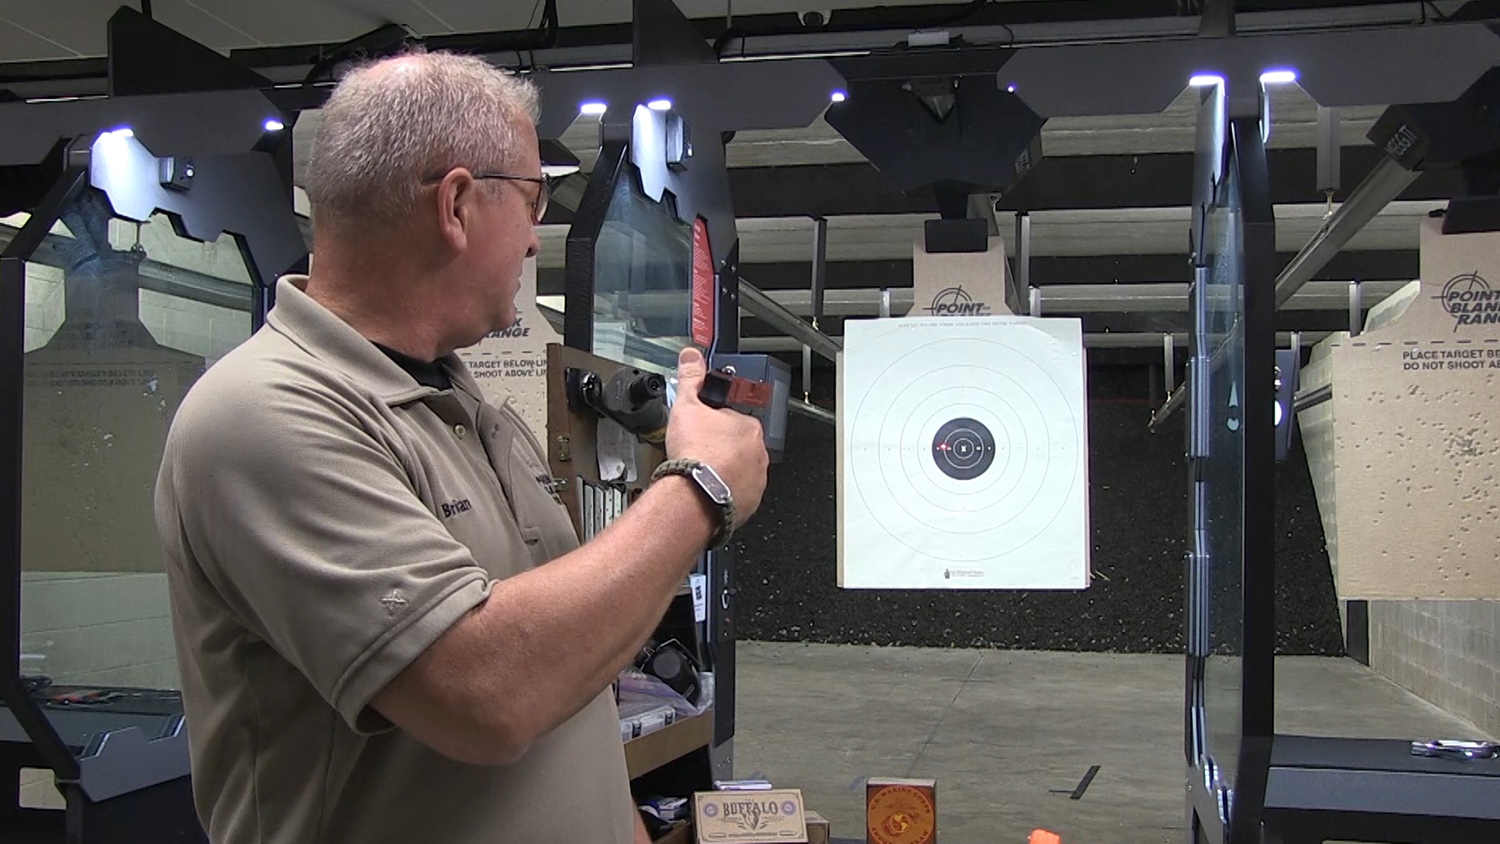
What does this have to do with aiming a red dot on a pistol? Here’s how Brian explains it, and also how it differs from aiming with iron sights.
“With iron sights, there are three items that come into play―front sight, rear sight and the target or aiming area. However, with the dot you have but two items in play. The DOT and the target.”
When aiming with iron sights, you need to have a hard, strong focus on the front sight (especially for bullseye pistol). In contrast, when aiming with a dot―you don’t need to focus on the dot itself. Some history: Red dot sights were actually designed for users to focus on whatever they are aiming at. Therefore, when aiming with a red dot, you have to pick something to look at. Brian’s recommendation is to look at the target. If you are doing it right, when you are looking at your target, it should be in clear focus.
When Brian first began on the U.S. Marine Corps pistol team in 1990, Andy Moody convinced him to turn down his dot to where it was barely visible, and look at the X on the target at 50 yards. Needless to say, that’s when Brian scored his first 100 with a .22LR at 50 yards. His captain asked him to tell his teammates what he did different. Brian told them that he turned the dot’s brightness down really low (per Andy’s advice), and looked at the target (instead of aiming, or focusing on the red dot). His captain wasn’t exactly thrilled with the answer he gave, but needless to say―Brian was on to something.
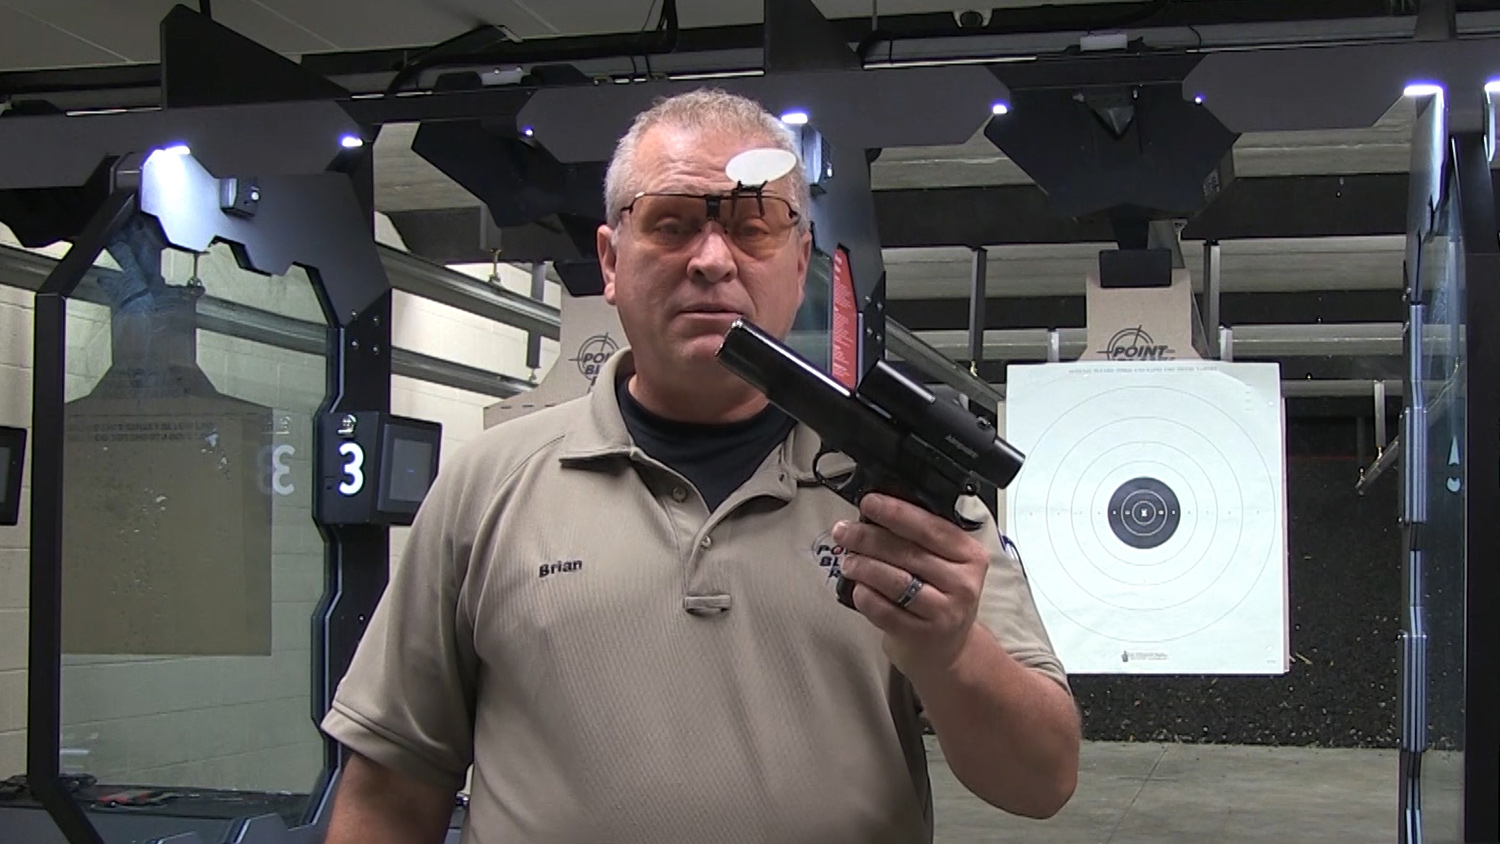
With a dot, often people aren’t focusing on either the dot or the target, falling into a focus trap, where focus is lost somewhere in between the dot and the target. When you are focusing on the dot, you have to able to see it crystal clear. Brian says that you should find a red dot brand that works best for you. The shape and clarity of the red dot can vary among the different manufacturers. Additionally, every individual has their own unique vision―meaning that the way one person sees a dot might not necessarily be the way that another person sees that same dot. Be sure to keep all this in mind when choosing your red dot sight.
Now, let’s tie this all together with the previous three lessons. Remember, trigger control and aiming are one. With iron sights, you move the trigger as you align your sights. From your first shot during a string when using a red dot sight, you should apply pressure to the trigger before the dot is in the black of the target. You will notice the dot wobbling in this aiming area, so be sure to continue adding pressure gradually to the trigger. As the dot dances, and then eventually crosses the middle of the target’s X―that is where your shot should break.
In Part 5, Brian will cover handling anticipation. The tips in these videos are taken from Brian’s instructional clinics. Learn more about Brian Zins pistol training at www.pointblankrange.com/training-instructor-bios/brian-zins

