WARNING: All technical data in this publication, especially for handloading, reflect the limited experience of individuals using specific tools, products, equipment and components under specific conditions and circumstances not necessarily reported in the article and over which the National Rifle Association (NRA) has no control. The data has not otherwise been tested or verified by the NRA. The NRA, its agents, officers and employees accept no responsibility for the results obtained by persons using such data and disclaim all liability for any consequential injuries or damages.
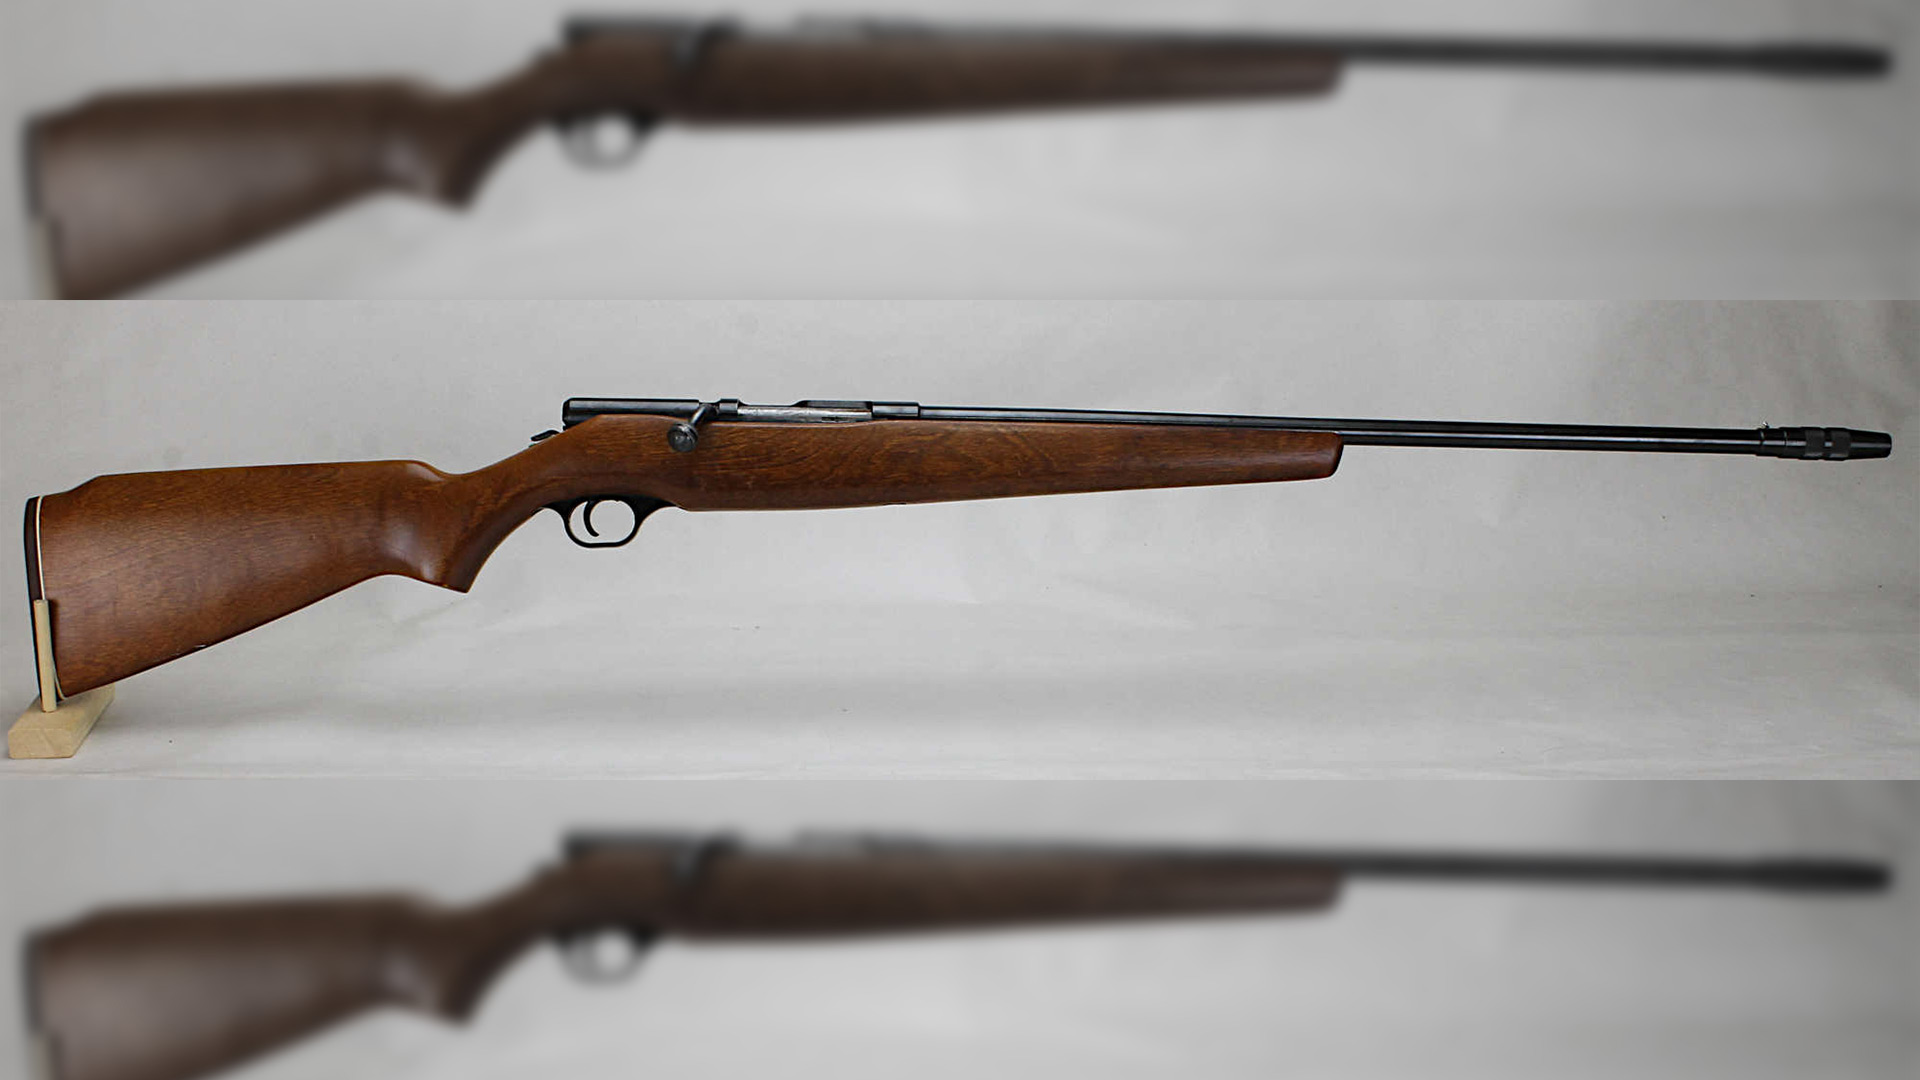
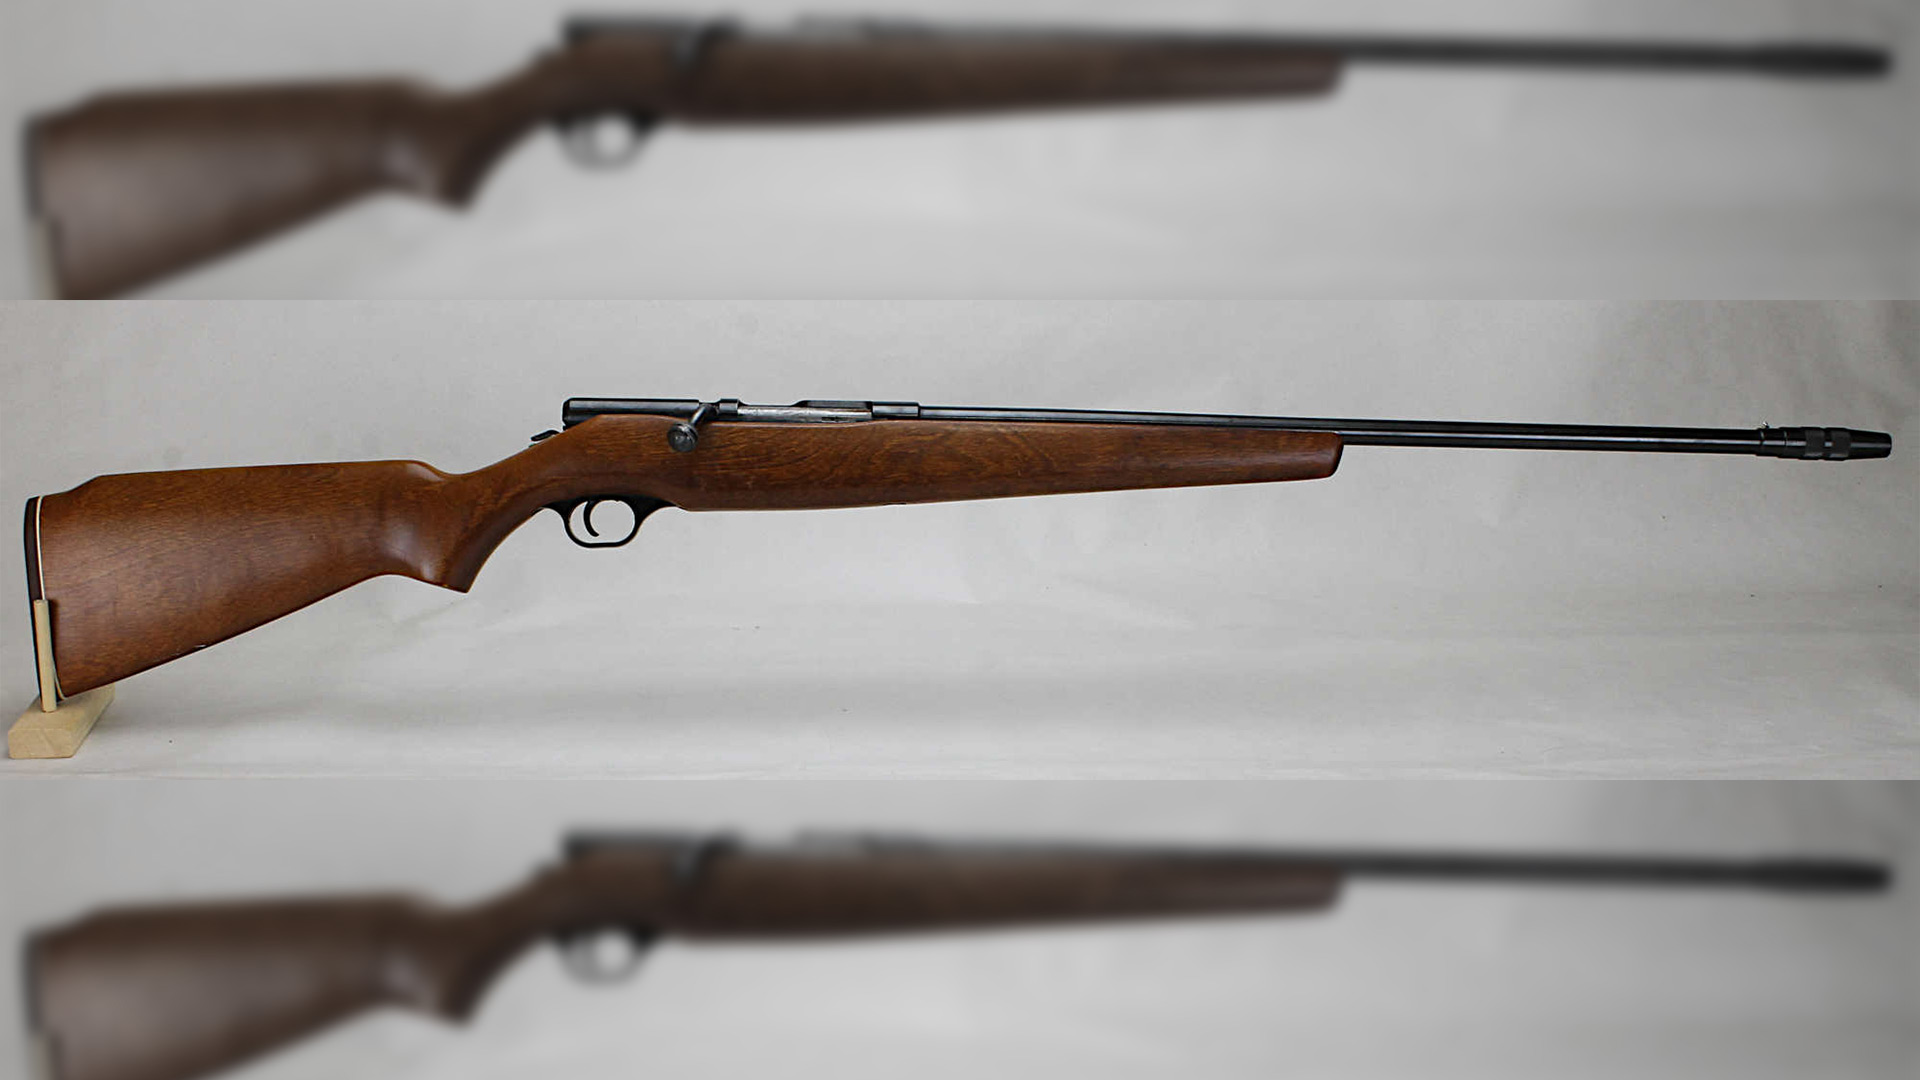
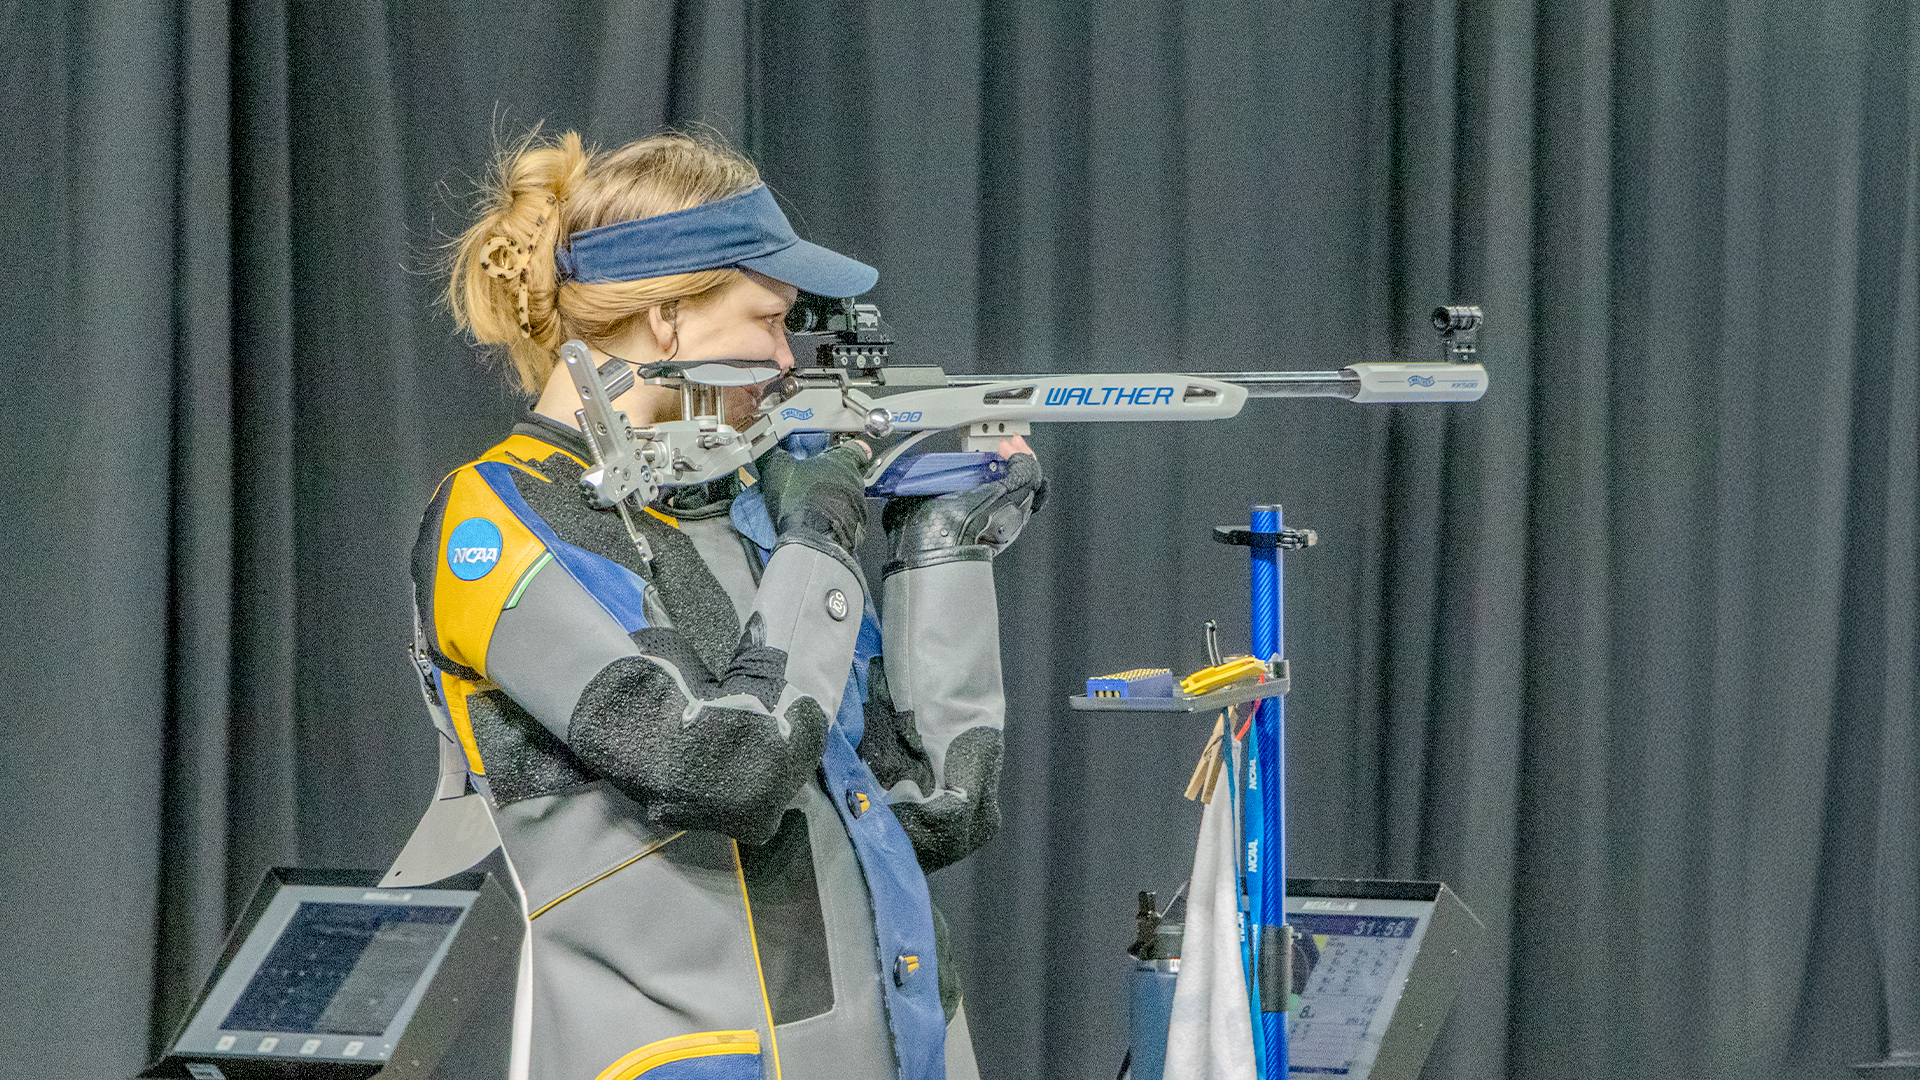
Above: Note the various angles involved in rifle’s lower buttstock, rear bag, forend, and the possibility of the sling swivel stud’s contacting the rest front if technique is inconsistent.
In this article, we will continue exploring how to obtain the best accuracy during rifle and ammunition testing. The basics were covered in Part 1, which may be helpful for those who are relatively new to this topic.
Avoiding Rifle Creep
To ensure consistent positioning of the rifle for every shot, many shooters use a strip of masking tape or some stock feature as a witness mark. This helps them ensure it is aligned the same way on the rest each time after firing the rifle.
Actual Benchrest competitors may use an adjustable post built into the front of their rest, touching the forend tip to it each time they prepare to shoot. While convenient using their flat-bottomed stocks with bags/tops that help ensure a straight-back slide in recoil, these may be less helpful with the typical NRA High Power or long-range (LR) shooter’s rifles.
During strings of fire, be sure to return the rifle to the same location after each shot. Many newer shooters find the rifle progressively drifting backward, and even sideways, during a 5 or 10-shot string—particularly if much recoil is involved. One wants the rifle to ride smoothly and consistently on the front rest during recoil.
Some put baby powder on their front bags to help avoid friction that induces inconsistencies. Others use thick, smooth plastic tape on their forearms and the toe of the buttstock to do the same—particularly if the forend has a rough texture or is ribbed, as with AR15 handguards.
If a sling, front/rear sling swivel, swivel stud or bipod, etc. may contact your rest or bags during recoil, it is best to remove them for testing. Service Rifle shooters may also wish to reinforce soft leather front bags with heavy tape (e.g., “100 MPH tape”, etc.) to prevent damage from ribbed AR15 forends. Using a wide/heavy rear bag with plenty of traction on the bench can help prevent the bag’s being pushed around in recoil, which increases time re-setting the rifle between shots.
Avoiding Rest Hop
A valuable quality of good benchrest pedestals and bags is that they tend to be reasonably *heavy*. Cast-iron rests weighing approximately 25 lbs. are much less likely to move about during recoil than light, aluminum rests. Adding sandbags over the rest legs can help keep the rest stable in recoil. For testing purposes, mixing lead shot with the sand in one’s bags can significantly improve their stability.
Fill rear bags tightly so they don’t sag and will maintain their adjustment. One may need different rear bags to optimize fit for different rifles. A wide variety is available with different base heights and ear lengths/widths to accommodate different stock styles.
A small, flat bag can be useful for increasing rear bag height, but ensure that the top bag doesn’t slip when placed on the lower bag to gain elevation. A truly motivated shooter with a rear bag that likes to wander about the bench could perhaps add skateboard tape to the bottom for serious grip!
Avoiding Rifle Hop
How one handles the rifle on the bags is a technique in itself. True Benchrest competitors use stocks that are purpose-built to be fired from a closely-matching set of front and rear bags.
They sport low combs, short buttstocks and approximately 3” wide, flat forends. While miserable to attempt to use in the field, they slide back freely in a straight line like little machine rests. This facilitates obtaining superior accuracy.
One popular technique with these mild caliber, relatively heavy rifles is to fire them “free recoil.” That is, once they are perfectly aligned on the target using only the rest, the shooter no longer touches the rifle except at the trigger. He watches for his chosen wind condition, touches the 2-ounce trigger, and the rifle does the rest (as it were…).
This illustrates the theory of rest shooting very well—the rest does the work, the shooter doesn’t influence or steer the rifle during firing, and no inconsistent body pressure is placed on the rifle. However, it's only appropriate for a relative few. Most Match, Service or hunting rifles are not nearly so well-adapted to rest shooting, and they often have enough recoil that the shooter is needed to provide a “backstop,” if nothing else.
As rifle ergonomics get more complicated and recoil increases, one will often see shooters using various techniques to hold the rifle steady during firing, absorb recoil, etc. Often, shooters will leave their front hand (support hand) off the rifle entirely, depending on the front rest and forend to perform uniformly in recoil.
Some who opt for this use their non-firing hand (support hand) to pinch the toe of the stock near the rear bag to add stability. Many others use their non-firing hand to grip the rear sandbag; some like to squeeze the bag to exactly adjust height for each shot, thus obtaining a perfect sight picture.
One potential problem with squeezing the bag is that the bag’s adjustment is under muscular tension. This can vary, and is not 100 percent consistent from shot to shot. Even though one is not touching the rifle butt with the non-firing hand, one is controlling it consciously via the rear bag. When well-practiced, however, this can be a very effective method.
An alternate use for the non-firing hand that the author finds helpful with AR15 Match and Service Rifles is to use it to stabilize the pistol grip as the rifle torques during firing. The rifle’s tendency to cant from side to side is exacerbated by the typical round forend of such rifles.
Here, the use of the support hand to prevent such movement actually seems to help. Conversely, it is very easy for a less-practiced shooter to *cause* cant and inconsistency with these rifles. Poor control and inconsistency with the pistol grip wreaks havoc on accuracy!
Rifle Hop, Explained
In rifles of light to moderate weight with significant recoil, one can easily see the rifle’s entire front end fly up off the rest when using only the firing hand. The author discovered this “rifle hop” many years ago when testing a custom, 8 lb. (complete) 7mm hunting rifle.
It would place two shots at 100 yards very close together, but a vertical flier always seemed to spoil the groups. This was maddening, as the level of precision that went into the rifle and ammunition was far too high to suggest a rifle-related problem.
Then, the author noted that the rifle’s forend was, indeed, jumping up off the rest periodically upon firing. He found that by reaching around the rest and lightly gripping the forend forward of the rest, the vertical fliers instantly went away! The rifle began shooting sub-1/2 MOA, and both went on to live happily ever after.
Here, the goal is not to man-handle the rifle and wrestle it down onto the rest so that it can’t possibly move. Rather, one only applies enough grip to *slow* the forend during recoil and keep it from leaping skyward. The forend still moves in recoil, but is kept on a straight, rearward path.
The author has used this technique for decades now with such rifles and found it very helpful.
Others with whom the author has shared this technique have also found improvement in their shooting vs. the old “virtually free recoil” approach. Typical NRA High Power Match Rifles and Service Rifles are usually heavy enough that “rifle hop” isn’t likely to be a problem, but it is well to be aware of it, just in case.
Thus ends Part 2 of our series on accuracy testing and chronographing. In Part 3, we’ll explore the use of iron sights vs. optics when accuracy testing from the bench.
SSUSA thanks the U.S. Army Marksmanship Unit for allowing the reprint of this article.


